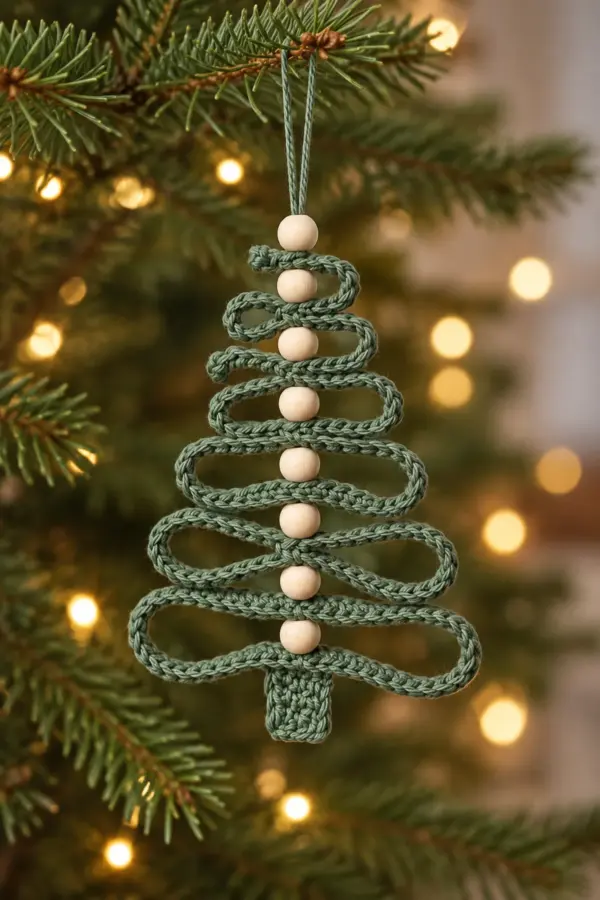
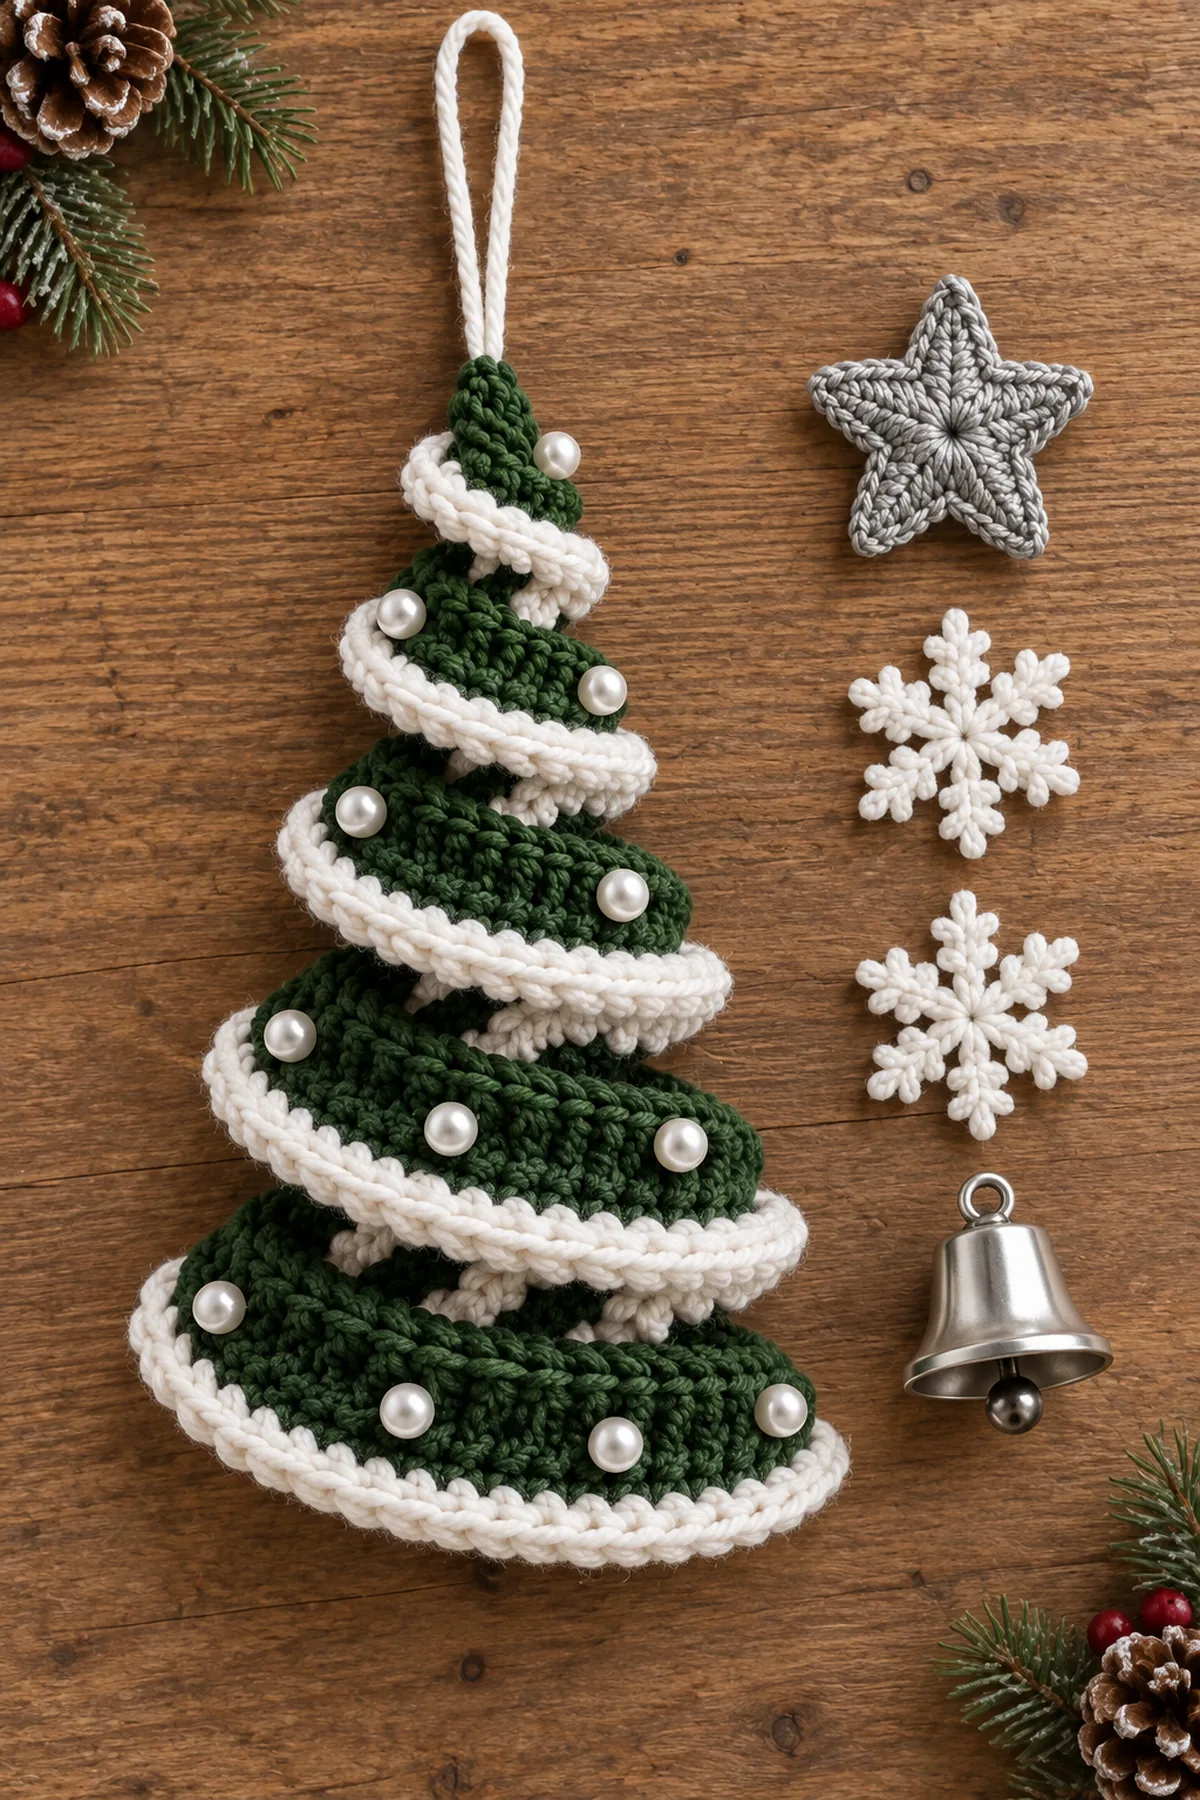
This Crochet Christmas Spiral Tree Ornament follows the supplied hanging design as a dimensional coil rather than a flat tree applique. One long deep forest-green crochet ribbon wraps around a centered support cord in five widening turns. A narrow snow-white edge traces the spiral from the pointed top to the broad bottom tier. Two white snowflakes and twelve pearl beads add snowy accents, while a soft silver-gray five-point star and polished silver bell finish the vertical ornament.
Thank you for reading this post, don't forget to subscribe!Crochet a firm green ribbon long enough to form five descending coils, then add one white slip-stitch-and-picot edge along the side that will face downward. Prepare a doubled white suspension cord, a five-point silver-gray star, and two small six-point snowflakes. Wrap and tack the ribbon around the cord from the narrow top turn to the widest fifth turn, checking the silhouette after every coil. Sew twelve pearls along the white edge, attach the two snowflakes to the front, secure the star above the spiral, and fasten one bell beneath the lowest turn.
Why You’ll Love This Project
The ornament creates a sculptural tree from a simple reusable ribbon construction. The white edge makes the spiral easy to read, the green, white, and silver palette feels warm and vintage, and the real bell gives the finished hanging a gentle festive sound.
Materials
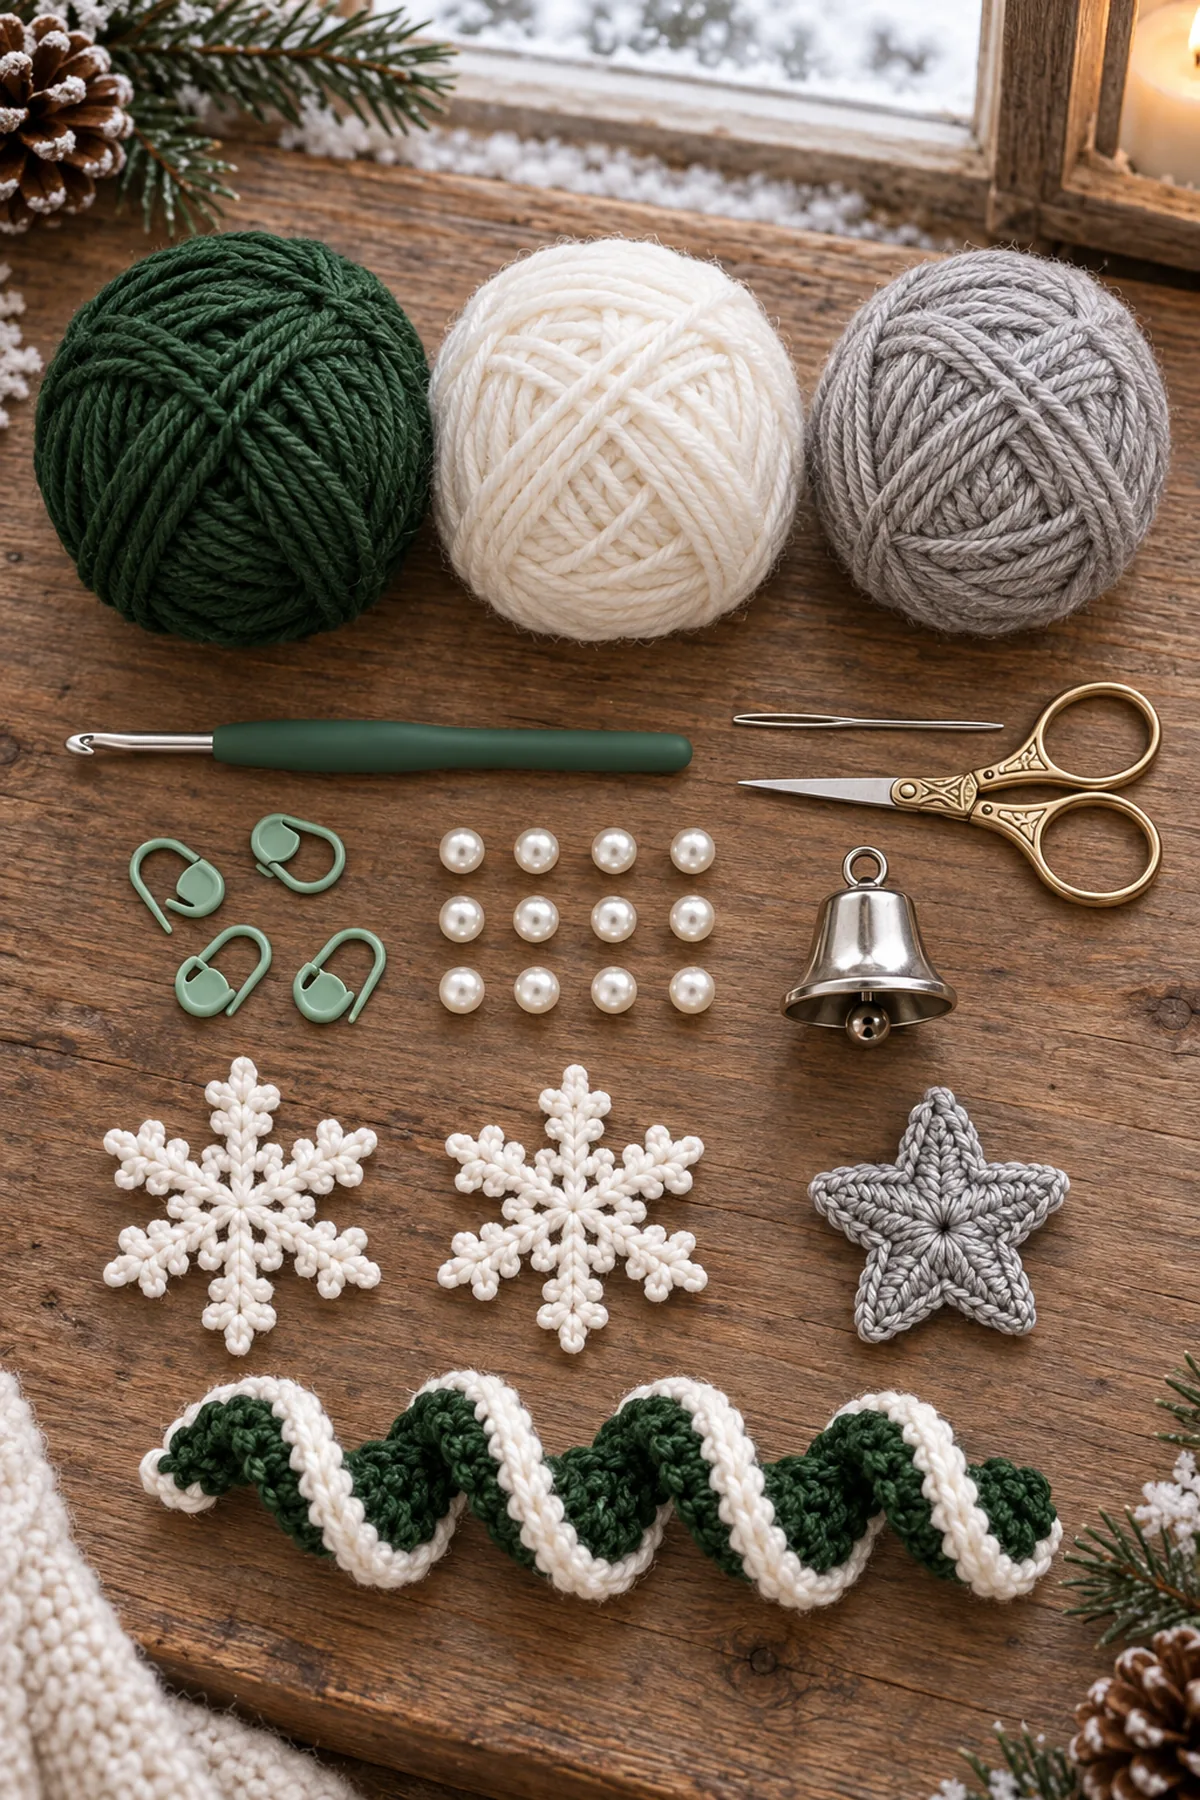
- About 310 yards deep forest-green worsted cotton or cotton-blend yarn for the spiral ribbon
- About 95 yards snow-white worsted yarn for the edging, support cord, and two snowflakes
- About 65 yards soft silver-gray worsted yarn for one five-point star
- 3.75 mm crochet hook
- Twelve 8- to 10-mm white pearl beads with holes large enough for sewing thread
- One small polished silver craft bell, approximately 1.25 inches wide
- Strong matching sewing thread or pearl cotton for beads and bell
- Yarn needle, sewing needle, scissors, locking markers, tape measure, and blocking pins
Gauge, Measurements, and Planning
The blocked ribbon should measure about 56 inches long and 1.75 inches wide before coiling. Mark five turning zones at approximately 7, 16, 27, 40, and 56 inches from the narrow end. When wrapped, the finished turn diameters should progress from roughly 2.5 inches at the top to 10 inches at the bottom without any two tiers touching heavily.
Make and wash a gauge swatch before beginning. Measure only after the swatch is completely dry. If the stitch width differs, change hook size rather than pulling the working yarn tighter. Keep a written count at the end of every section so the finished edges remain balanced and the assembly points line up.
Abbreviations and Special Stitches
- ch: chain
- sc: single crochet
- hdc: half double crochet
- dc: double crochet
- tr: treble crochet
- sl st: slip stitch
- sp: space
- st(s): stitch(es)
Special stitch guidance: Graduated ribbon shaping: alternate full hdc rows with marked short rows so one long edge becomes gently longer than the other. White snow edge: surface slip stitch along the lower ribbon edge, adding a small chain-3 picot at measured intervals. Five-point star: form five identical graduated points around a compact center. Mini snowflake arm: chain outward, add two short chain branches, and slip stitch back to the center. Cord tack: pass the assembly thread through the support cord and a solid ribbon stitch without flattening the coil.
Before You Begin
- Use one continuous green ribbon and form exactly five visible spiral turns.
- The top turn is the narrowest and the fifth bottom turn is the widest.
- Keep the snow-white trim on the lower outside edge of every turn.
- Make exactly two white six-point snowflakes and attach exactly twelve pearl beads.
- Use one soft silver-gray five-point star at the top and one polished silver bell at the bottom.
- Do not add a trunk, pot, green branches, extra bells, or extra stars.
Instructions
Crochet the Long Forest green Spiral Ribbon
A firm, gently curved ribbon creates all five tree turns without separate tier pieces.
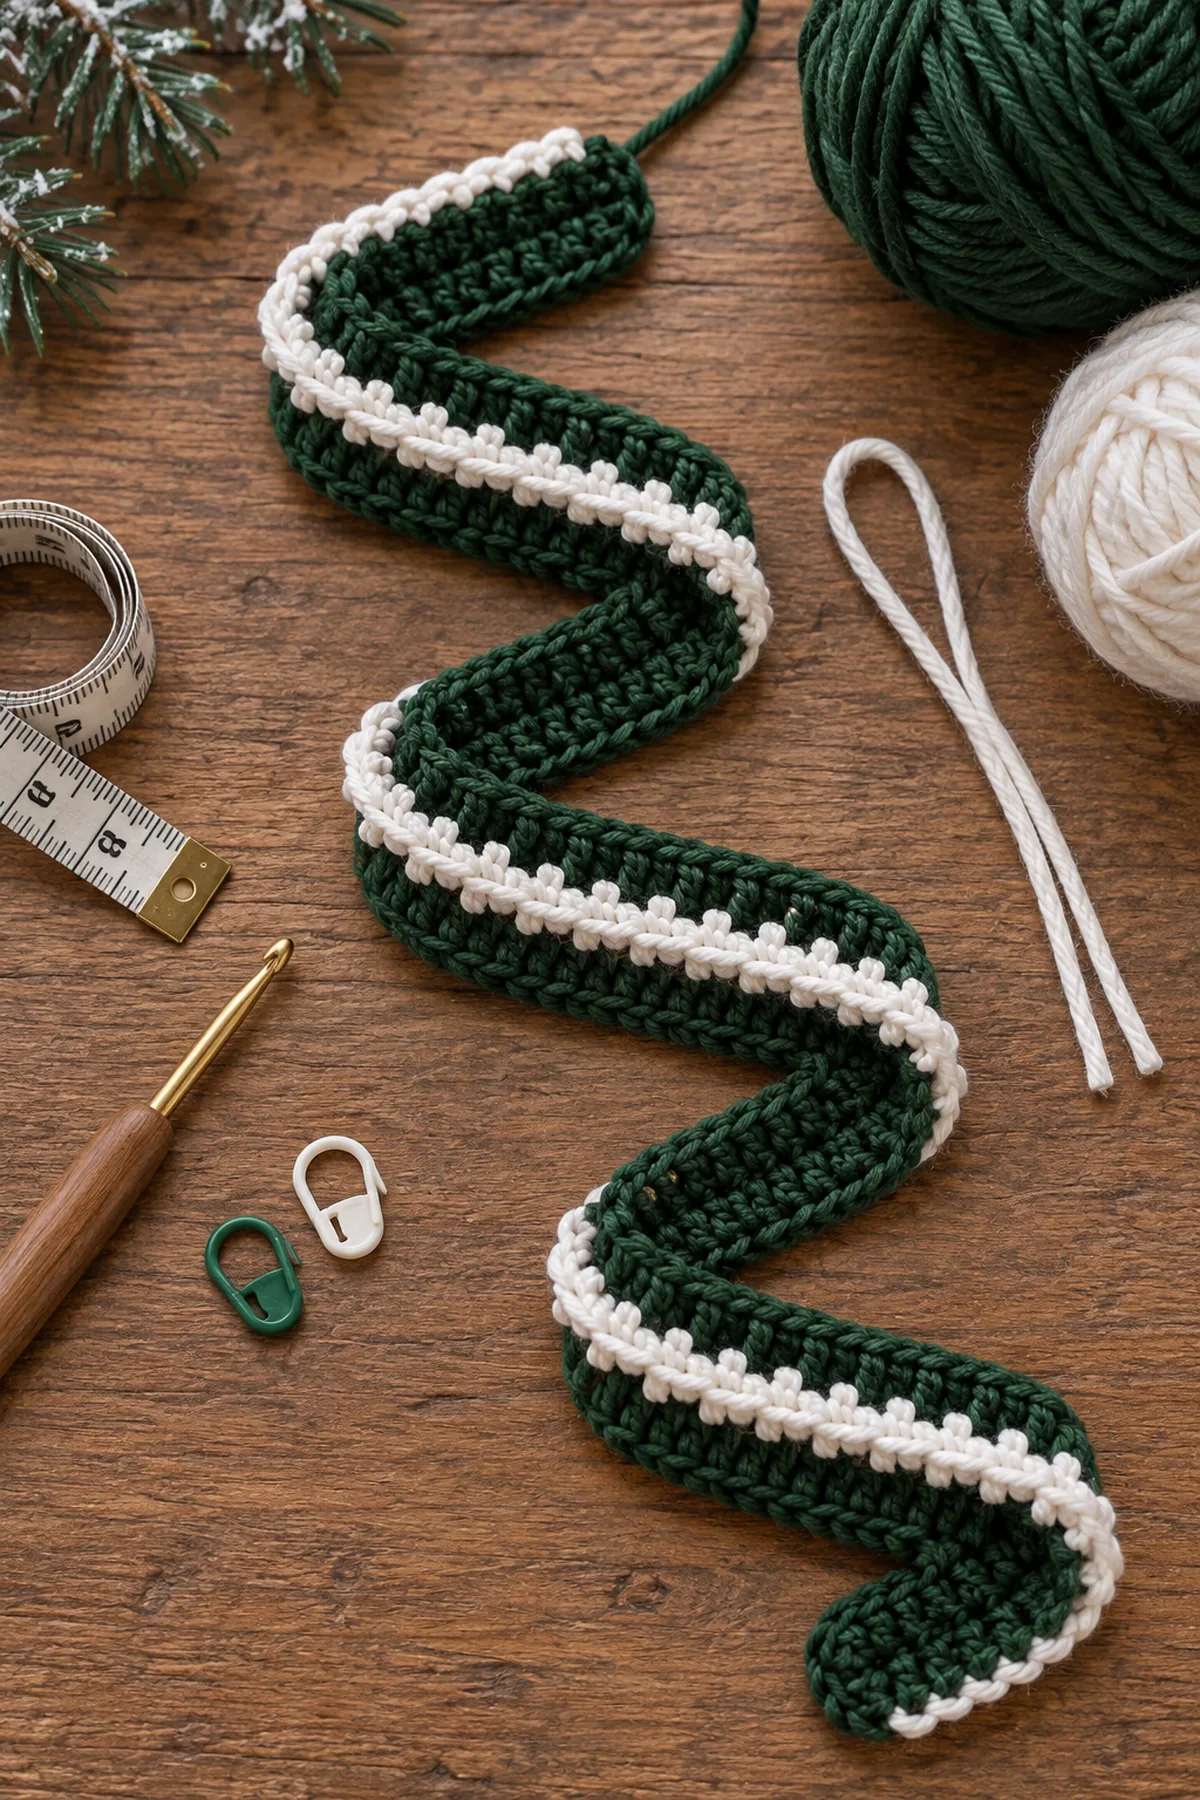
- With deep forest green, ch 242. Beginning in the third chain, hdc across. (240 sts)
- Work four more hdc rows, keeping 240 stitches and marking every 48 stitches to divide the ribbon into five equal planning zones.
- To create the gradual curve, work one short row over the first 192 stitches, one over the first 144, one over the first 96, and one over the first 48 stitches, turning with a smooth wrapped stitch at every transition.
- Return to the full edge and work one balancing row of sc across all 240 stitches. The ribbon should curve gently rather than ruffle.
- Block the ribbon to approximately 56 by 1.75 inches, preserving the tapered visual rhythm from the short-row end to the full-width end.
Add the White Snow Edge and Make the Support Cord
Keep the contrast trim on the same lower-facing edge for the entire spiral.
- Join warm white at the narrow end of the longer ribbon edge and surface slip stitch evenly from end to end.
- On the return pass, repeat [4 sc, ch 3, sl st in the first chain] to make small snow-like picots without stretching the edge.
- Cut three white strands approximately 42 inches long. Hold them together, knot one end, and braid or chain them into a firm doubled-looking suspension cord.
- Form a 7-inch hanging loop at the top of the cord and mark the center below it for the star.
- Leave at least 4 inches of cord beneath the planned fifth turn for attaching the bell.
Form Exactly Five Descending Spiral Turns
Build the tree from top to bottom and secure every turn to the central cord.
- Place the narrow ribbon end just below the star mark. Curve it around the cord to form Turn 1, approximately 2.5 inches wide, with the white edge facing down and outward.
- Continue the same ribbon into Turn 2 at about 4 inches, Turn 3 at 5.5 inches, Turn 4 at 7.5 inches, and Turn 5 at about 10 inches wide.
- At the back center of each turn, tack one solid green stitch to the support cord with strong matching thread. Add a second tack where the ribbon crosses its previous path.
- Hold the ornament upright after every turn and correct the spacing before tightening the tacks.
- Confirm that all five turns are distinct, the white edge traces one continuous descending spiral, and the bottom turn hangs level.
Make the Star, Snowflakes, Pearls, and Bell
Match the reference with one star, two snowflakes, twelve pearls, and one bell.
- With soft silver-gray, make a compact center ring and work five identical points using sc, hdc, dc, tr, dc, hdc, sc. Block the star to approximately 4 inches across.
- With white, make two six-point snowflakes. For each arm, ch 6, add two chain-3 side branches, and slip stitch back to the center. Block both motifs open.
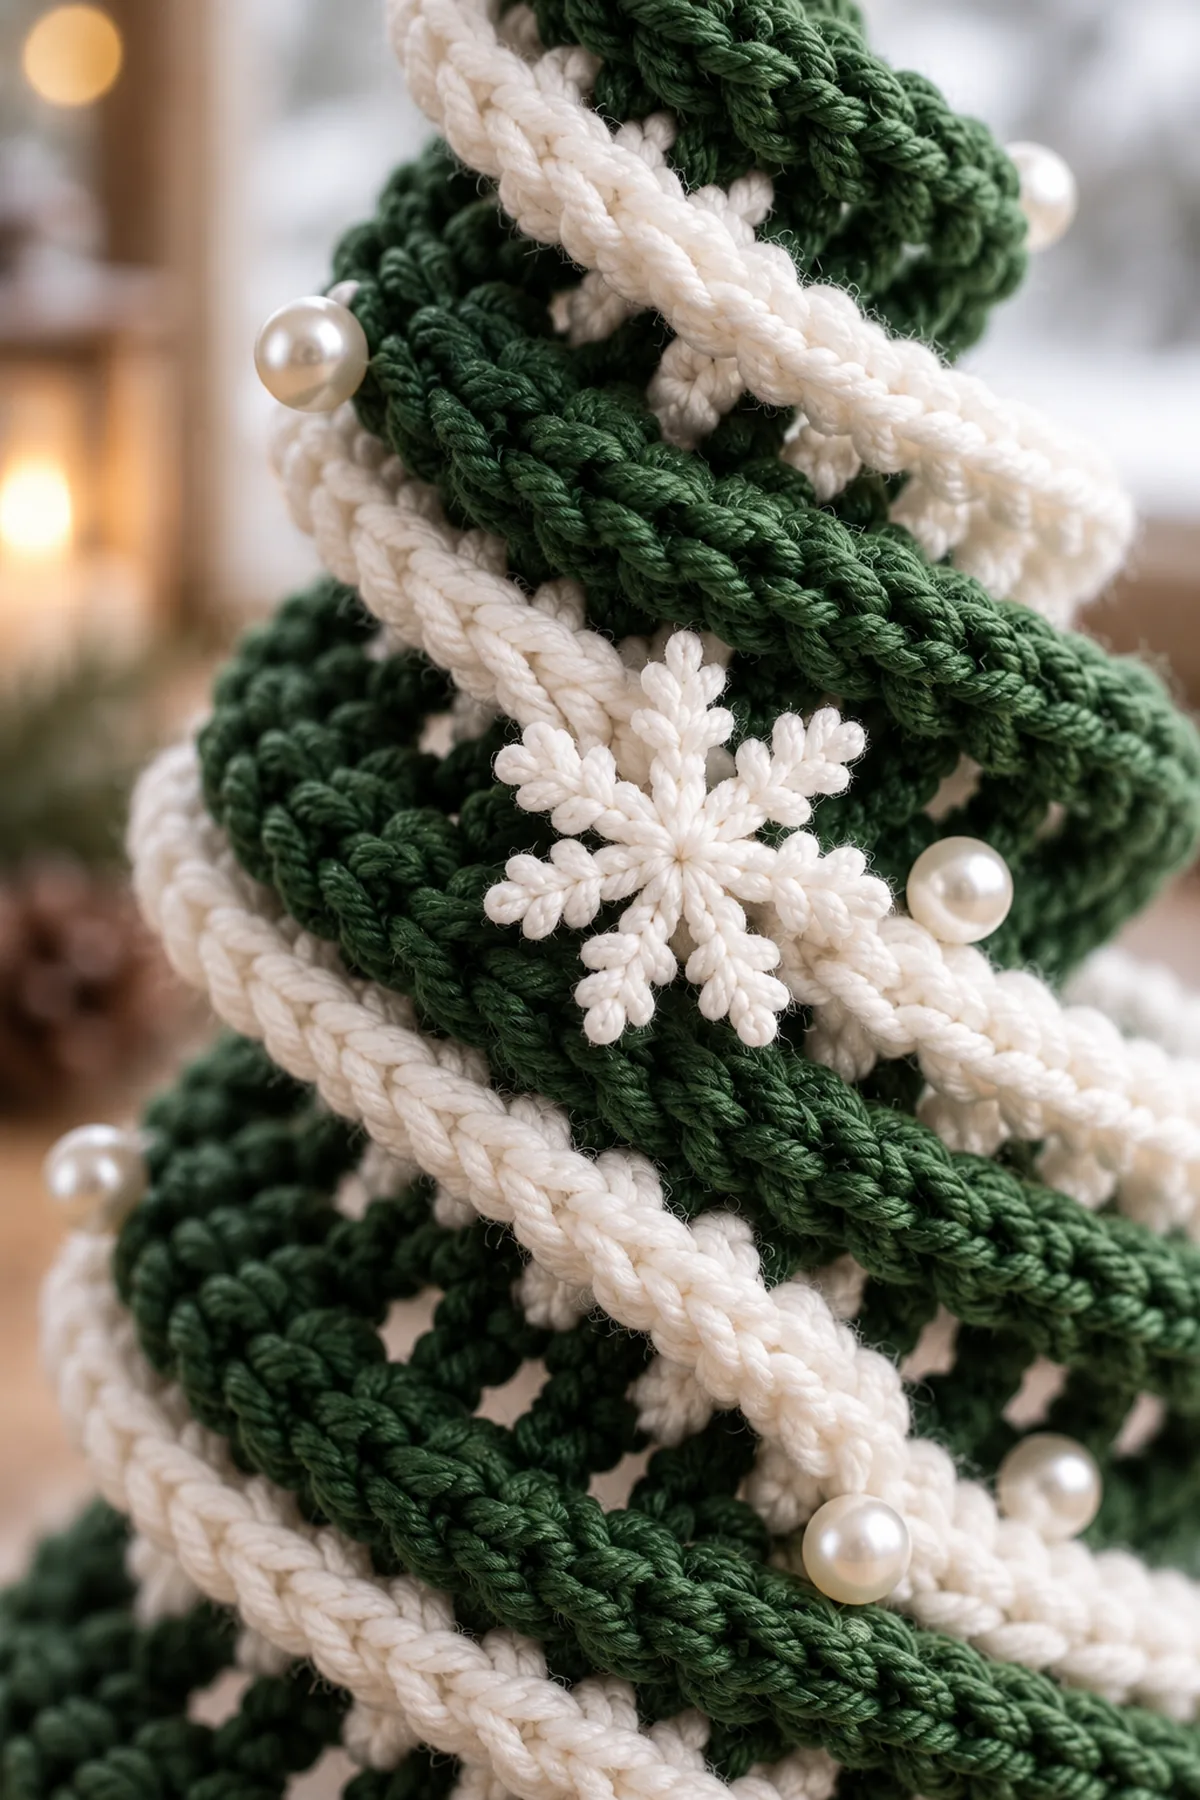
- Sew one snowflake to the front between Turns 2 and 3 and the second between Turns 4 and 5.
- Distribute exactly twelve pearl beads along the white spiral edge, spacing them across all five turns and securing each bead independently.
- Sew the silver-gray star over the support cord above Turn 1. Attach one polished silver bell to the cord beneath Turn 5 and reinforce the knot twice.
Assembly and Shaping
Block the ribbon, star, and snowflakes before assembly. Keep the doubled white cord vertical, wrap the green ribbon around it in exactly five widening turns, and place every tack at the back. The white trim must face down and outward along the complete spiral. Sew the star above the first turn, place two snowflakes on the front, distribute twelve pearls along the white edge, and suspend one silver bell directly below the fifth turn.
Lay every component on a flat surface before joining. Match the marked centers first, then divide each remaining edge into equal sections. Work through both layers with consistent tension and pause after each section to check that the fabric lies flat. This measured approach prevents twisting and keeps decorative details facing the intended direction.
Finishing
- Weave green tails through dense ribbon rows rather than the white edge.
- Reinforce all five cord tacks from the back with strong thread.
- Knot each pearl separately so one broken thread cannot release the full set.
- Check that the bell hangs clear of the bottom spiral and can move freely.
- Steam lightly from a distance while the tree hangs to settle the five-turn silhouette.
For a polished result, weave each tail through several same-color stitches, reverse direction once, and trim only after the fabric has been gently stretched. Block to the listed dimensions without flattening textured stitches. Inspect joins, borders, straps, and decorative pieces before the project is used or gifted.
Helpful Tips
- Use stitch markers at all five turn zones before wrapping the ribbon.
- Photograph the pinned spiral from the front before making permanent tacks.
- If a tier collapses, move its center tack slightly upward rather than stiffening the whole ribbon.
- Choose a lightweight craft bell so it does not pull the bottom turn out of shape.
Good lighting and a contrasting stitch marker make counting much easier. If a section looks uneven, compare the current count with the previous checkpoint before continuing. Fixing one missed stitch early is faster than compensating later, and it preserves the measurements used by the assembly instructions.

Frequently Asked Questions
Can I make separate tree tiers?
The supplied design reads as one continuous spiral, so use one ribbon and wrap it into exactly five connected turns.
Can I omit the beads?
You can for child-safe decor, but the reference design uses exactly twelve small pearl accents along the white edge.
Why does my tree twist sideways?
The back-center tacks are not aligned on the support cord or the five turn diameters increased unevenly.
Conclusion
One continuous green ribbon, one white snow edge, exactly five widening spiral turns, two snowflakes, twelve pearls, one five-point silver-gray star, one centered support cord, and one silver bell recreate the suspended Christmas tree shown in the supplied reference. Careful tacking preserves the airy three-dimensional silhouette while allowing the bell to hang freely.

Printable Crochet Pattern Card
Project: Crochet Christmas Spiral Tree Ornament
Skill level: Intermediate Hook: 3.75 mm Yarn: Worsted
Finished size: Approximately 10 inches wide by 16 inches tall, excluding the hanging loop
Card Materials
- About 310 yards deep forest-green worsted cotton or cotton-blend yarn for the spiral ribbon
- About 95 yards snow-white worsted yarn for the edging, support cord, and two snowflakes
- About 65 yards soft silver-gray worsted yarn for one five-point star
- 3.75 mm crochet hook
- Twelve 8- to 10-mm white pearl beads with holes large enough for sewing thread
- One small polished silver craft bell, approximately 1.25 inches wide
- Strong matching sewing thread or pearl cotton for beads and bell
- Yarn needle, sewing needle, scissors, locking markers, tape measure, and blocking pins
Card Instructions
- Crochet the Long Forest green Spiral Ribbon: Work one 240-stitch green ribbon and shape a gentle curve with four graduated short rows.
- Add the White Snow Edge and Make the Support Cord: Edge the lower side of the ribbon in white and prepare one strong centered hanging cord.
- Form Exactly Five Descending Spiral Turns: Wrap and tack one continuous ribbon into five widening turns around the center cord.
- Make the Star, Snowflakes, Pearls, and Bell: Finish with one silver-gray star, two white snowflakes, twelve pearls, and one bottom bell.
Finish: Check every count, weave in all ends, block to measurement, and inspect each join.