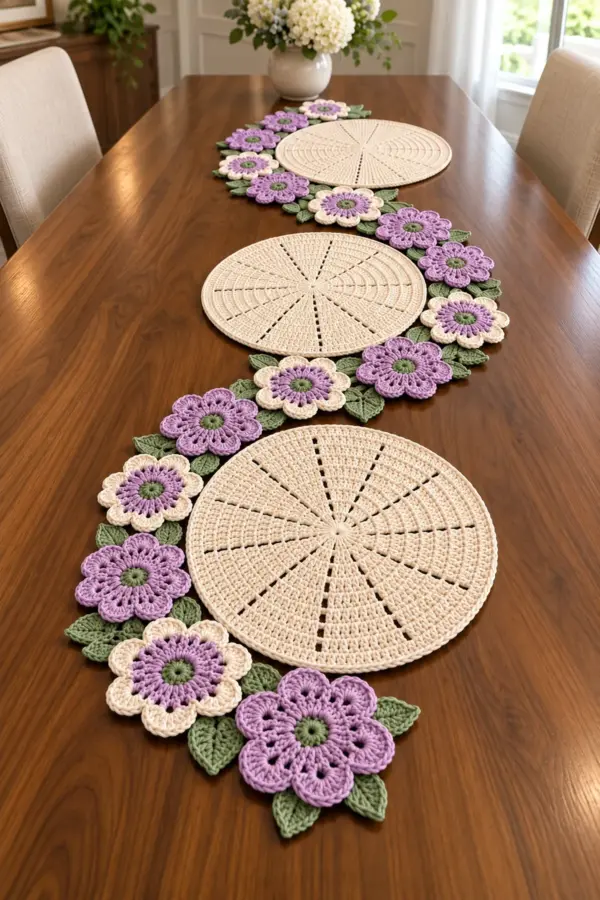
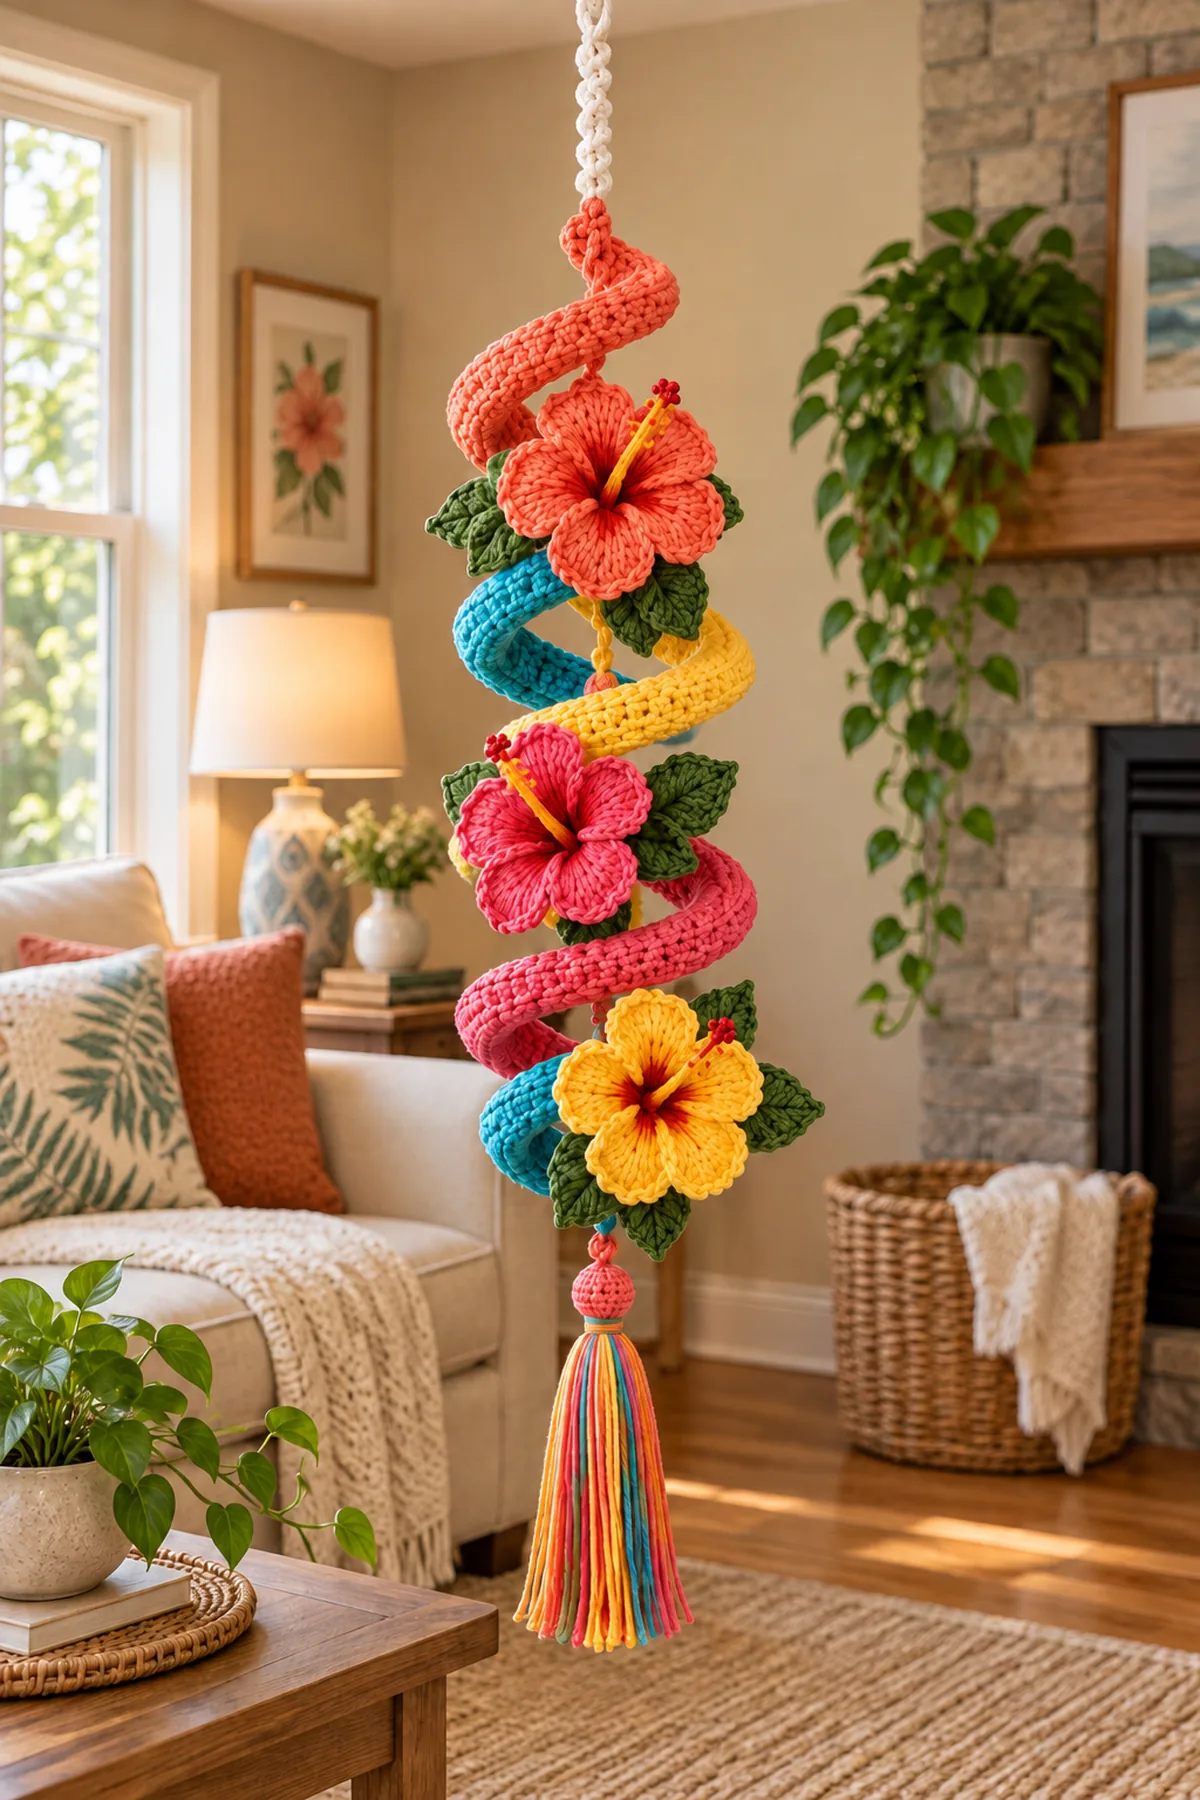
This Rainbow Hibiscus Crochet Spiral Hanging is a cheerful vertical mobile inspired by the supplied photo: a white hanging cord supports curling coral, turquoise, yellow, and pink bands. Three dimensional hibiscus blooms sit at different heights, framed by little green leaves, and a rainbow tassel finishes the bottom. It is a hanging decoration, not a table runner or a flat floral garland.
Thank you for reading this post, don't forget to subscribe!Make four separate ruffled spiral sections, then thread and secure them along one reinforced center cord. Crochet one coral, one rose-pink, and one golden-yellow five-petal hibiscus. Add leaf pairs, slender stamens, and a compact tassel. The spiral sections can rotate freely, but every floral attachment and the top loop must be stitched securely.
Why You’ll Love This Project
The bands twist into a light open corkscrew instead of a heavy tube, so the hanging moves gently. Individual sections are easy to recolor or replace, and the flowers remain the focal points. Because the image shows large visible petals and leaf clusters, the pattern gives each bloom its own contrasting center and a pair of shaped green leaves.
Materials
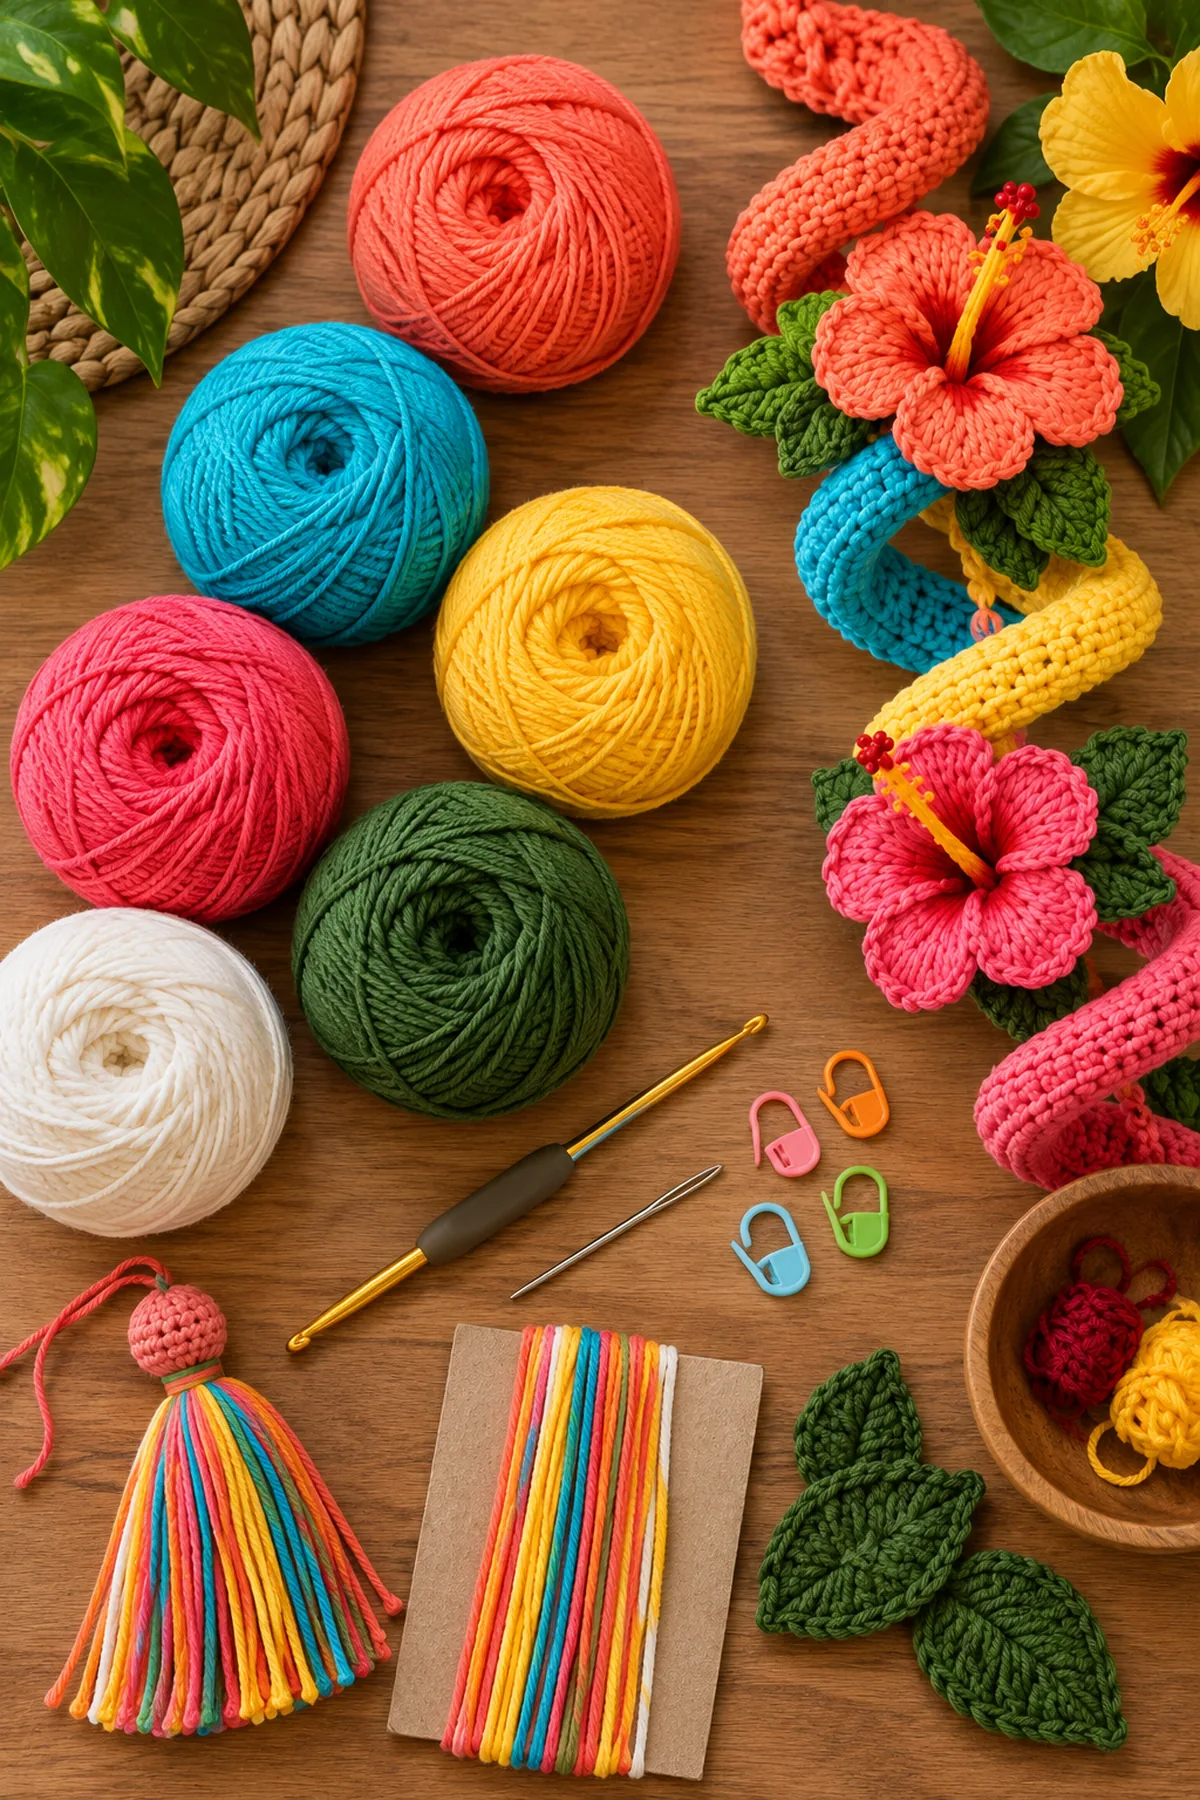
- About 55 yards coral DK cotton
- About 45 yards turquoise DK cotton
- About 45 yards golden-yellow DK cotton
- About 45 yards rose-pink DK cotton
- About 80 yards white DK cotton for the hanging cord
- About 55 yards forest-green DK cotton for leaves
- Small amounts burgundy and yellow for flower throats and stamens
- 3.5 mm hook, yarn needle, stitch markers, scissors, ruler, and cardboard for the tassel
Gauge, Measurements, and Planning
Work a short sample in double crochet before committing to all four bands. A 60-stitch foundation should be about 13 inches long before increases. The first two increase rows make the fabric curl; do not block the curl flat. Aim for approximately 28 inches from the top hanging loop to the tassel head.
Make and wash a gauge swatch before beginning. Measure only after the swatch is completely dry. If the stitch width differs, change hook size rather than pulling the working yarn tighter. Keep a written count at the end of every section so the finished edges remain balanced and the assembly points line up.
Abbreviations and Special Stitches
- ch: chain
- sc: single crochet
- hdc: half double crochet
- dc: double crochet
- sl st: slip stitch
- st(s): stitch(es)
Special stitch guidance: Spiral increase: work two stitches in each stitch across the next row without skipping any positions. Hibiscus petal: work sc, hdc, 3 dc, hdc, sc into a chain-5 arch. Stamen: chain 9, slip stitch back through six chains, and knot the remaining tip.
Before You Begin
- Use a locking marker at the first stitch of each spiral row.
- The turning chain never counts as a stitch in the stated totals.
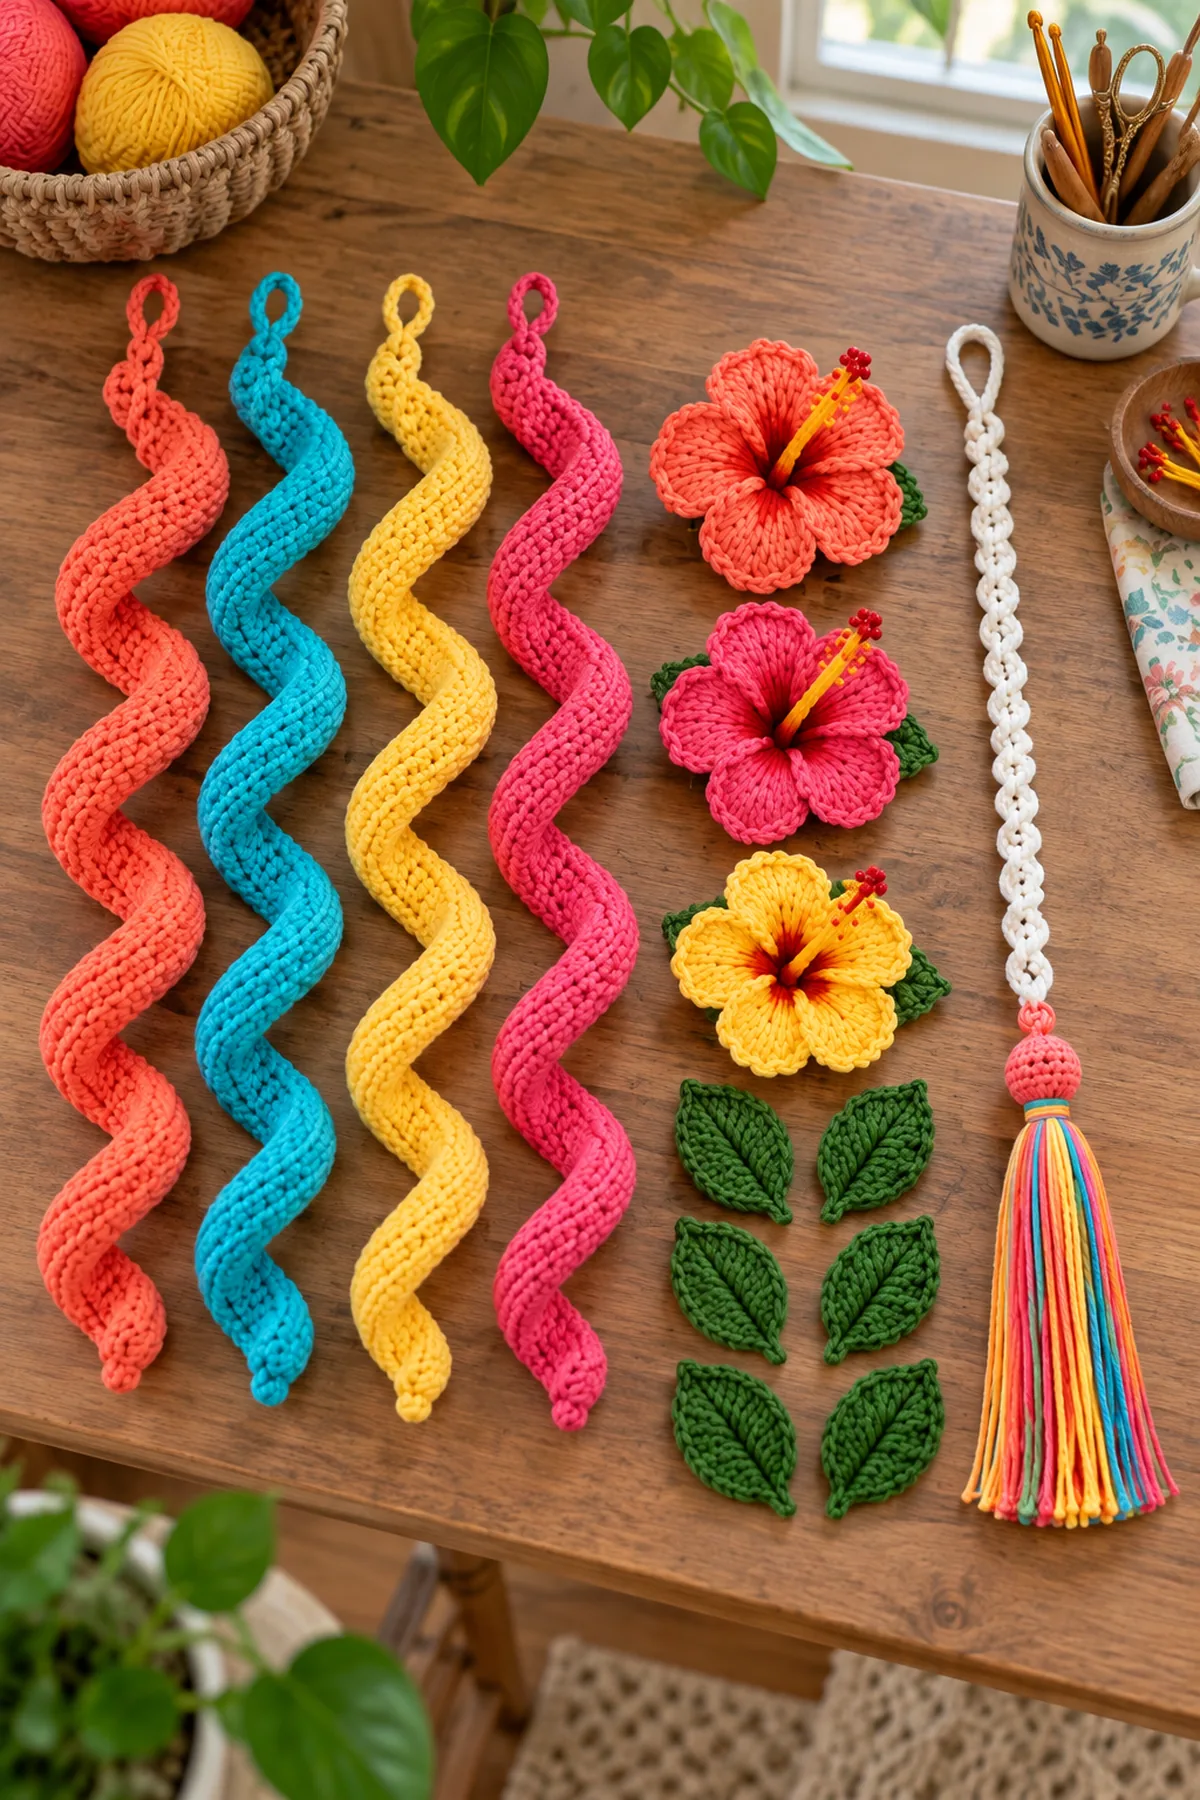
- The reference photo shows three flowers, not five: coral above, pink in the middle, yellow below.
- This decorative hanging is not a toy; keep tassel and cord away from infants and pets.
Instructions
Crochet Four Rainbow Spiral Bands
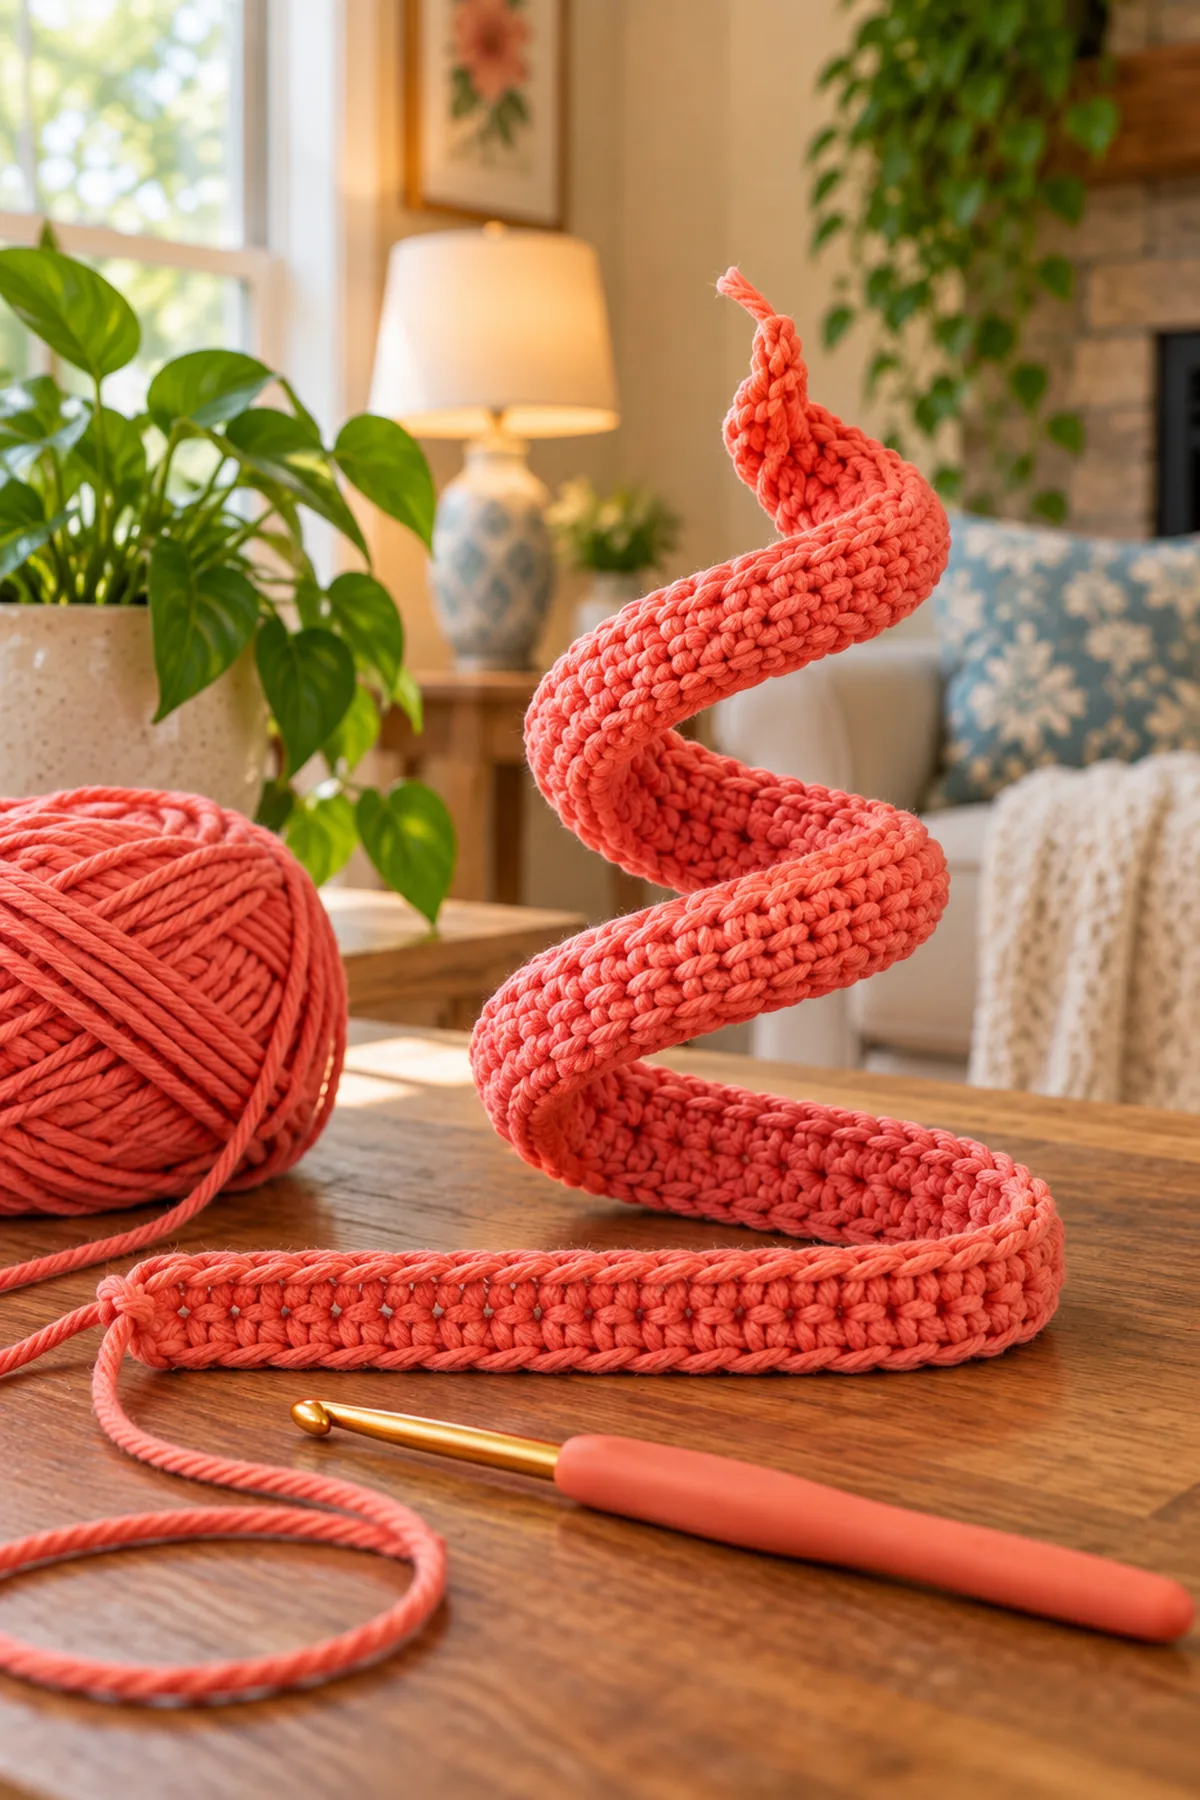
Make one coral, one turquoise, one yellow, and one pink section. Each section starts as a straight strip and turns into a visible corkscrew through measured increases.
- Foundation row, each band: Ch 61. Sc in the second chain from the hook and across; turn. (60 sts)
- Row 2: Ch 1, work 2 sc in every one of the 60 foundation stitches; turn. (120 sts)
- Row 3: Ch 2, work 2 dc in every one of the 120 stitches; do not turn again. (240 sts)
- Fasten off, leaving a 12-inch tail at each end. Let the band curl naturally; make four color-matched bands and keep the foundation-edge tails visible for assembly.
Make Three Five-Petal Hibiscus Flowers
Use coral, rose pink, and golden yellow as the three flower colors visible in the reference.
- For each bloom, make a magic ring and work 10 sc into it. Join and mark the first stitch. (10 sc)
- Work 2 sc in every stitch around and join. (20 sc) Place a marker after every fourth stitch to divide the center into five sectors.
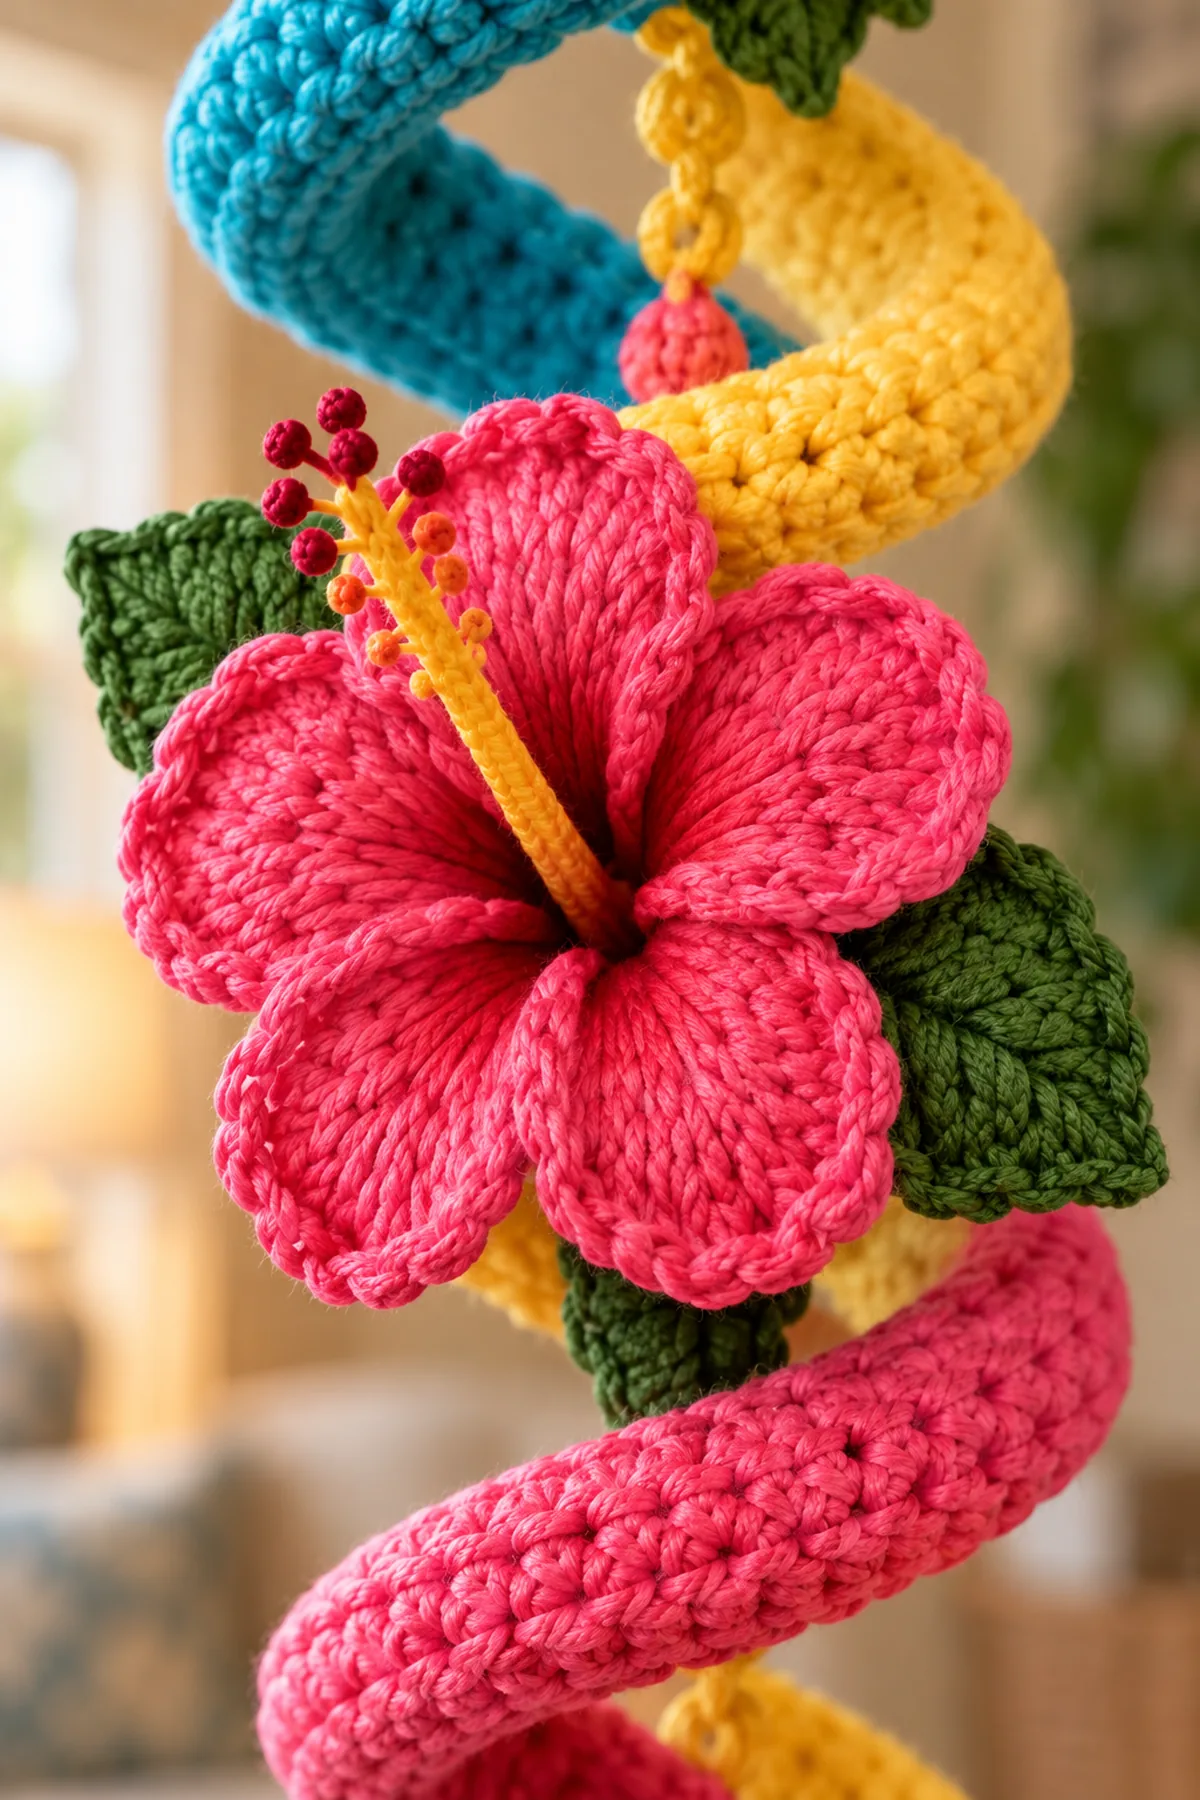
- Behind each four-stitch sector, ch 5 and slip stitch at its next boundary to make five petal arches. In each arch work sc, hdc, 3 dc, hdc, sc; join behind the first petal.
- Add a second set of five chain-7 arches behind the first layer. In each arch work sc, hdc, 5 dc, hdc, sc. Use burgundy yarn for a small center disc and attach a yellow chain-9 stamen that protrudes from the middle.
Crochet Leaves and Reinforced Center Cord
Six leaves frame the blooms, while the white cord carries the weight of the hanging.
- For each leaf, ch 13. Starting in the second chain, sl st, sc, hdc, 6 dc, hdc, sc, sl st; rotate and mirror those stitches along the other side of the chain. Make six leaves.
- With white yarn held doubled, ch 115 for the center cord. Slip stitch back through every chain to reinforce it. Fold the upper 15 stitches into a hanging loop and sew them to the cord below.
- Mark the cord at 4, 11, 18, and 24 inches below the top loop. Sew the foundation edges of the four colored spiral sections to these marks, allowing the curls to wrap loosely around the cord.
- Sew the coral, pink, and yellow flowers at about 8, 16, and 23 inches. Put two green leaves behind each bloom, with the stamen facing outward.
Add the Rainbow Tassel
The tassel should hang below the final flower, not hide it.
- Wrap strands of coral, turquoise, yellow, pink, and white yarn around a 5-inch piece of cardboard 15 times per color. Slide a separate 18-inch strand through the top folds and knot tightly.
- Cut the lower folds, tie another strand around the bundle about half an inch below the head, and trim the ends evenly.
- Sew the tassel head to the lower end of the reinforced cord with six passes of doubled yarn. Tug-test the loop, all three flowers, and the tassel before hanging.
Assembly and Shaping
Lay the central cord straight on a table. Arrange the coral section high, the turquoise and yellow sections through the middle, and the pink section low, overlapping gently rather than forcing one continuous solid tube. Place the three hibiscus flowers on the outward-facing side, with two leaves behind each. Check that the bottom flower remains clear of the tassel. Sew through the bands’ foundation edges and the reinforced cord, never through a loose curl alone.
Lay every component on a flat surface before joining. Match the marked centers first, then divide each remaining edge into equal sections. Work through both layers with consistent tension and pause after each section to check that the fabric lies flat. This measured approach prevents twisting and keeps decorative details facing the intended direction.
Finishing
- Weave tails through the back of each band without flattening its curl.
- Secure flower and leaf tails in their own color before trimming.
- Steam lightly from a distance only if a petal needs shaping; do not press the spiral flat.
- Hang from a secure hook and check that the cord, flower joins, and tassel head carry the weight evenly.
For a polished result, weave each tail through several same-color stitches, reverse direction once, and trim only after the fabric has been gently stretched. Block to the listed dimensions without flattening textured stitches. Inspect joins, borders, straps, and decorative pieces before the project is used or gifted.
Helpful Tips
- Use smooth cotton so the petal stitches and leaf veins show clearly.
- If a band coils too tightly, use a larger hook for its final double-crochet row.
- Keep the flowers in the coral–pink–yellow sequence of the photo.
- Do not let the tassel become longer than the lower flower cluster.
Good lighting and a contrasting stitch marker make counting much easier. If a section looks uneven, compare the current count with the previous checkpoint before continuing. Fixing one missed stitch early is faster than compensating later, and it preserves the measurements used by the assembly instructions.
Frequently Asked Questions
Can I shorten the hanging?
Yes. Omit one spiral band and move the cord marks closer together, but retain all three visible flowers if you want the reference composition.
Why is my spiral flat?
Check that Row 2 doubles every foundation stitch and Row 3 doubles every Row 2 stitch. Those 60-to-120-to-240 increases form the corkscrew.
Is it safe for a nursery?
Use it only as out-of-reach wall decor. Long cords and tassels are not suitable for a crib or any place an infant can reach.
Conclusion
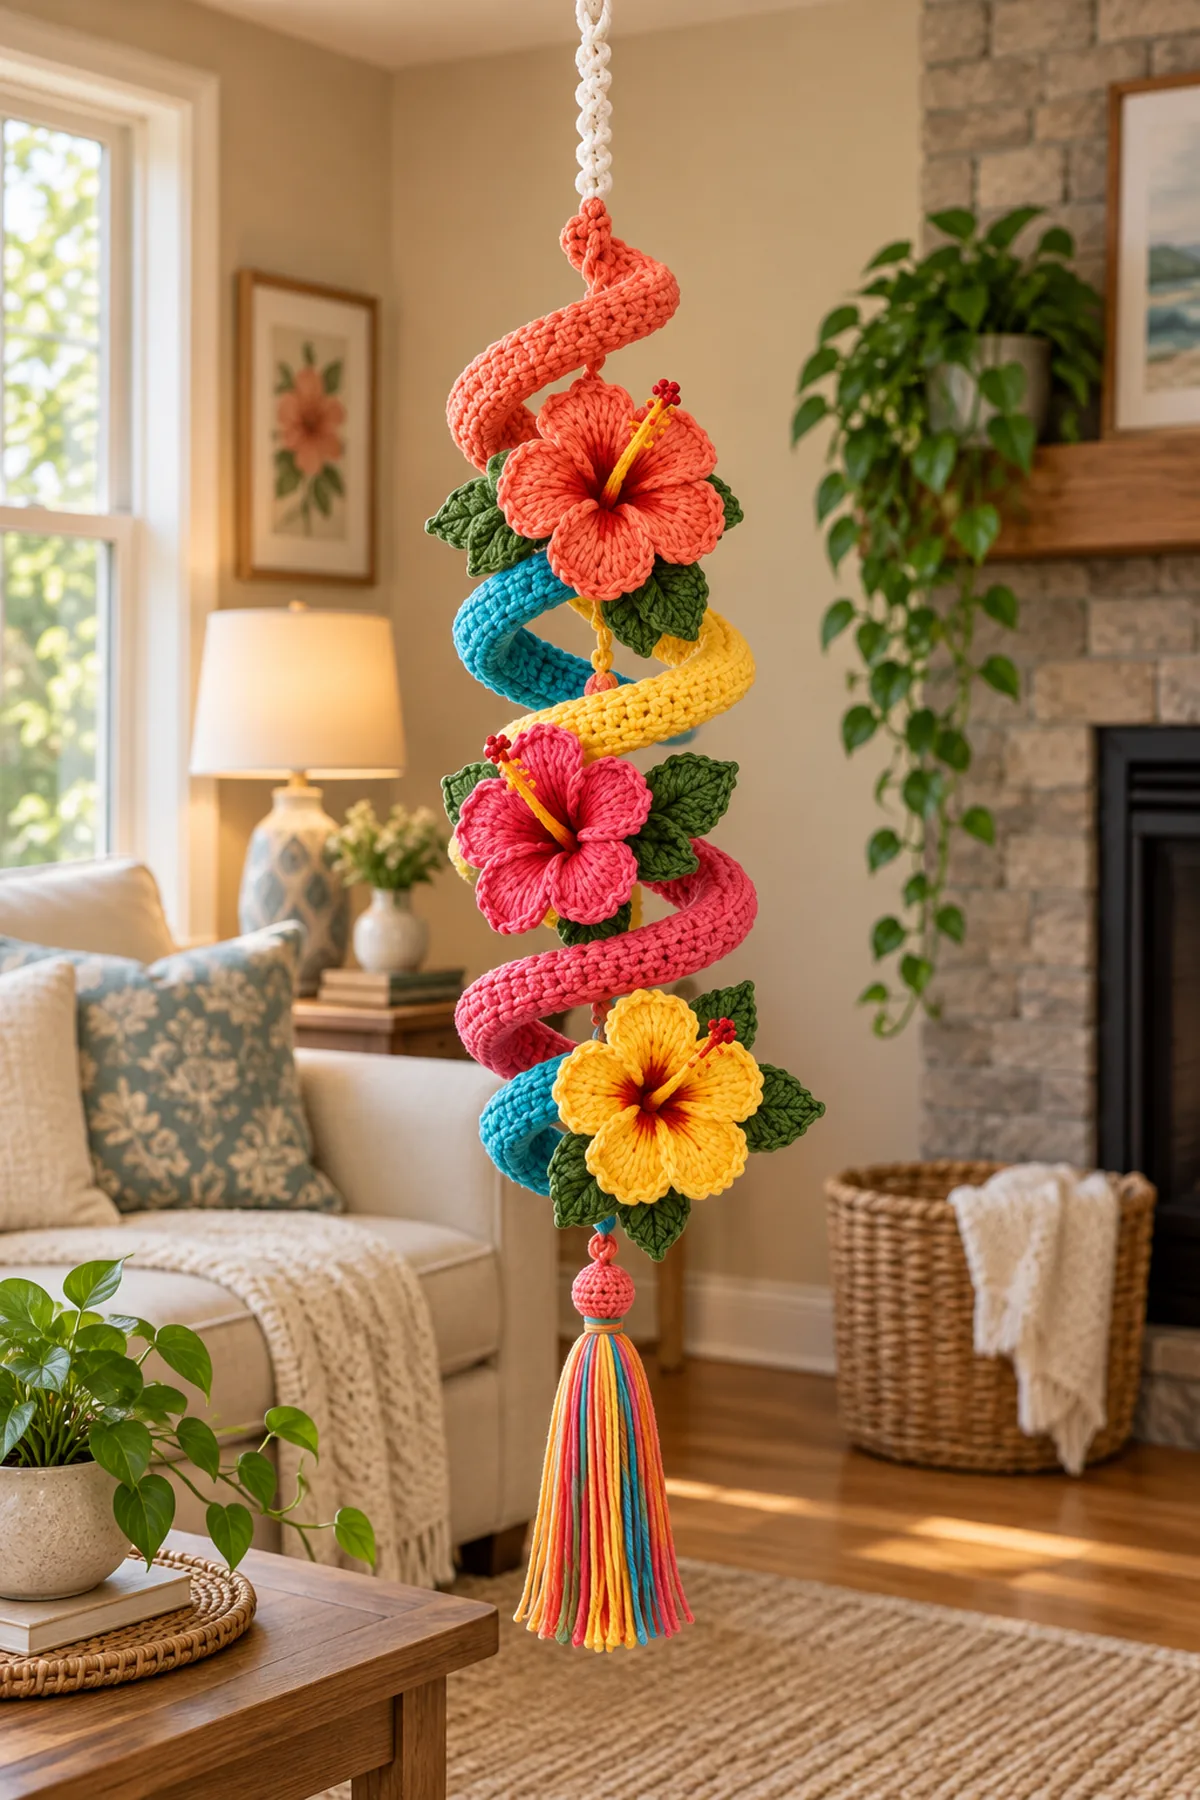
The finished rainbow hibiscus crochet spiral hanging has four airy colored curls, three prominent five-petal blooms, leafy green accents, and a bright tassel beneath a secure white loop. Keep the helix open so the construction looks like the supplied vertical reference rather than a flat floral chain.
Printable Crochet Pattern Card
Project: Rainbow Hibiscus Crochet Spiral Hanging
Skill level: Intermediate Hook: 3.5 mm Yarn: DK
Finished size: Approximately 28 inches long, excluding the 5-inch tassel
Card Materials
- About 55 yards coral DK cotton
- About 45 yards turquoise DK cotton
- About 45 yards golden-yellow DK cotton
- About 45 yards rose-pink DK cotton
- About 80 yards white DK cotton for the hanging cord
- About 55 yards forest-green DK cotton for leaves
- Small amounts burgundy and yellow for flower throats and stamens
- 3.5 mm hook, yarn needle, stitch markers, scissors, ruler, and cardboard for the tassel
Card Instructions
- Crochet Four Rainbow Spiral Bands: Make four 60-stitch strips and increase each to 120 sc, then 240 dc so the bands curl.
- Make Three Five-Petal Hibiscus Flowers: Crochet three ten-stitch centers, five front petals, five back petals, and a visible stamen.
- Crochet Leaves and Reinforced Center Cord: Make six leaves, reinforce a doubled white cord, position four spirals, and attach three flowers.
- Add the Rainbow Tassel: Wrap five colors into a 5-inch tassel and stitch it securely beneath the spiral.
Finish: Check every count, weave in all ends, block to measurement, and inspect each join.