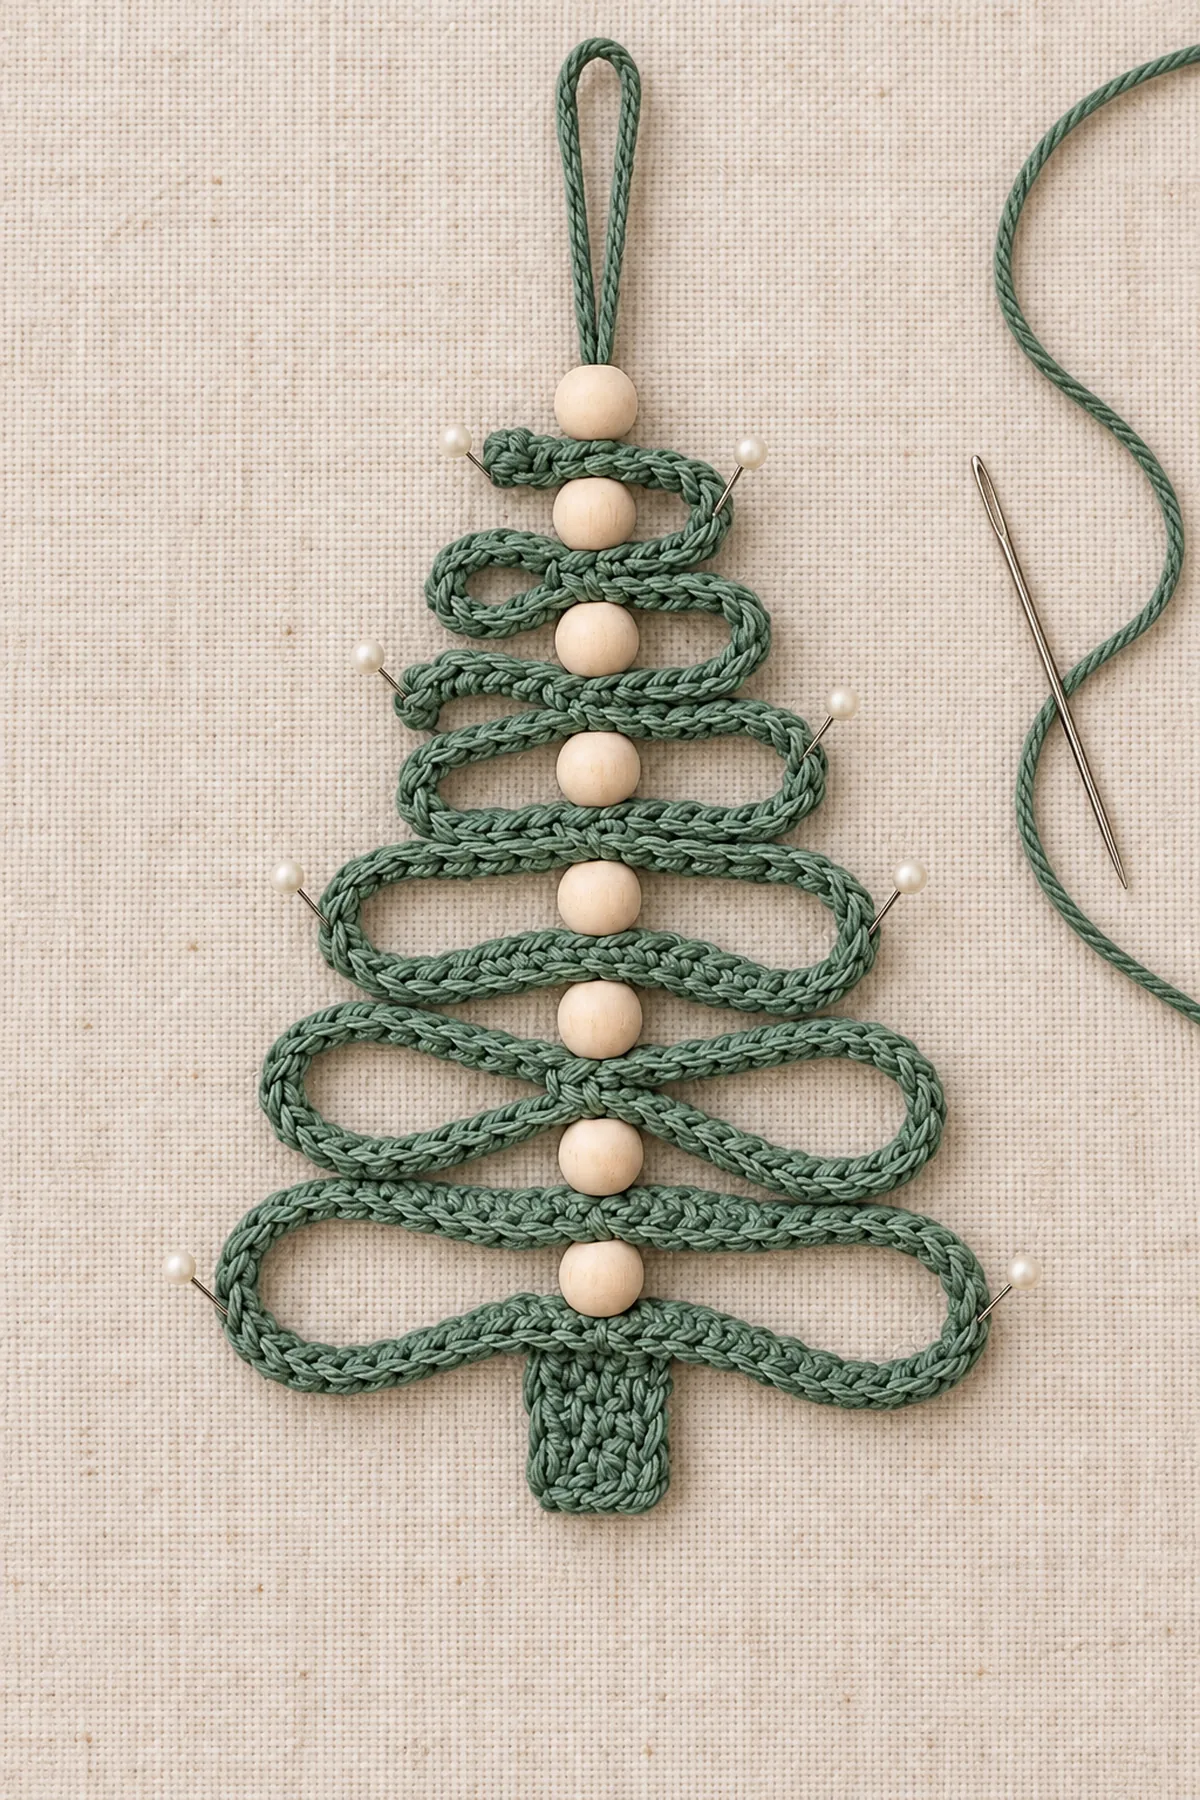
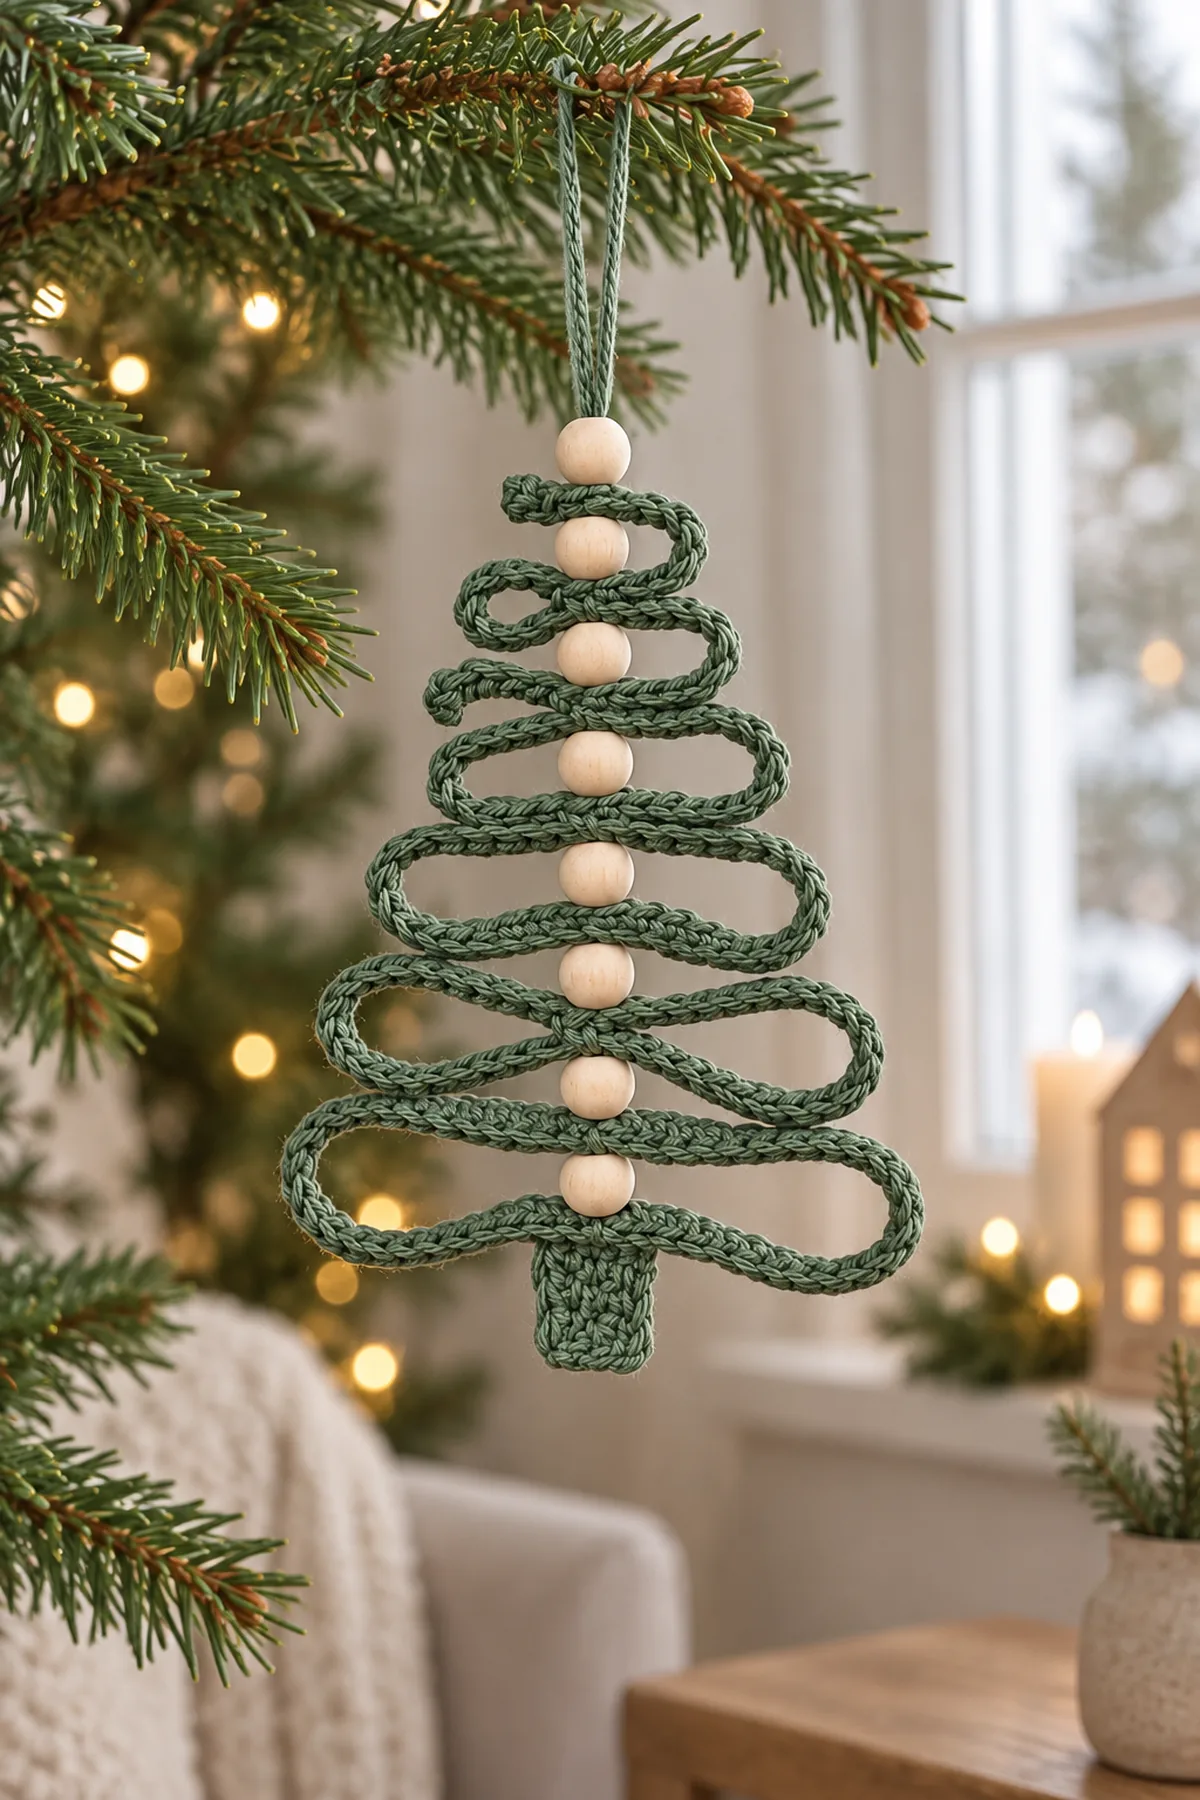
The Minimalist Beaded Spiral Christmas Tree Ornament combines a narrow sage-green crochet ribbon with a vertical line of pale wooden beads. Its open folds gradually widen toward the base, where a small matching crochet trunk completes the silhouette. The supplied photograph is the visual reference throughout: soft green yarn, eight wooden beads, generous open spaces, and a plain green hanging loop keep the decoration quiet and simple.
Thank you for reading this post, don't forget to subscribe!Pattern note: This is a photo-based reconstruction, not the original maker's verified stitch pattern. The written instructions have not been physically test-crocheted. They preserve the visible design while giving a measured ribbon-and-bead construction to sample before making a batch. Finished dimensions and yarn usage are estimates; the photo cannot establish the original gauge or concealed joining method. Generated images illustrate the intended appearance, rather than documenting a tested sample.
Pattern Details
- Hook Size: 3.0 mm, adjusted to obtain a firm flexible ribbon
- Finished Size: Estimated 22 cm / 8.7 inches tall and 15 cm / 6 inches wide, excluding a 7 cm / 2.75 inch hanging loop
- Gauge: Target 22 sc and 26 rows per 10 cm / 4 inches; assembly measurements take priority
- Terminology: US
- Estimated Time: 2–3 hours plus drying and shaping time
- Construction: One two-row narrow sage ribbon, seven alternating graduated folds, eight wooden beads on a central cord, and one small flat trunk
- Pattern Status: Photo-based reconstruction; not physically test-crocheted
Why You Will Love This Project
Only one yarn color is needed, and the longest crochet section consists of two straightforward rows. The interest comes from shaping: gradually longer ribbon sections form the open tree outline while the wooden beads establish a central rhythm. Working the strip flat first makes it easy to check stitch counts, width, and flexibility before the ornament is assembled. Small adjustments at the thread crossings change the silhouette without adding decorative parts.
Materials
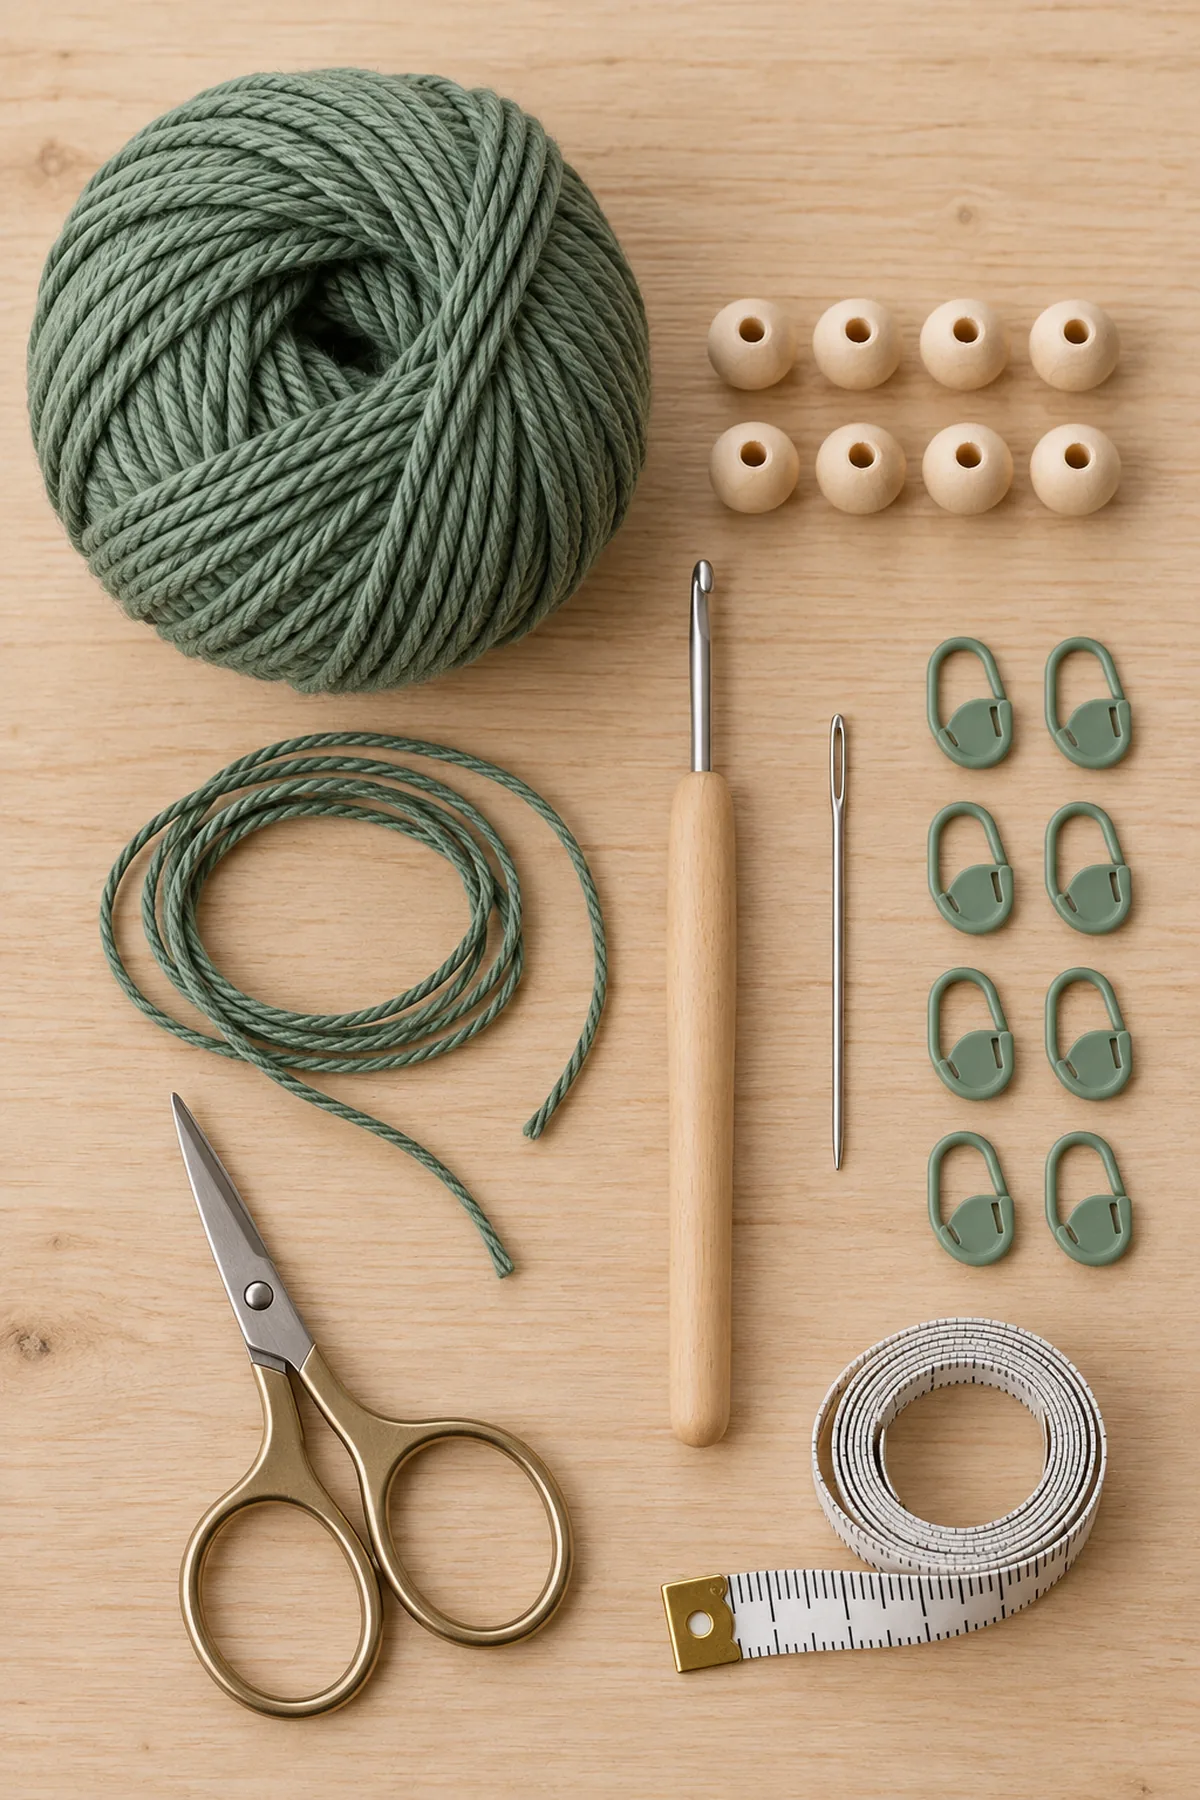
- Approximately 20–30 m / 22–33 yd of muted sage-green DK cotton yarn; reserve extra for a swatch
- 3.0 mm crochet hook, or the size that produces a flexible ribbon about 8–10 mm wide
- Exactly eight smooth unfinished natural-wood round beads, approximately 16 mm across, with holes wide enough for the doubled hanging cord
- One 90 cm / 35 inch length of strong thin sage-green cord, approximately 1 mm thick, and matching sewing thread for securing crossings
- Blunt yarn needle and a fine threading needle that fits through the bead holes
- Scissors, tape measure, eight locking markers, a blocking surface, and rustproof pins
Gauge and Planning
Make a small sc swatch using the same yarn and hook, dampen it, and let it dry before measuring. At 22 sc per 10 cm, 160 stitches give a strip about 72.7 cm long. Two rows at 26 rows per 10 cm produce a ribbon about 8 mm wide. Aim for 73 cm total length so the seven fold sections use 70 cm and short ends remain for securing. If your swatch differs, calculate the foundation stitch count as 73 multiplied by your stitches per centimetre, rounded to a whole stitch; chain one more than that count. Record the replacement count and use it unchanged in both rows. Do not stretch a short strip into shape: that distorts the lower folds and pulls the central beads off line.
Abbreviations and Stitch Notes
- ch: chain
- sc: single crochet
- st(s): stitch(es)
- rep: repeat
US stitch terms follow the Craft Yarn Council abbreviation guide.
No special crochet stitch is required. Work each sc through both top loops. The ch-1 turning chain never counts as a stitch. A center crossing is a marked point on the ribbon threaded onto the support cord; it is an assembly position, not an increase or a crochet join. Place a marker through a stitch gap rather than splitting the yarn.
Before You Begin
- Use one sage-green ribbon, exactly eight natural wooden beads, one small sage trunk, and one green hanging loop.
- The seven graduated folds are shaped during assembly; the crochet rows themselves have no increases.
- Keep the ribbon narrow so wood and background remain visible through the open folds.
- All rows are worked flat. Turn after Row 1; do not join the ribbon into a ring.
- Measurements are reconstruction targets, not measurements recovered from the original photo.
- This beaded hanging decoration is not a toy; keep it away from small children and pets.
Instructions
1. Crochet the Narrow Sage Ribbon
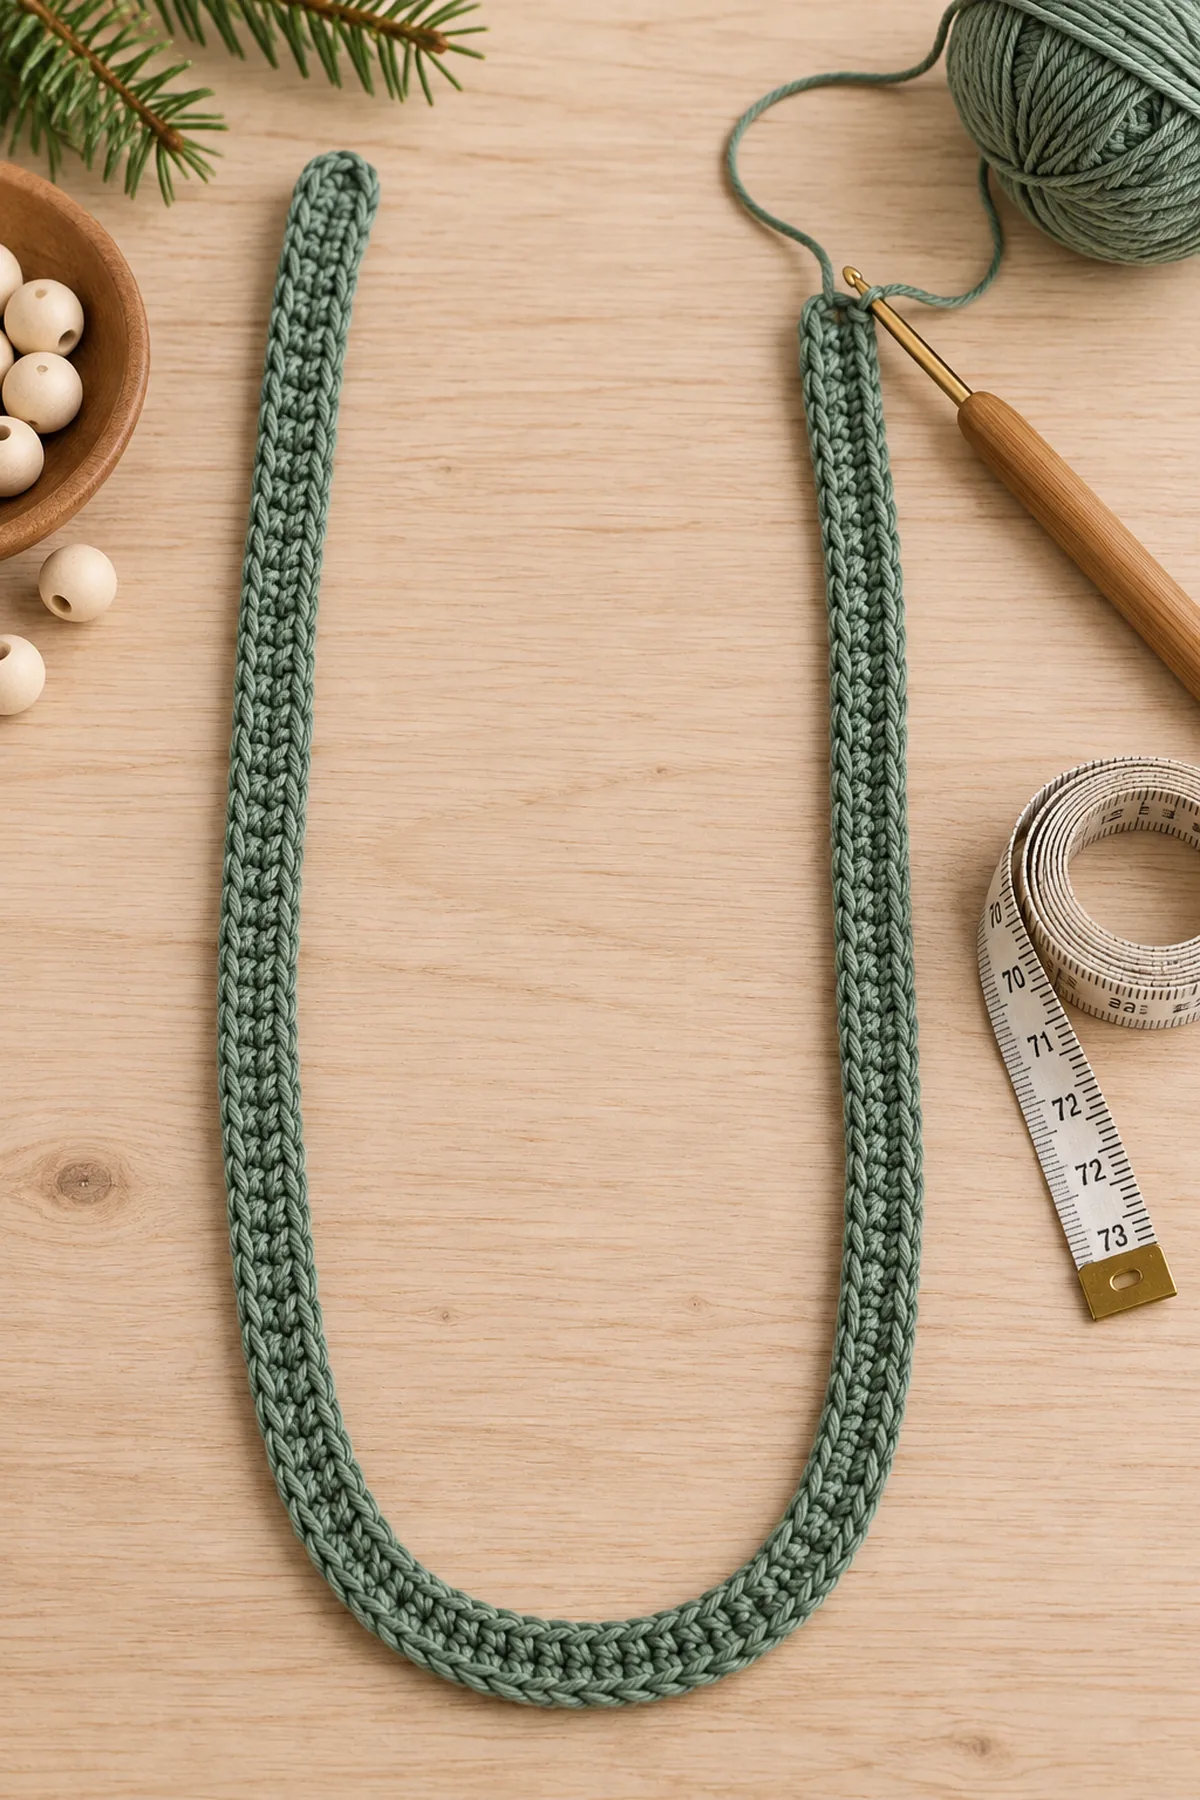
The reference has a light, narrow band. Keep the two rows even and flexible, with the top and bottom edges the same length.
- Leave a 15 cm sewing tail and ch 161 loosely with sage yarn. Keep the chain untwisted and place a removable marker every 20 chains to make counting manageable.
- Row 1: Starting in the second chain from the hook, work one sc in each remaining chain. There are 160 working stitches. Mark the first and last sc. (160 sts)
- Row 2: Ch 1 and turn. Sc in the first marked stitch and in every stitch across, including the final marked stitch. The turning chain is not counted. (160 sts)
- Fasten off with a 15 cm tail. Count both rows, then dampen and lay the ribbon straight without stretching. Let it dry completely before measuring.
- The sample target is approximately 73 cm long and 8–10 mm wide. If the finished strip misses that length substantially, use the swatch calculation above and remake it with the corrected foundation count before attaching beads.
2. Mark the Seven Graduated Folds
Eight center crossings divide the strip into seven sections. Increasing section lengths create the wider lower branches without changing the stitch count.
- Lay the dry strip straight. Measure from its narrow top-designated end and place eight markers at 1.5, 5.5, 11.5, 19.5, 29.5, 41.5, 55.5, and 71.5 cm. Call them A through H in order. The intervals are 4, 6, 8, 10, 12, 14, and 16 cm, totalling 70 cm.
- On a blocking surface draw a vertical centerline. Position A at the top. Bring B back to that line beneath A, letting the short A–B section curve to the right. Leave enough vertical space for one 16 mm bead between the two ribbon crossings.
- Bring C beneath B while letting B–C curve left. Continue alternating sides: C–D right, D–E left, E–F right, F–G left, and G–H right. Keep every marker on the centerline. This makes seven open folds.
- Place one bead temporarily in each of the seven gaps A–B through G–H, and the eighth bead above A. Check the taper, the open spaces, and the small loose tail below H against the reference photo.
- If a crossing sits too high, slide its marker along the strip a few millimetres and redistribute that length between the neighbouring folds. Preserve the total seven-fold structure. Photograph the pinned layout before removing anything.
3. Make the Trunk and Thread the Beads
The support cord passes through the ribbon’s stitch gaps. It holds the bead column and carries the ornament’s weight.
- Trunk Row 1: With sage, ch 5 and sc in the second chain and next three chains. (4 sts) Rows 2–6: Ch 1, turn, and sc in all four stitches. Fasten off with a 20 cm sewing tail. The target rectangle is about 1.8 cm wide and 2.3 cm tall.
- Fold the 90 cm support cord in half. Pass the folded loop through the top-centre stitch gap of the trunk and pass both loose ends through that loop. Tighten gently to anchor the cord at the trunk; both free ends now point upward.
- Thread both cord ends through the stitch gap marked H. Slide the bottommost bead onto both strands, then pass both ends through G. Continue bead, F; bead, E; bead, D; bead, C; bead, B; bead, A. Seven beads now separate the eight crossings.
- Add the eighth bead above A. Keep all bead holes aligned with the vertical cord. Use the needle only through existing stitch gaps, and never force a thick cord through a small bead hole.
- Ease each fold into its pinned shape and sew the trunk's upper edge to the back of the bottom crossing H with four small stitches. Hide the short lower ribbon tail behind this seam. Leave the trunk centred and fully visible below the ribbon.
4. Secure the Crossings and Hanging Loop
Use the first hanging check to settle the folds before permanently securing the upper knot.
- Pull the two cord ends evenly above the top bead until the beads touch the ribbon lightly. Do not compress the column: the seven openings must remain visible.
- Tie a temporary overhand knot just above the top bead and hang the ornament. Check that the small fold is at the top, the broadest folds sit at the base, and the trunk hangs below the centre.
- With matching thread, make two small anchoring stitches through each marked crossing and around the central cord. Knot each anchor on the back. Avoid sewing the outer curves together.
- Retie and secure the knot above the top bead once the column hangs straight. Join the two cord ends with a secure knot approximately 7 cm above that bead to form one hanging loop; trim excess cord after testing the knot.
- Weave the upper ribbon tail into adjacent sage stitches. Remove the eight markers, count all eight beads, and gently pull-test the trunk seam, centre anchors, and hanger. Hang for several hours and adjust any fold that turns edge-on.
Assembly and Shaping
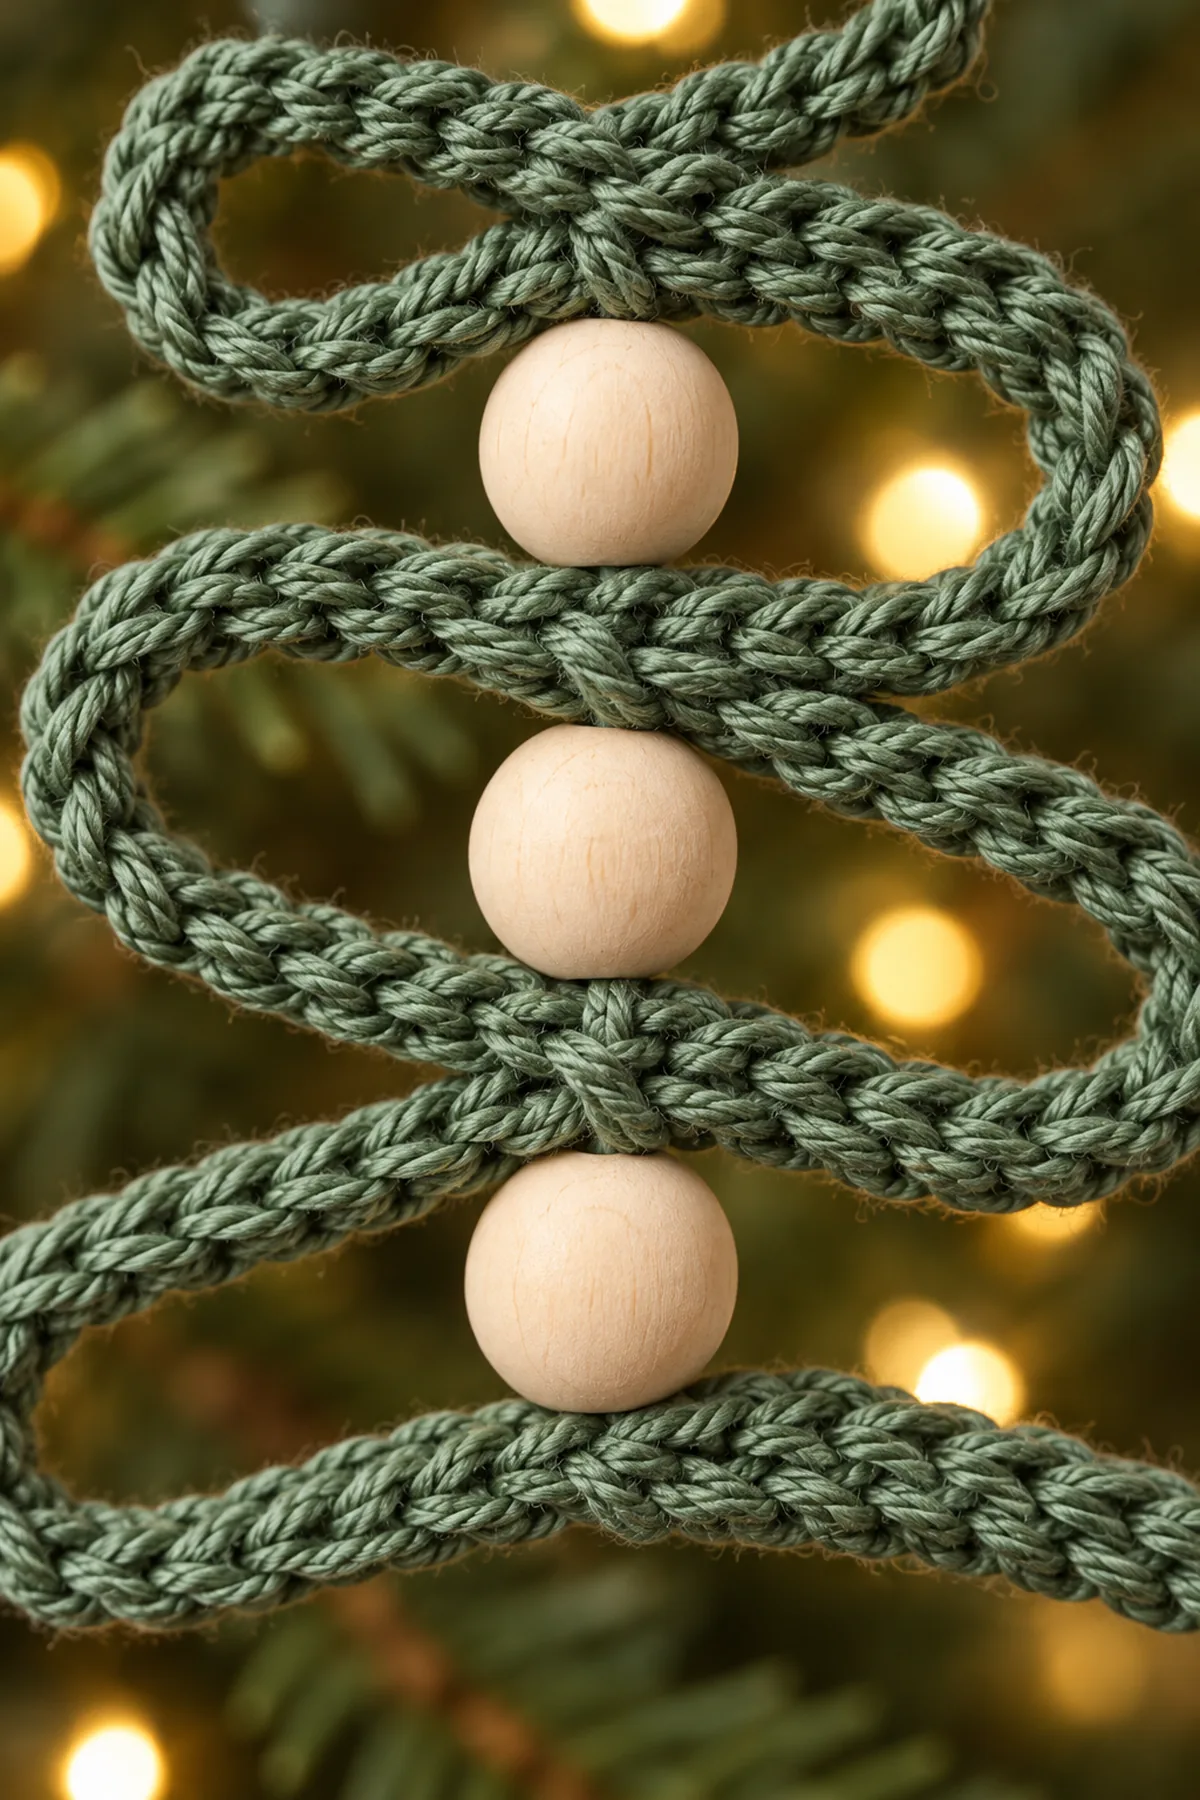
The central sequence from top to bottom is hanging loop, top wooden bead, crossing A, bead, B, bead, C, bead, D, bead, E, bead, F, bead, G, bead, H, and the small crochet trunk. The same continuous ribbon travels around all seven sideways curves. Lay the assembled tree against the photograph to compare its taper before tightening the final knots. Because the original joining method is hidden, the support-cord method here is an explicit reconstruction choice.
Finishing and Care
- Keep the bead column straight while gently opening the seven ribbon folds with your fingers.
- Hide ribbon and trunk tails in sage stitches, reverse the needle direction once, and trim after the seam has been gently tested.
- Check that the bead above A remains distinct from the hanging loop and that all remaining beads sit between crossings.
- Spot-clean the yarn with a barely damp cloth and let the ornament dry flat; avoid soaking unfinished wooden beads.
- Store flat in a shallow box with tissue around the curved edges so the narrow ribbon keeps its outline.
Helpful Tips
- Thread a spare piece of doubled cord through every bead before assembly; hole sizes may vary even within one packet.
- Keep both ribbon rows at the same tension. A tighter second row bends the strip before the planned folds are formed.
- If a fold twists, flatten it at its centre anchor and retack that point rather than pulling the whole support cord tighter.
- A longer lower fold increases the reach on that side. Borrow only a few millimetres from the adjacent section and compare the two sides again.
- Make and hang one complete sample before preparing multiple strips for gifts; the reconstructed measurements may need adjustment for your yarn.
Frequently Asked Questions
Is this the exact original pattern from the photo?
No original written pattern was provided. This free tutorial is an untested reconstruction of the visible design. Its gauge, stitch counts, cord method, and measurements are proposed instructions, not verified details from the original maker.
How many wooden beads are used?
Eight: one above crossing A and seven between the eight ribbon crossings. Keep them in one straight column rather than scattering beads around the green folds.
Does the strip curl on its own?
No. Two equal single-crochet rows make a narrow ribbon. Seven progressively longer sections are folded during assembly and secured on the central cord.
Can the ornament be made larger?
First sample this size. For a proportionally larger version, increase all seven marked intervals by the same factor and use proportionally larger beads. Recalculate the ribbon length from those intervals plus the two end allowances; keep the eight-bead count.
Why are the beads hidden by the ribbon?
The ribbon may be too wide or the cord too tight. Aim for the stated 8–10 mm band, then loosen the central knot until each wooden bead is clearly visible between neighbouring crossings.
Conclusion
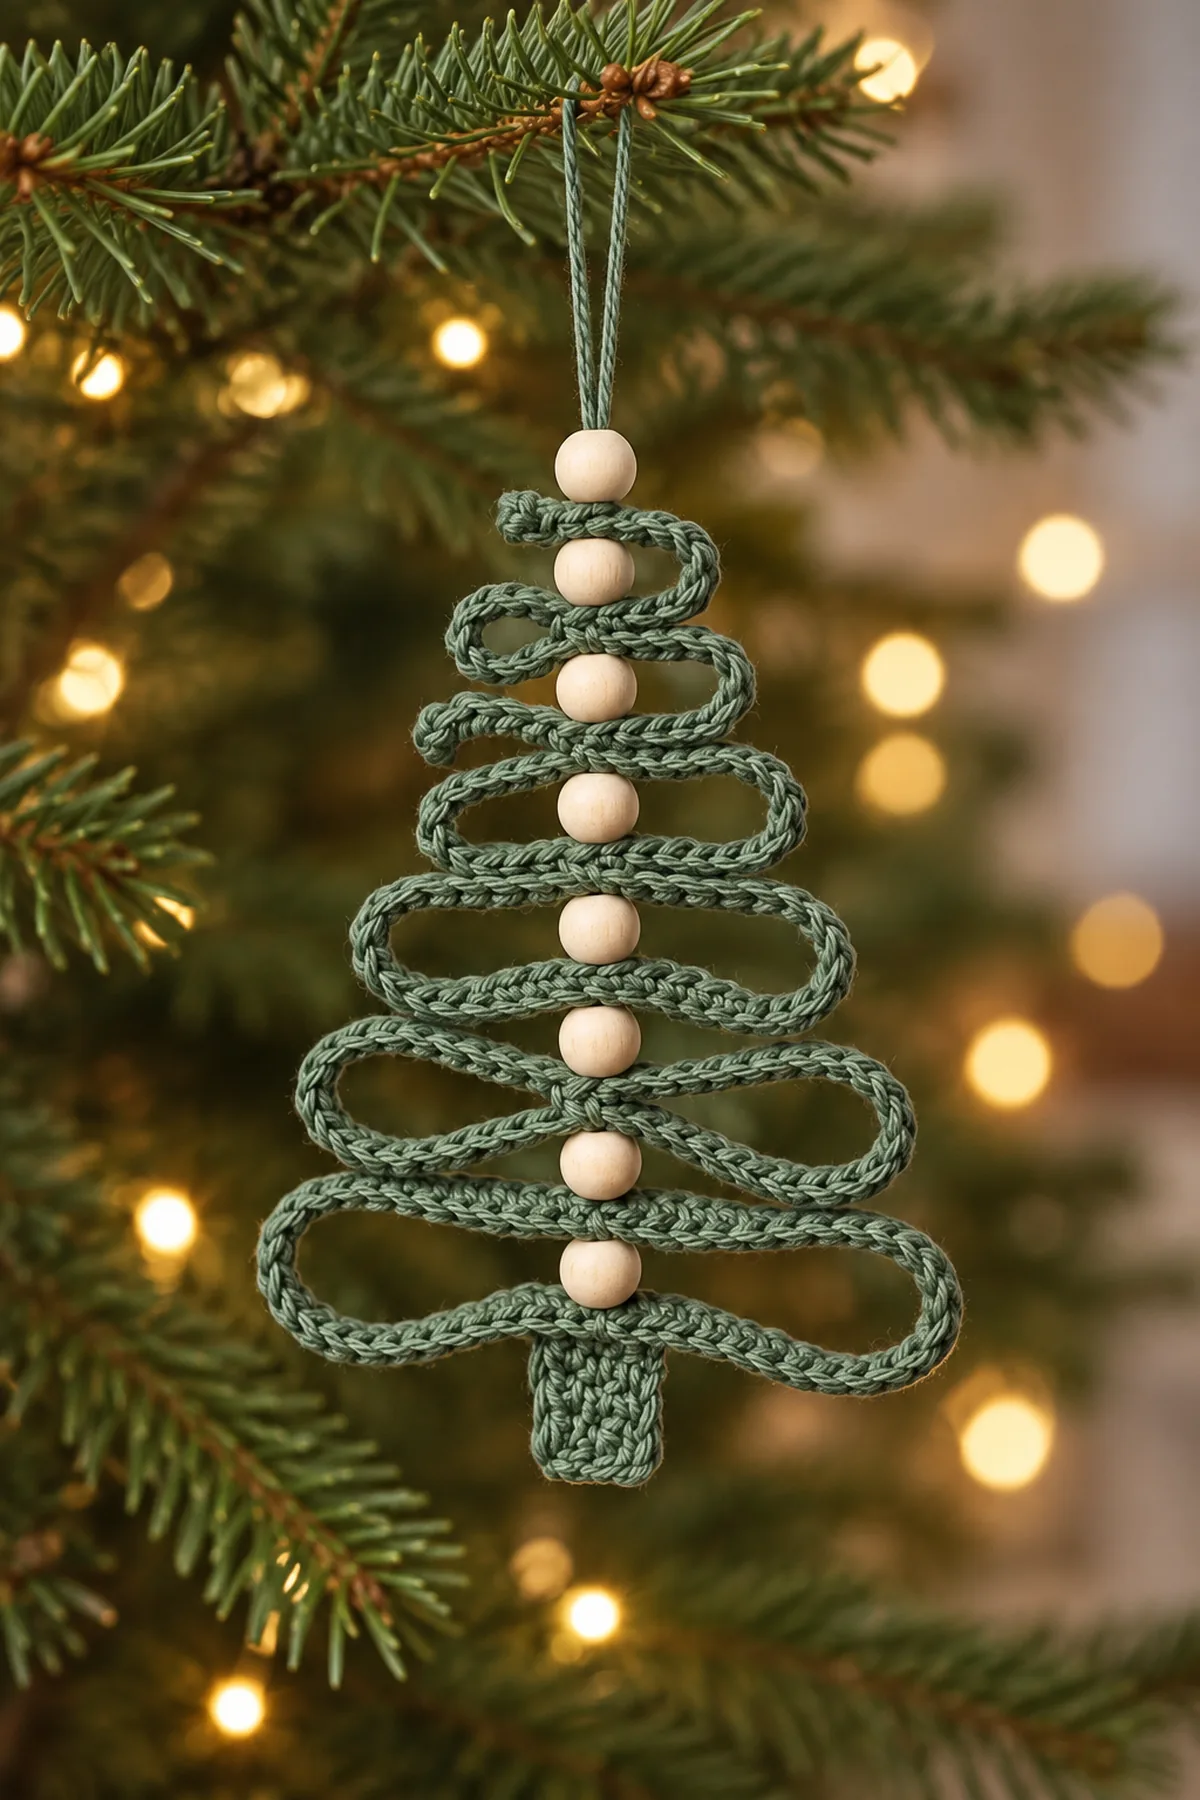
A narrow sage ribbon, eight pale wooden beads, a matching trunk, and one hanging loop create the restrained outline of this Minimalist Beaded Spiral Christmas Tree Ornament. Use the measured folds as a starting point, compare your sample with the supplied reference, and settle the shape before securing the final anchors.
Printable Crochet Pattern Card
Project: Minimalist Beaded Spiral Christmas Tree Ornament
Status: Photo-based reconstruction; not physically test-crocheted. Refer to the full instructions for shaping and gauge adjustments.
Hook: 3.0 mm. Yarn: Sage DK cotton. Size: About 22 by 15 cm, excluding loop.
Card Materials
- Approximately 20–30 m / 22–33 yd of muted sage-green DK cotton yarn; reserve extra for a swatch
- 3.0 mm crochet hook, or the size that produces a flexible ribbon about 8–10 mm wide
- Exactly eight smooth unfinished natural-wood round beads, approximately 16 mm across, with holes wide enough for the doubled hanging cord
- One 90 cm / 35 inch length of strong thin sage-green cord, approximately 1 mm thick, and matching sewing thread for securing crossings
- Blunt yarn needle and a fine threading needle that fits through the bead holes
- Scissors, tape measure, eight locking markers, a blocking surface, and rustproof pins
Card Instructions
- Ch 161; Row 1: sc from second ch across, 160 sts. Row 2: ch 1, turn, sc 160. Fasten off and block to about 73 cm long and 8–10 mm wide.
- Mark A–H at 1.5, 5.5, 11.5, 19.5, 29.5, 41.5, 55.5, 71.5 cm. Pin seven alternating open folds and place eight beads along the central line.
- Make a 4-sc by 6-row flat trunk. Anchor doubled cord to it, thread H, then alternate seven beads with G through A; add bead eight above A. Sew trunk behind H.
- Keep bead spacing open, tack all eight crossings to the support cord, secure the top bead, and tie a 7 cm hanging loop. Check all joins before display.
Final check: Seven open folds, eight wooden beads, one trunk, and one green loop. Check every attachment before hanging.