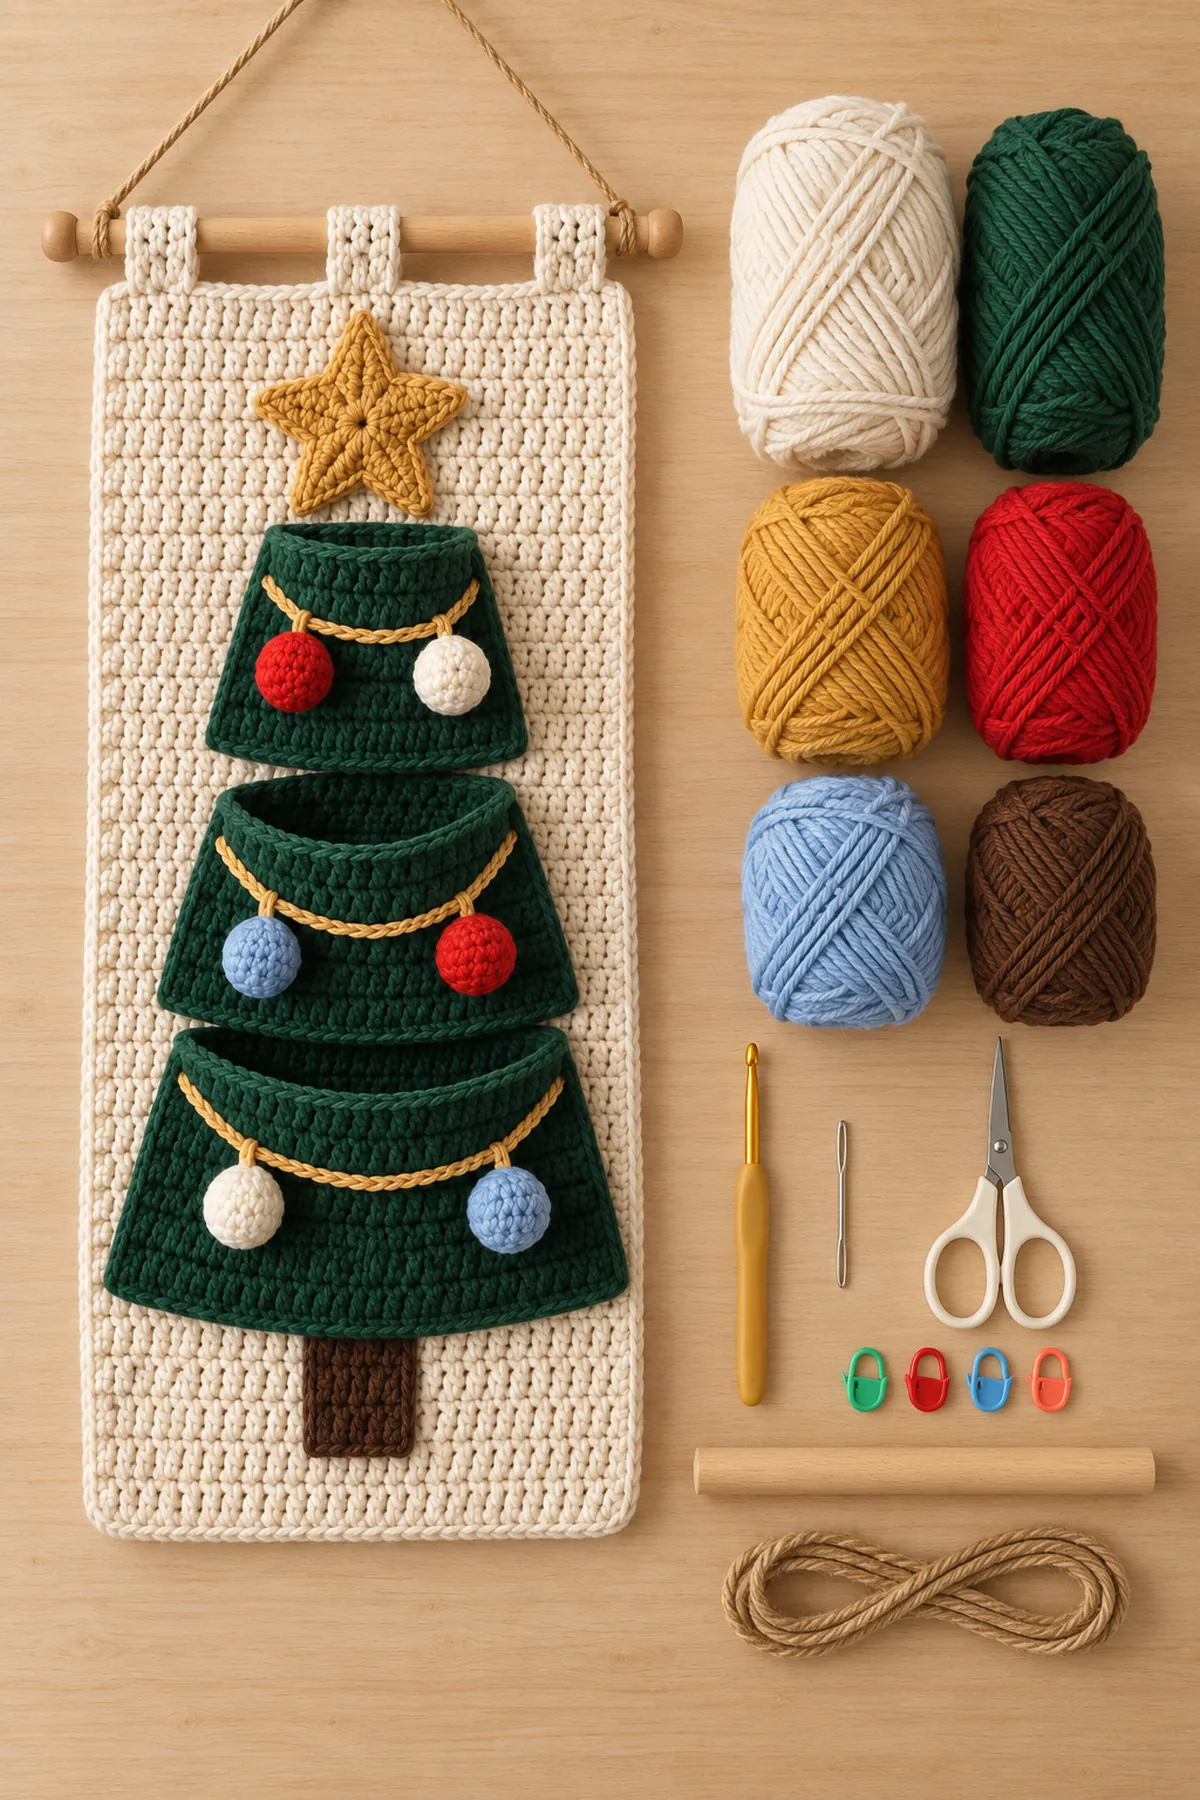
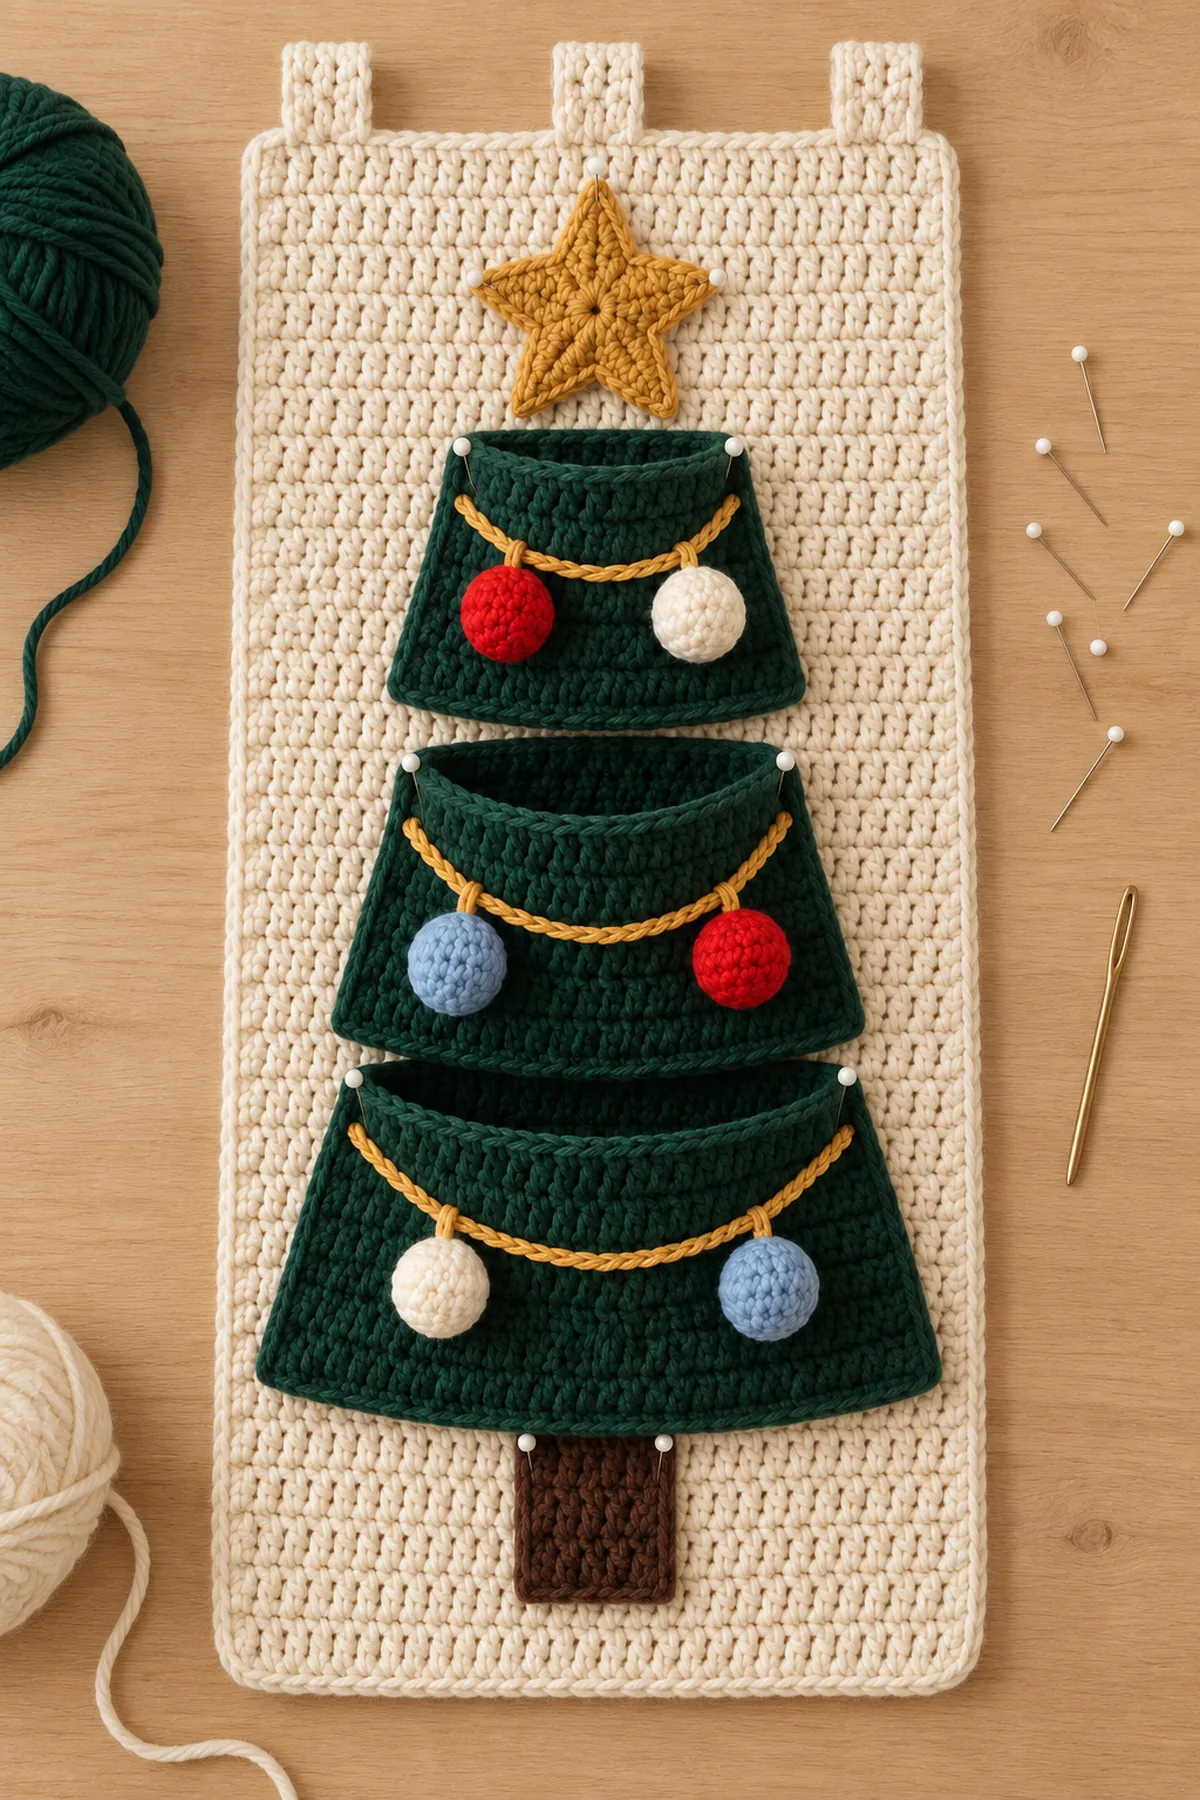
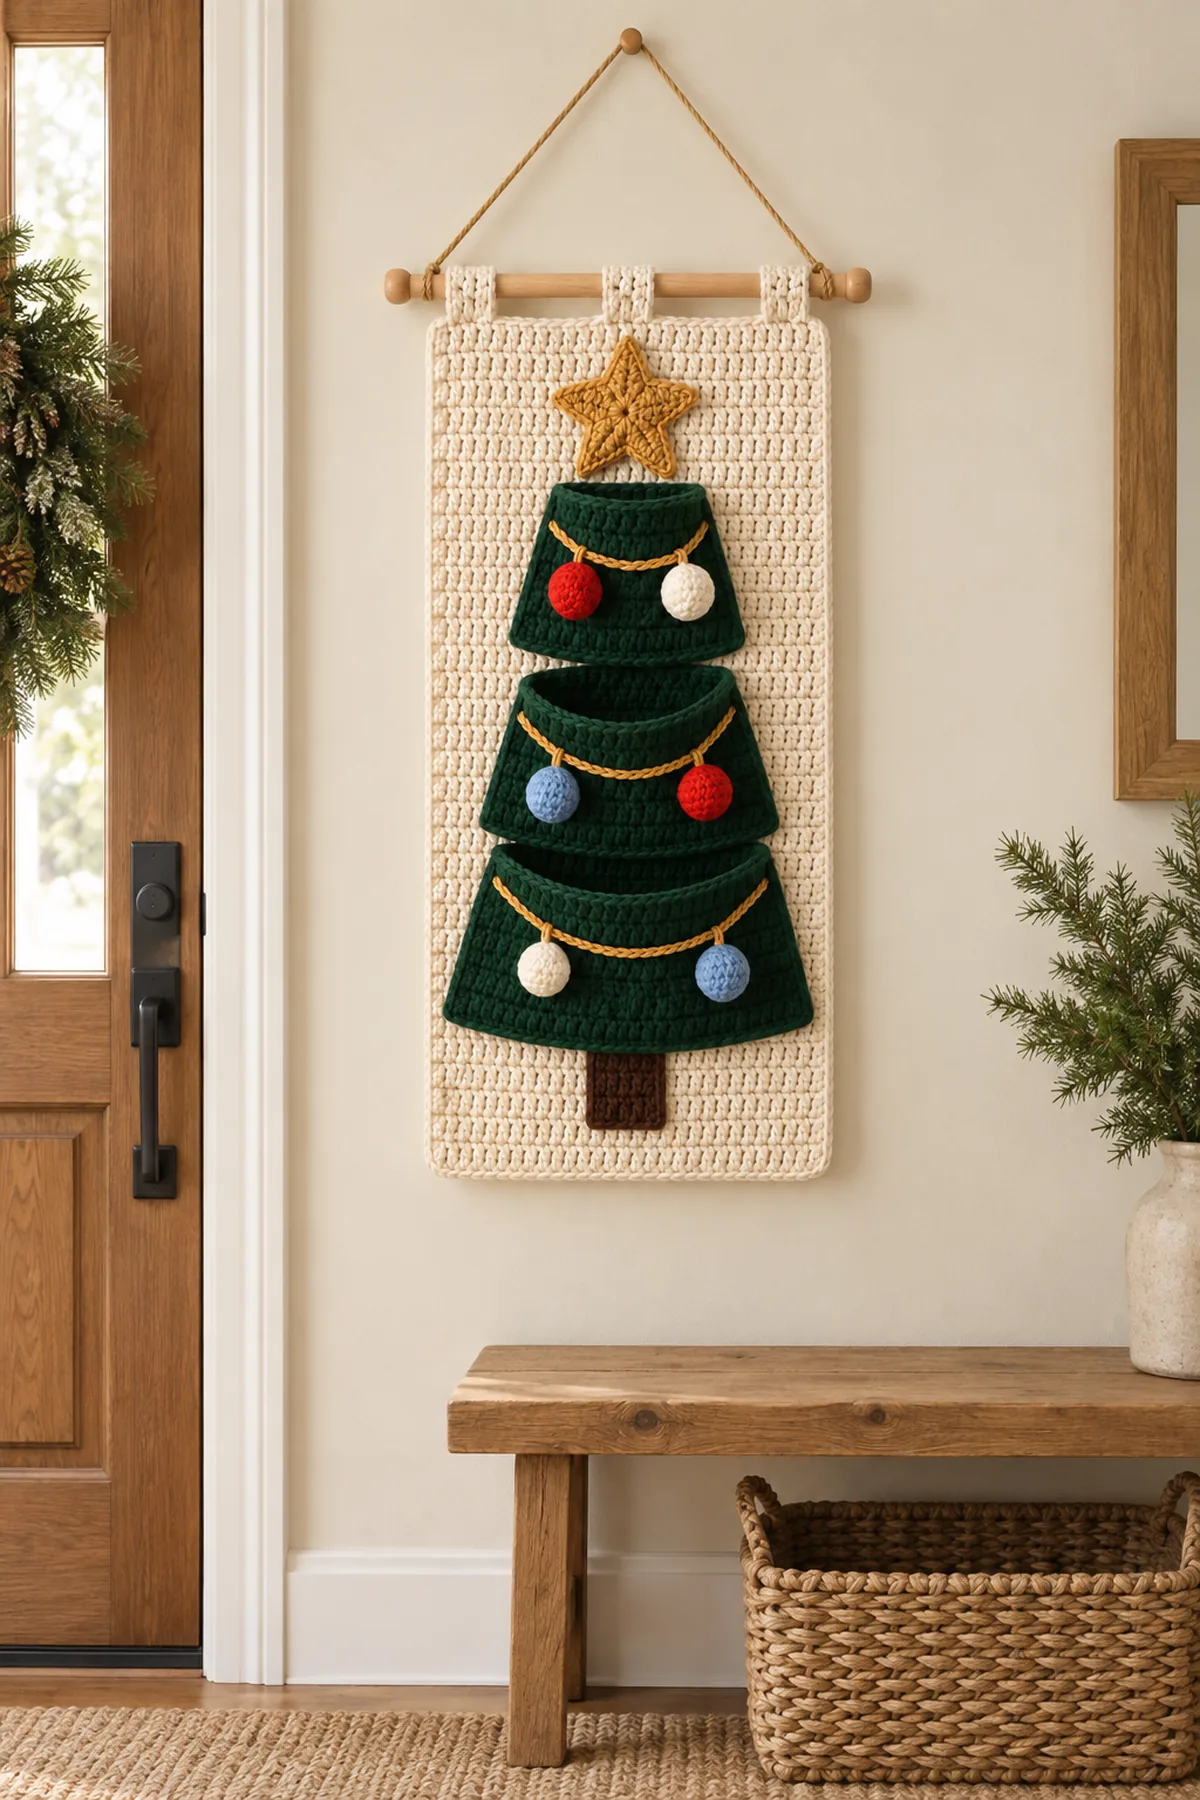
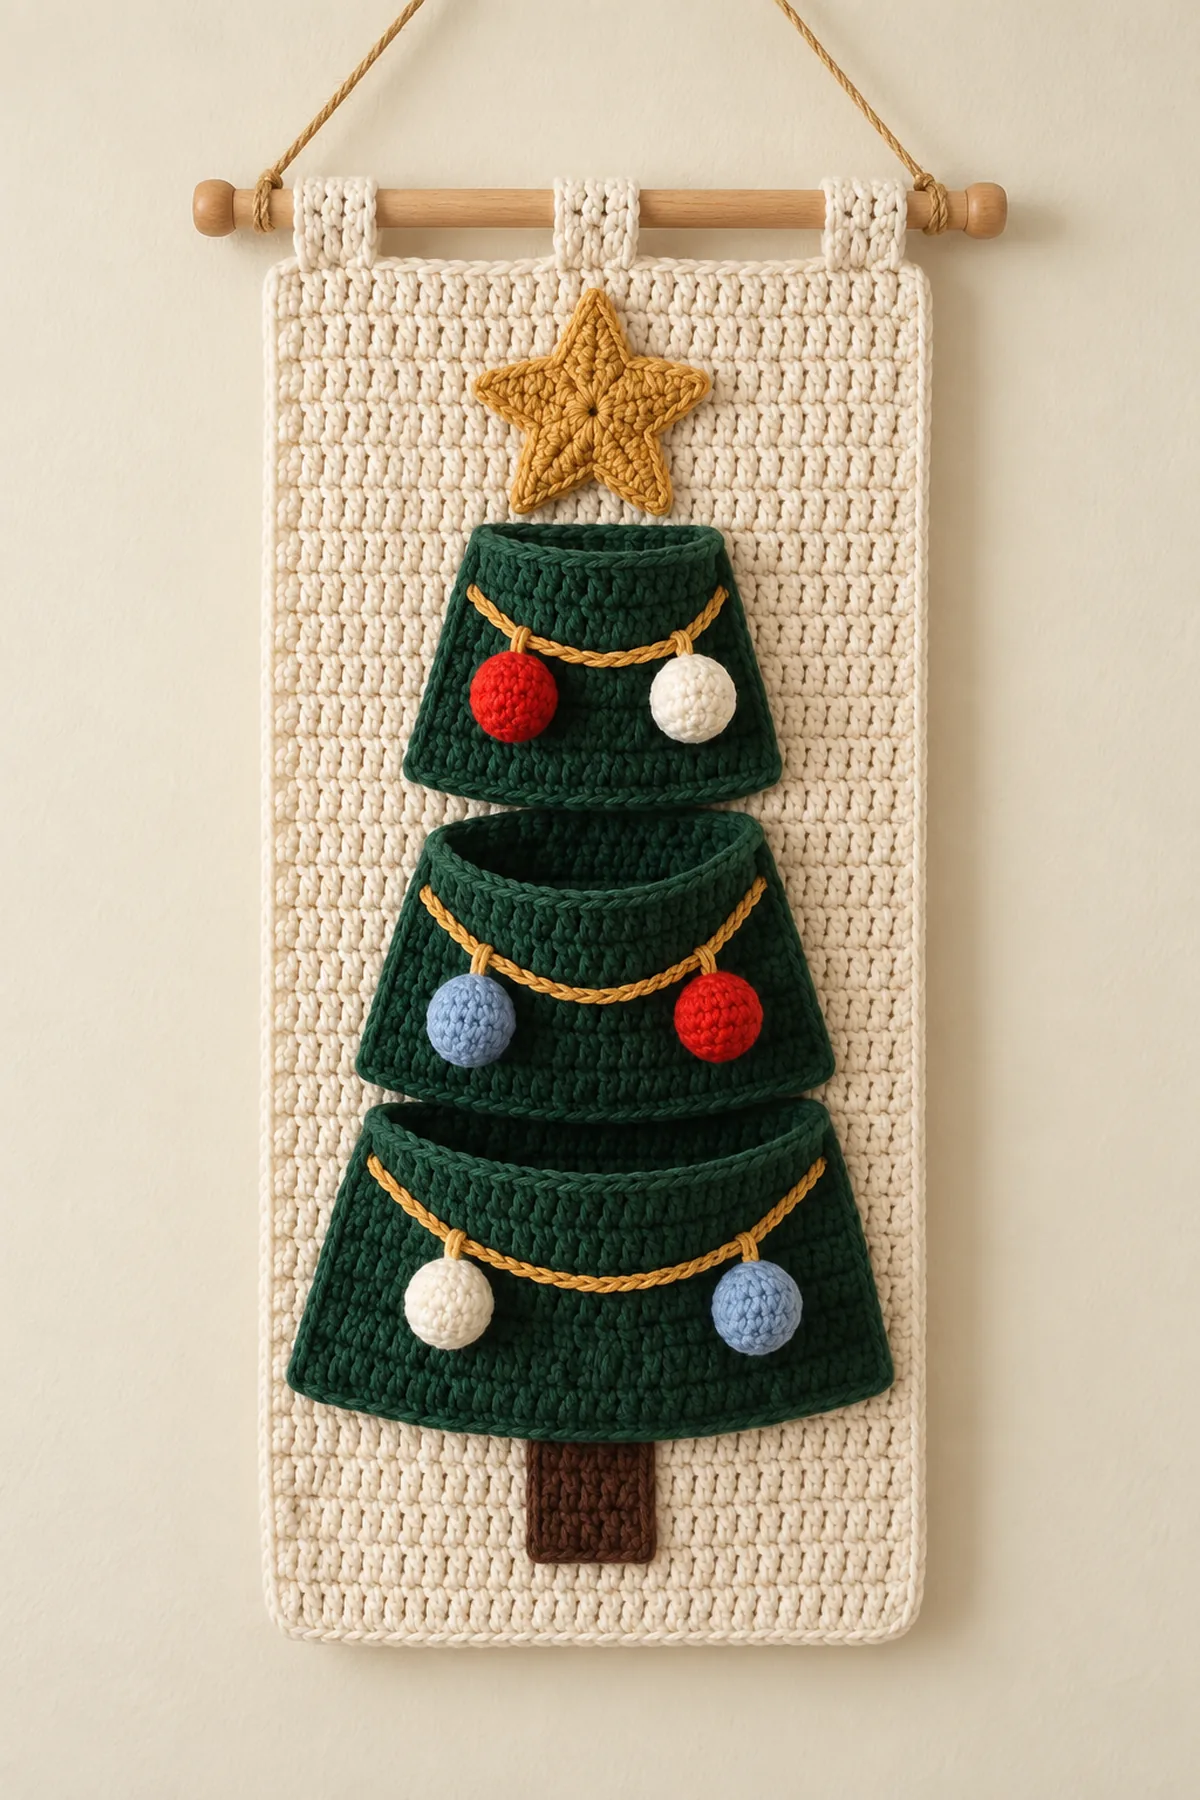
This Pocket Christmas Tree Wall Hanging follows the supplied design as a practical holiday organizer rather than a flat tree applique. A tall warm-cream panel supports three genuine forest-green pockets arranged from a wide lower tier to a narrow upper tier. Each pocket stays open across its top edge and carries a curved mustard-gold garland with two round ornaments. A five-point gold star, brown trunk, three cream dowel tabs, natural wood rod, and jute hanger complete the exact vertical composition.
Thank you for reading this post, don't forget to subscribe!Crochet the cream backing as one firm rectangle and finish its corners before adding three reinforced hanging tabs. Make the three dark-green pocket pieces separately as shallow trapezoids, decreasing from a wider lower edge to a narrower top opening. Sew only the sides and lower edges to the panel, leaving all three upper edges open and usable. Add one gold chain garland to every pocket, attach the six ornaments in the same color positions as the reference, then sew on the star and trunk and mount the panel on a wooden dowel.
Why You’ll Love This Project
The three tree tiers double as useful pockets for notes, treats, or an advent surprise. Simple repeated rows create most of the project, while the star, baubles, and garlands provide portable decorative pieces. The neutral cream backing makes the forest green tree and traditional holiday colors easy to see.
Materials
- About 760 yards warm-cream worsted cotton or cotton-blend yarn for the backing, tabs, and two ornaments
- About 510 yards deep forest-green worsted yarn for three pockets
- About 125 yards mustard-gold worsted yarn for the star and three garlands
- About 55 yards red worsted yarn for two ornaments
- About 55 yards pale-blue worsted yarn for two ornaments
- About 70 yards chocolate-brown worsted yarn for the trunk
- 4 mm crochet hook
- 16- to 18-inch natural wooden dowel and about 36 inches of jute cord
- Yarn needle, scissors, locking markers, tape measure, and blocking mats
Gauge, Measurements, and Planning
The 61-stitch cream backing should measure about 15 inches before edging and 16 inches after its border. Work the first 12 rows and verify a 4-inch square. The bottom, middle, and top pocket pieces should block to approximately 12, 10, and 8 inches across their lower edges, with each upper opening about 2 inches narrower.
Make and wash a gauge swatch before beginning. Measure only after the swatch is completely dry. If the stitch width differs, change hook size rather than pulling the working yarn tighter. Keep a written count at the end of every section so the finished edges remain balanced and the assembly points line up.
Abbreviations and Special Stitches
- ch: chain
- sc: single crochet
- hdc: half double crochet
- dc: double crochet
- tr: treble crochet
- sl st: slip stitch
- st(s): stitch(es)
- dec: decrease
Special stitch guidance: Firm half-double-crochet panel: work hdc through both loops with relaxed, even tension. Pocket decrease: yarn over, draw up a loop in each of the next two stitches, yarn over and pull through all loops. Star point: work graduated stitches from sc through tr and back to sc around a five-space center. Round ornament: increase a small crochet circle, work one even round, then lightly stuff and close. Garland cord: work a foundation slip-stitch cord or tight chain that curves without stretching.
Before You Begin
- Make exactly three separate forest-green pockets and leave every top edge open.
- Stack the pockets from largest at the bottom to smallest at the top with equal vertical overlap.
- Make exactly six ornaments: two red, two cream-white, and two pale blue.
- Place red and cream on the top pocket, pale blue and red on the middle pocket, and cream and pale blue on the bottom pocket.
- Use one curved mustard-gold garland on each of the three pockets.
- Keep one gold five-point star above the tree, one brown trunk below it, and exactly three cream hanging tabs on the dowel.
Instructions
Crochet the Cream Backing and Three Dowel Tabs
Build a firm rectangular foundation that can support filled pockets without sagging.
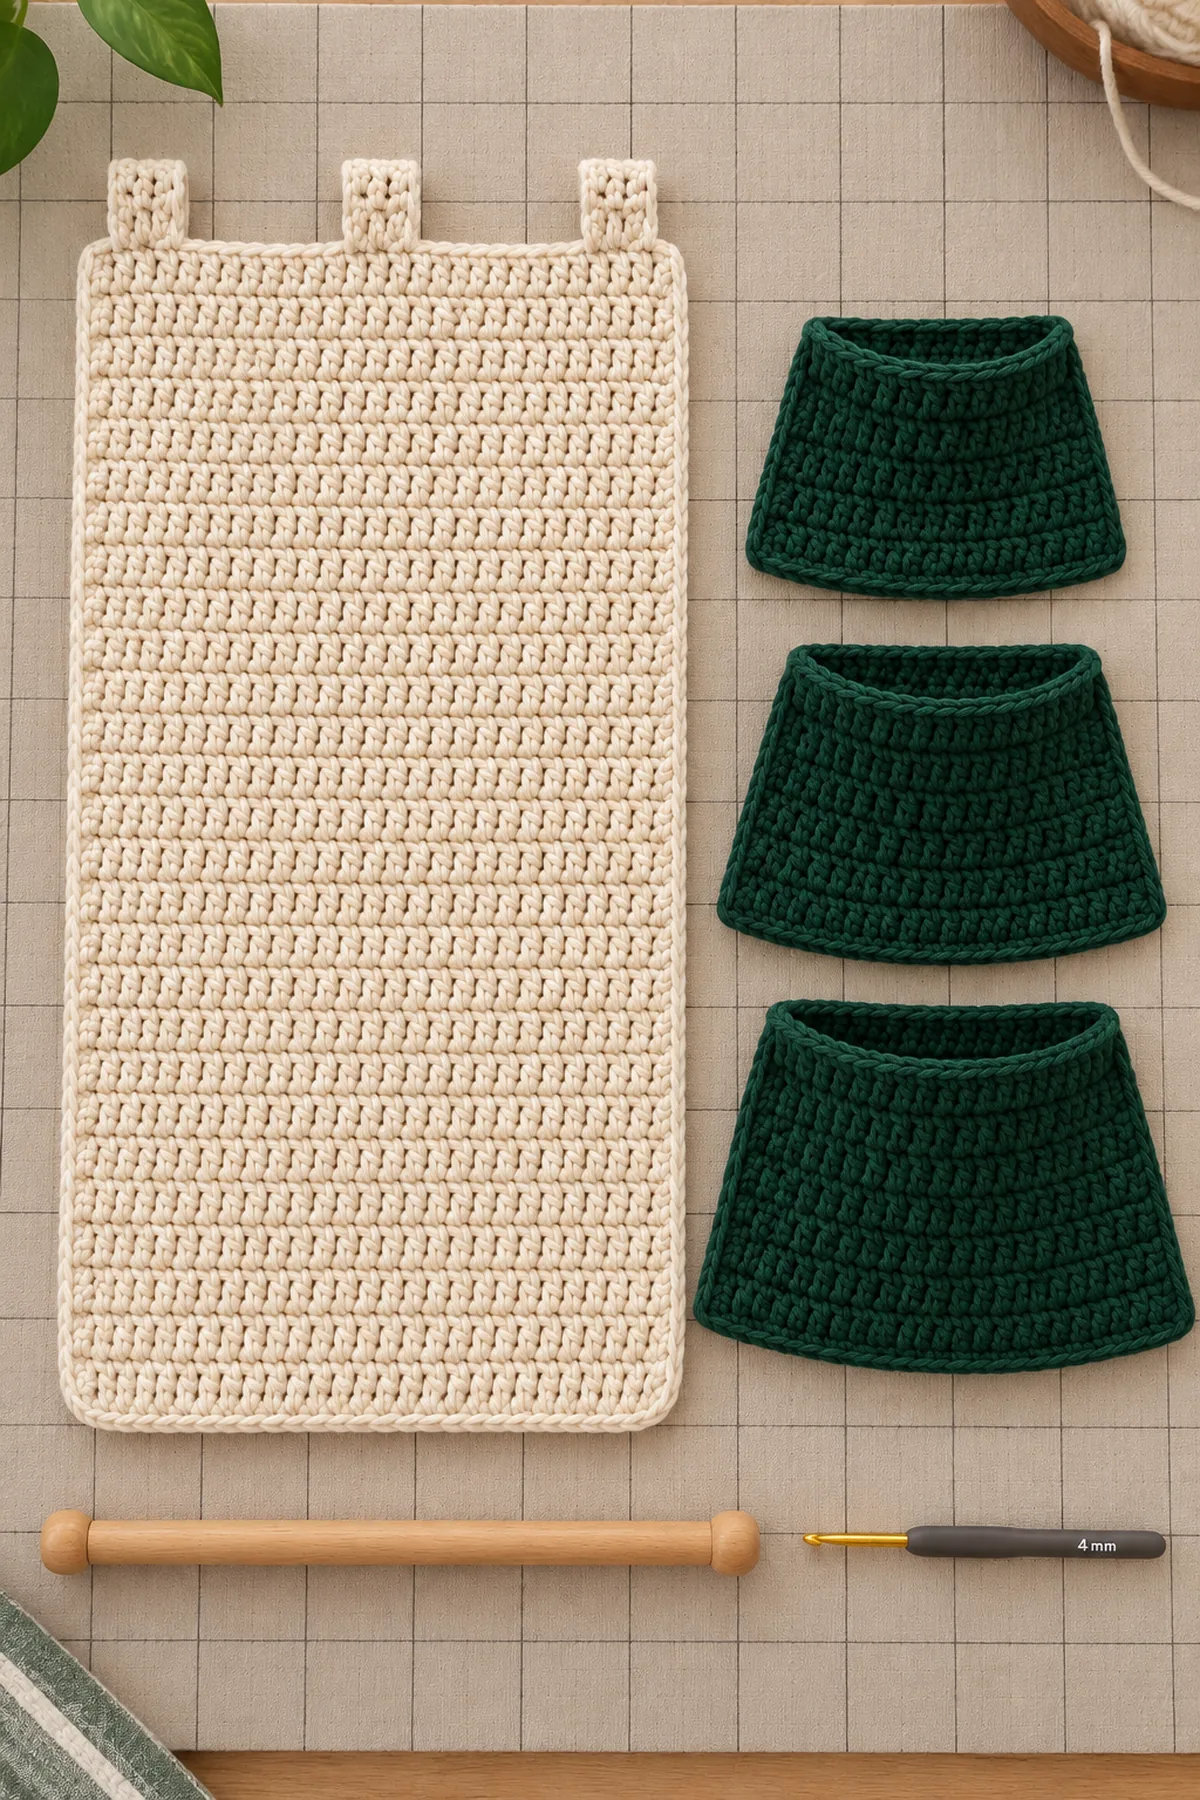
- With warm cream, ch 64. Beginning in the third chain, hdc across to establish 62 stitches. (62 sts)
- Work 88 more hdc rows, keeping both side edges straight and the stitch count at 62.
- Work one round of sc around the rectangle, placing 3 sc in each corner. Add a second round and soften the two lower corners with evenly spaced hdc groups.
- For each hanging tab, ch 9 and work 18 rows of sc. Make exactly three tabs. Fold each tab over the dowel and sew both short ends securely to the top edge of the backing.
- Block the finished panel to approximately 16 by 31 inches before attaching any decoration.
Make Three Forest-Green Trapezoid Pockets
Each tier is a separate functional pocket with a wider lower edge and narrower opening.
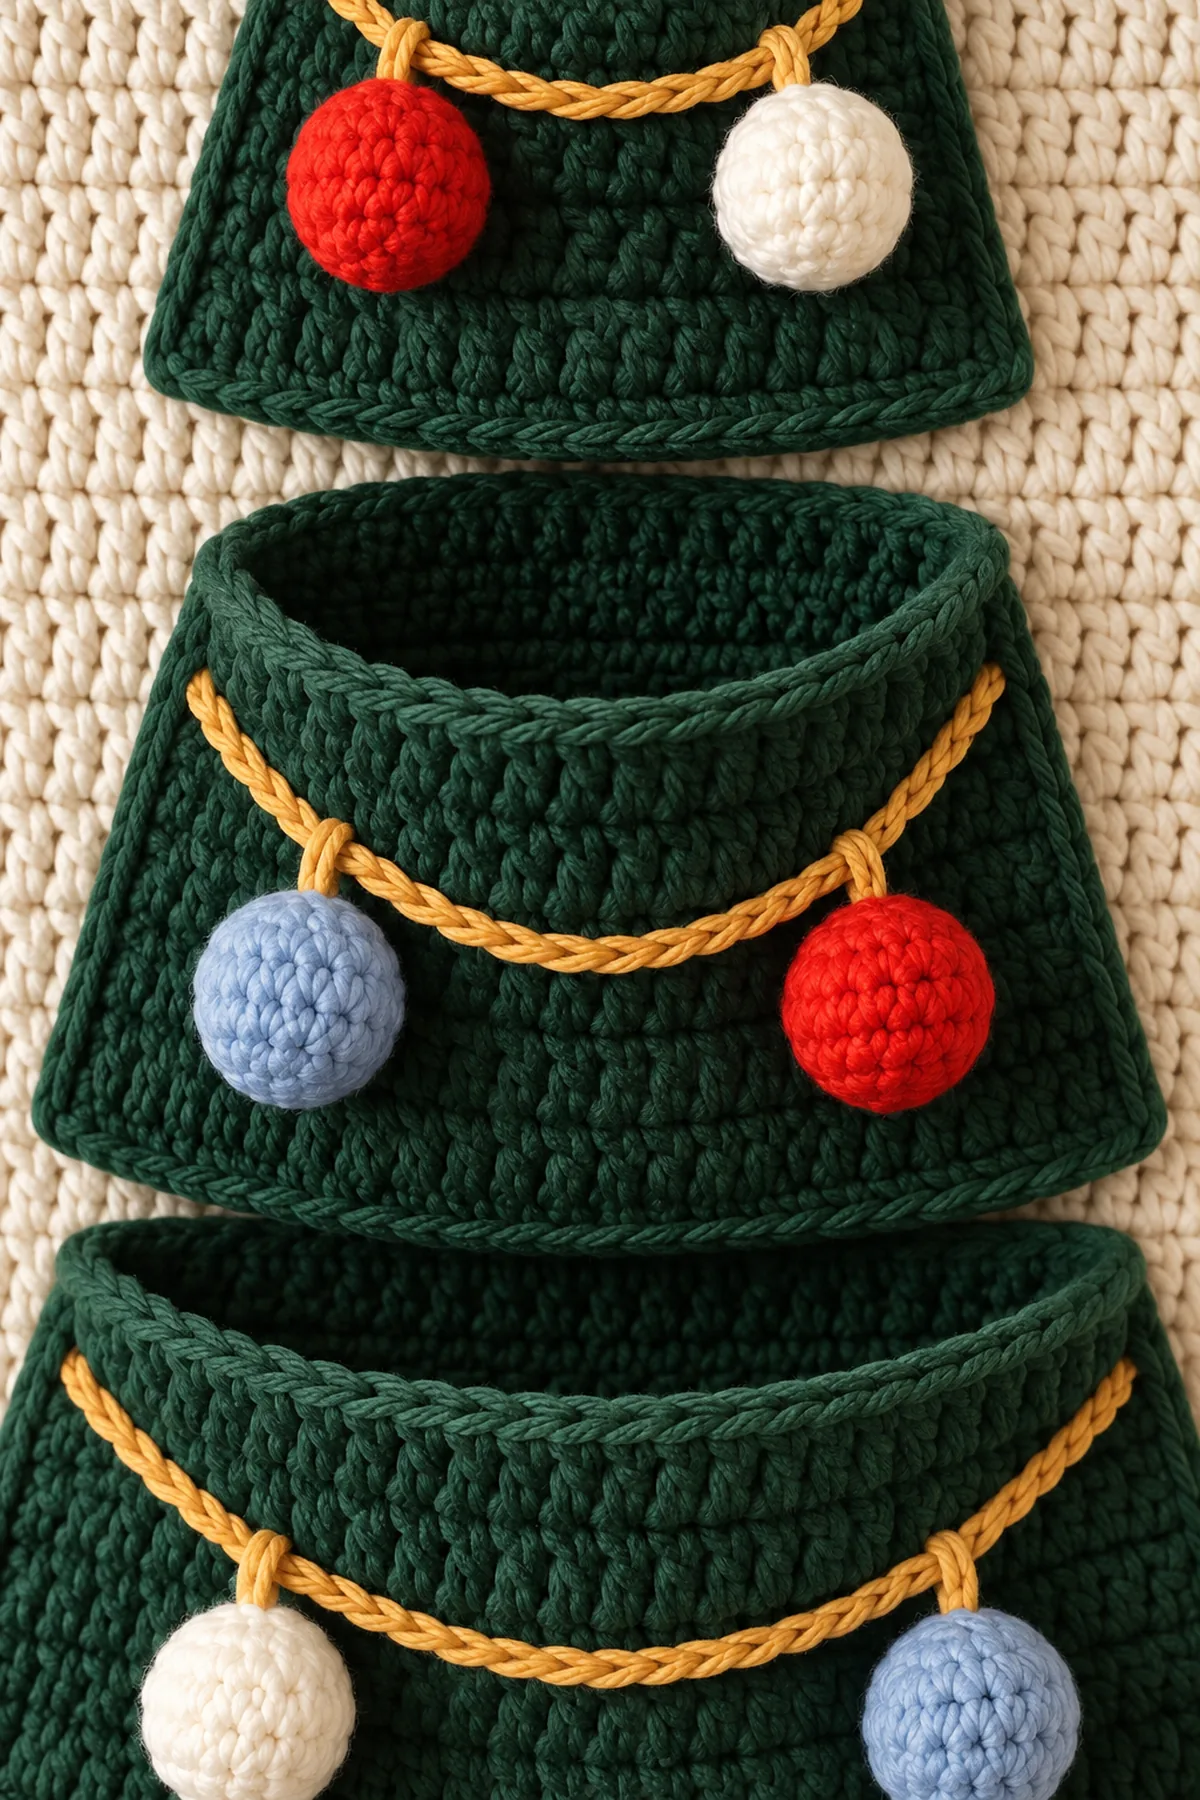
- Bottom pocket: Ch 50 and work 47 hdc. Work 18 rows, decreasing one stitch at each edge on Rows 5, 9, 13, and 17. Finish with 39 stitches across the top opening.
- Middle pocket: Ch 44 and work 41 hdc. Work 16 rows, decreasing one stitch at each edge on Rows 5, 9, 13, and 16. Finish with 33 stitches.
- Top pocket: Ch 38 and work 35 hdc. Work 14 rows, decreasing one stitch at each edge on Rows 4, 7, 10, and 13. Finish with 27 stitches.
- Work one firm sc row across each top opening. Block all three pockets as shallow trapezoids.
- Center the bottom pocket above the future trunk, place the middle pocket above it, and place the top pocket below the star. Sew only each lower edge and both slanted sides to the cream backing; leave all three top edges completely open.
Crochet the Star, Trunk, Garlands, and Six Ornaments
Keep every count and color position matched to the supplied design.
- Gold star: Make a five-space center ring, then build five identical points with graduated sc, hdc, dc, and tr stitches. Block to approximately 5 inches and sew it centered above the top pocket.
- Brown trunk: Ch 12, work 16 rows of 9 hdc, and sew the rectangle centered beneath the bottom pocket.
- Make three mustard-gold cords long enough to drape in shallow curves across the pocket fronts. Tack one garland to each pocket at both ends and at the center low point.
- Make six lightly stuffed round ornaments, about 1.5 inches across: two red, two cream-white, and two pale blue.
- Attach red left and cream right on the top garland; pale blue left and red right on the middle garland; cream left and pale blue right on the bottom garland.
Mount and Finish the Wall Hanging
Reinforce every load-bearing seam before inserting the dowel.
- From the wrong side, reinforce the lower seam and both side seams of each pocket with a second line of whipstitch.
- Secure every ornament through its hanging loop and the gold garland without sewing the pocket mouth closed.
- Slide the wooden dowel through the three cream tabs and center the panel between the dowel ends.
- Tie the jute cord securely to both ends of the dowel, forming one centered triangular hanger.
- Hang the organizer empty for 24 hours, correct any tilt, and steam the pocket fronts lightly without flattening their openings.
Assembly and Shaping
Block the cream panel, three pocket pieces, star, trunk, and ornaments separately. Mark a single vertical centerline. Sew the brown trunk at the bottom, the widest green pocket above it, the medium pocket above that, the narrowest pocket at the top, and the gold star directly above the tree. Leave all three pocket mouths open. Add the three gold garlands and six ornaments in the exact red, cream, blue sequence before mounting the three tabs on the dowel.
Lay every component on a flat surface before joining. Match the marked centers first, then divide each remaining edge into equal sections. Work through both layers with consistent tension and pause after each section to check that the fabric lies flat. This measured approach prevents twisting and keeps decorative details facing the intended direction.
Finishing
- Weave backing tails horizontally through dense cream rows.
- Reinforce pocket corners and lower seams from the wrong side.
- Hide ornament ends inside the lightly stuffed spheres before closing.
- Check that no garland tack stitch closes a pocket opening.
- Balance the jute cord so the dowel hangs level.
For a polished result, weave each tail through several same-color stitches, reverse direction once, and trim only after the fabric has been gently stretched. Block to the listed dimensions without flattening textured stitches. Inspect joins, borders, straps, and decorative pieces before the project is used or gifted.
Helpful Tips
- Use cotton-blend yarn for a firm backing that resists stretching.
- Pin all three pockets to the panel and test their openings before sewing.
- Stuff the ornaments lightly so they stay round without becoming heavy.
- If the panel bows, add a second narrow dowel sleeve along the lower back edge.
Good lighting and a contrasting stitch marker make counting much easier. If a section looks uneven, compare the current count with the previous checkpoint before continuing. Fixing one missed stitch early is faster than compensating later, and it preserves the measurements used by the assembly instructions.
Frequently Asked Questions
Are the tree tiers real pockets?
Yes. Sew only the lower and side edges of each green trapezoid, leaving all three top edges open.
Can I add more ornaments?
You can personalize the organizer, but the supplied design uses exactly six: two red, two cream-white, and two pale blue.
Why is the wall hanging leaning?
Check that the three tabs are equally spaced, the dowel is centered, and both ends of the jute cord are the same length.
Conclusion
One cream rectangular panel, three usable forest-green pockets, three gold garlands, one five-point star, one brown trunk, six precisely colored ornaments, three cream dowel tabs, and a natural jute hanger recreate the pocket Christmas tree shown in the supplied reference. Reinforced seams make the decorative tree practical for lightweight holiday notes or treats.
Printable Crochet Pattern Card
Project: Pocket Christmas Tree Wall Hanging
Skill level: Intermediate Hook: 4 mm Yarn: Worsted
Finished size: Panel approximately 16 inches wide by 31 inches tall, excluding hanger
Card Materials
- About 760 yards warm-cream worsted cotton or cotton-blend yarn for the backing, tabs, and two ornaments
- About 510 yards deep forest-green worsted yarn for three pockets
- About 125 yards mustard-gold worsted yarn for the star and three garlands
- About 55 yards red worsted yarn for two ornaments
- About 55 yards pale-blue worsted yarn for two ornaments
- About 70 yards chocolate-brown worsted yarn for the trunk
- 4 mm crochet hook
- 16- to 18-inch natural wooden dowel and about 36 inches of jute cord
- Yarn needle, scissors, locking markers, tape measure, and blocking mats
Card Instructions
- Crochet the Cream Backing and Three Dowel Tabs: Work a firm 62-stitch cream rectangle and attach exactly three cream tabs along the top edge.
- Make Three Forest-Green Trapezoid Pockets: Shape and attach three usable green trapezoid pockets, largest at the bottom and smallest at the top.
- Crochet the Star, Trunk, Garlands, and Six Ornaments: Add one gold star, one brown trunk, three curved garlands, and six color-matched ornaments.
- Mount and Finish the Wall Hanging: Reinforce the three pockets, insert the dowel, tie the jute hanger, and balance the completed piece.
Finish: Check every count, weave in all ends, block to measurement, and inspect each join.