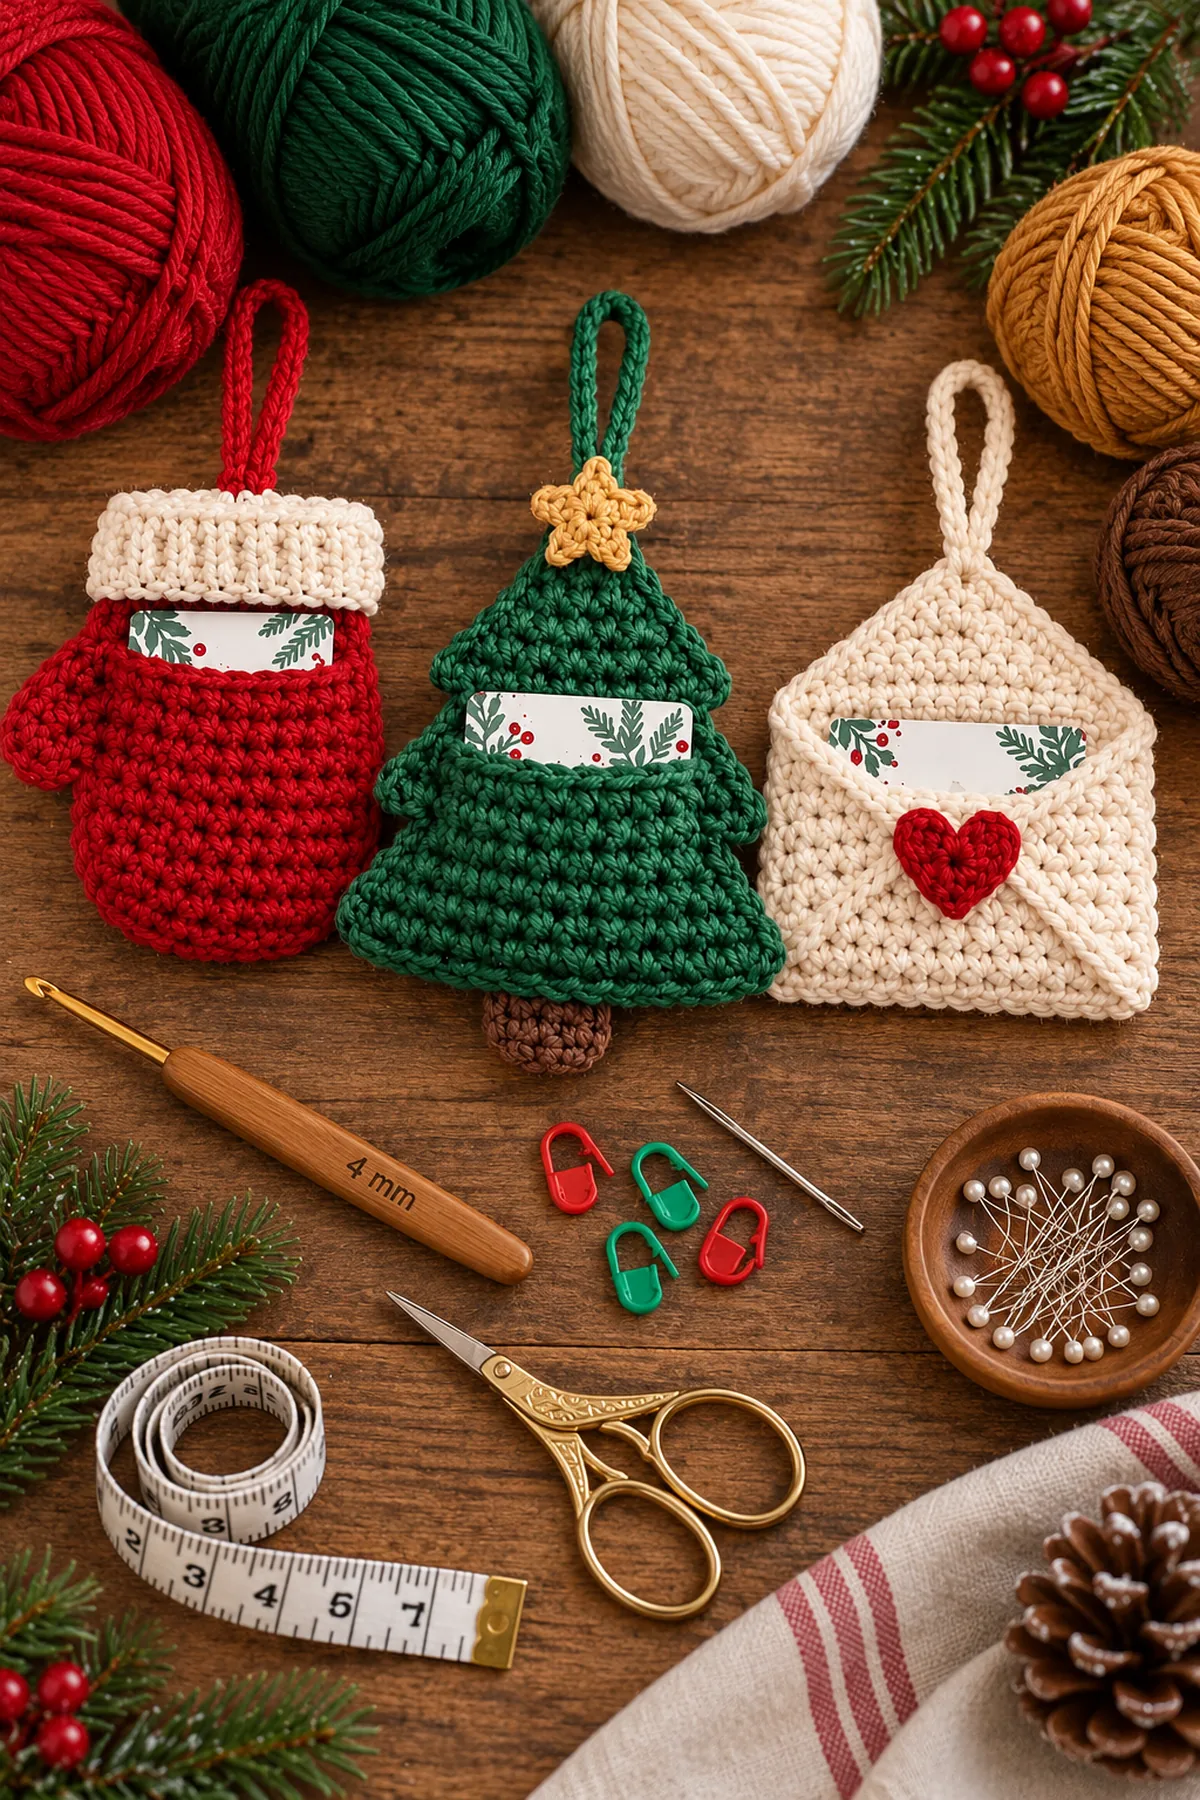
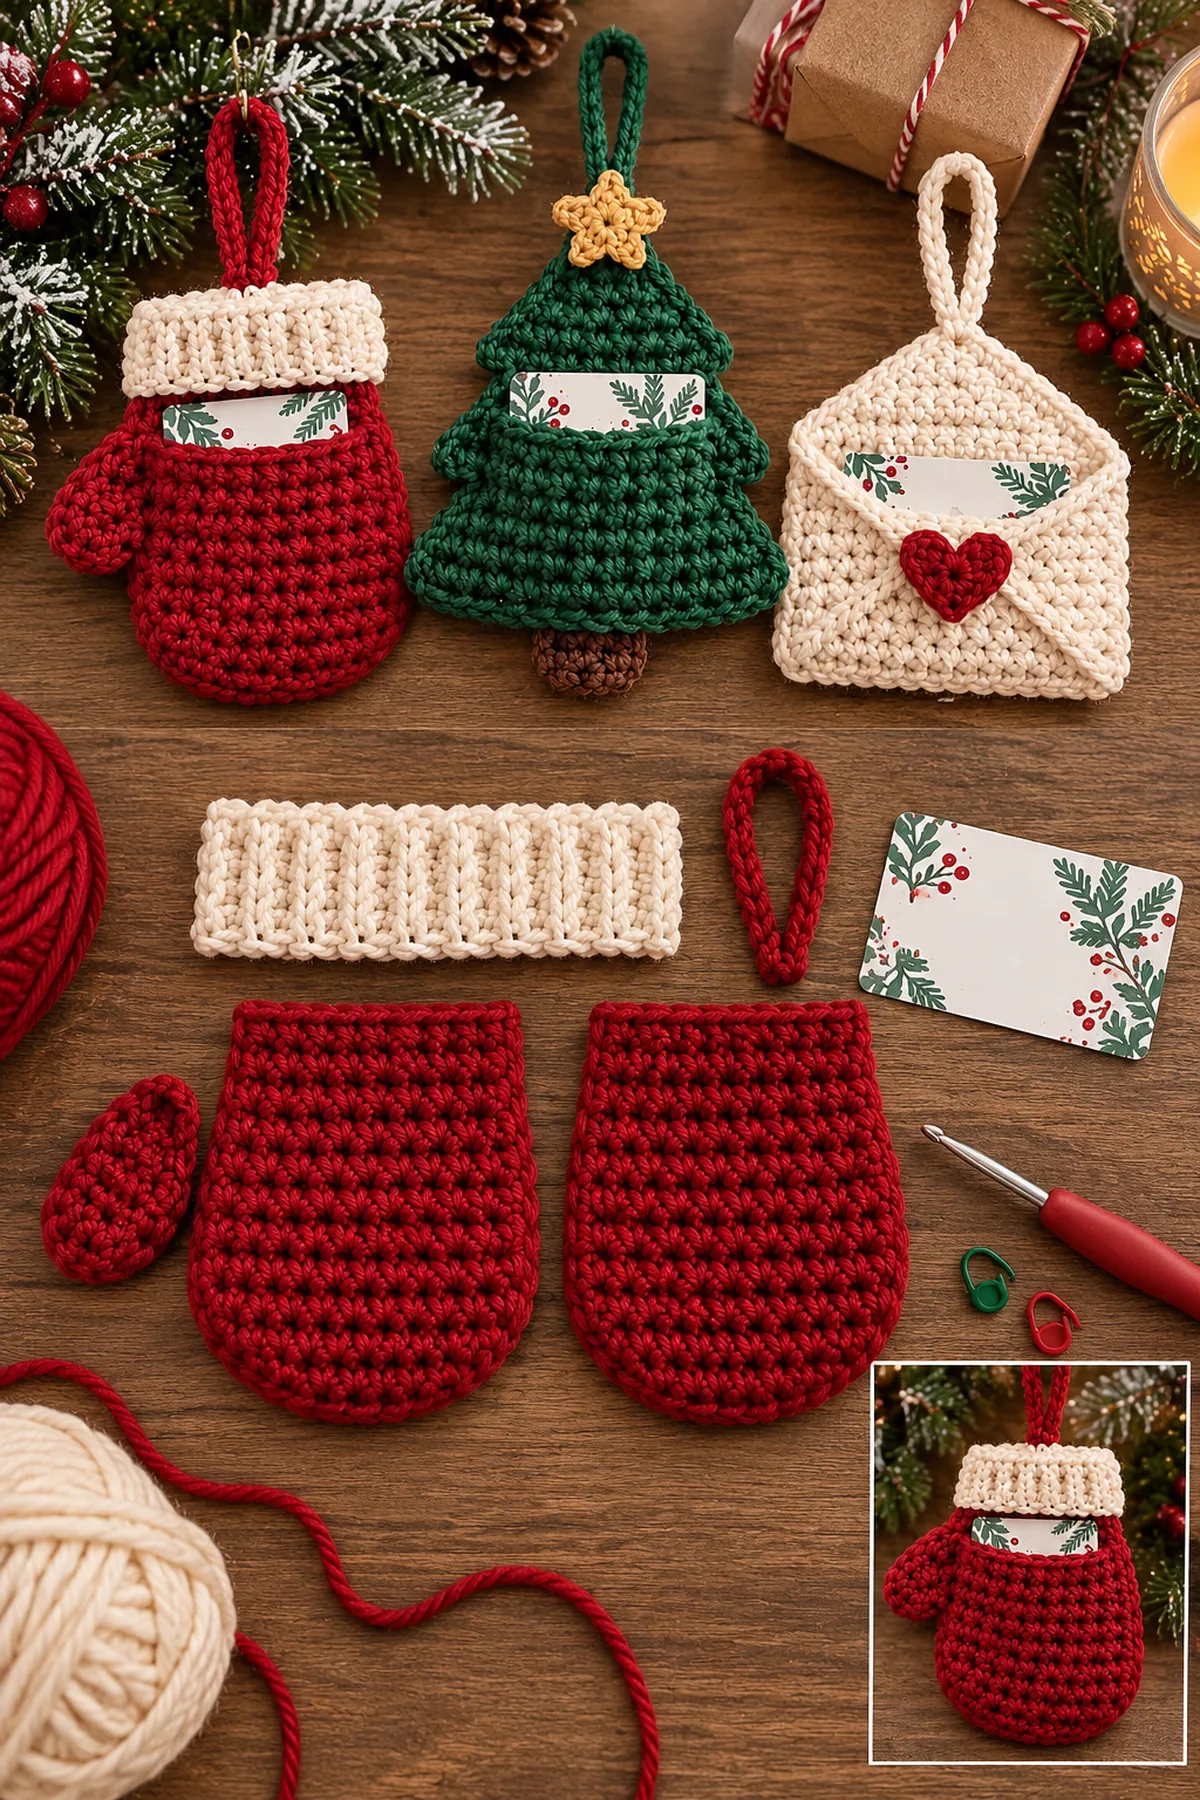
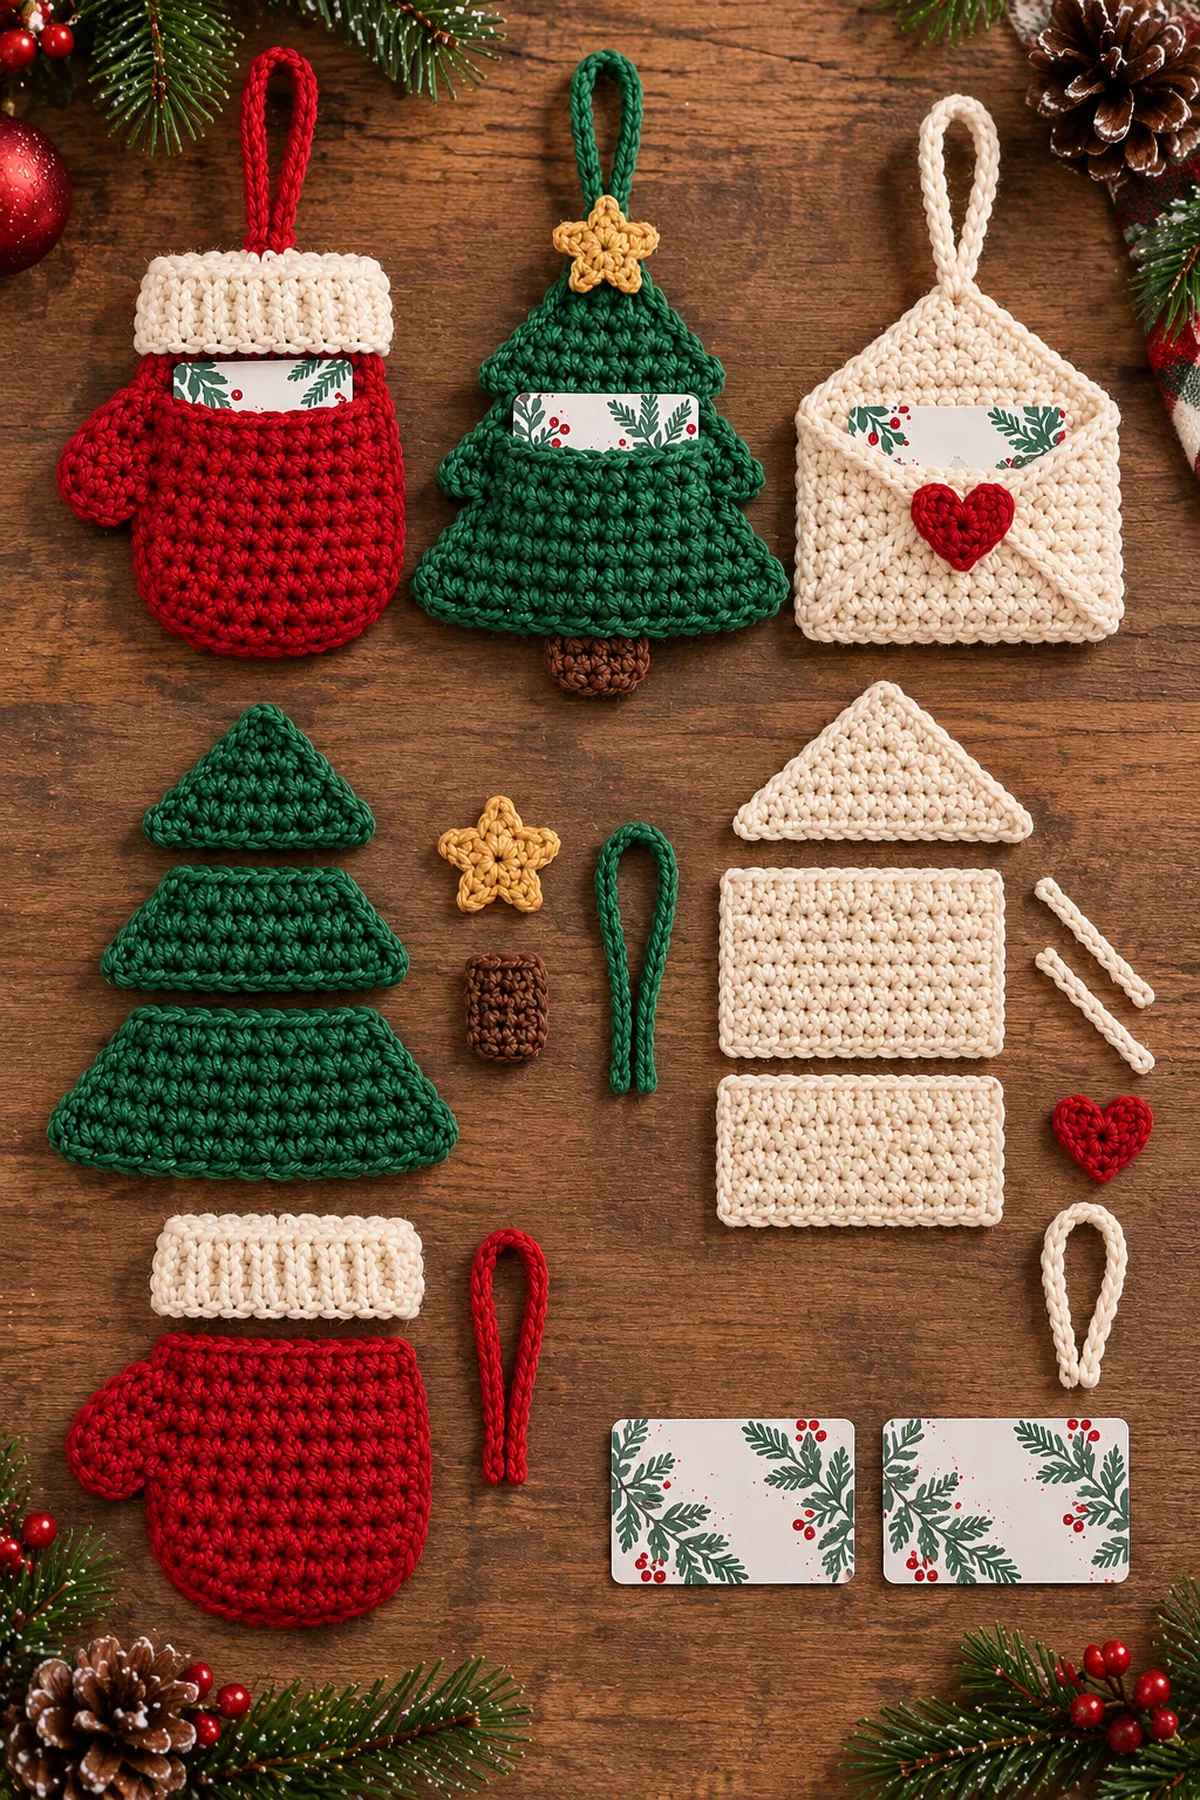
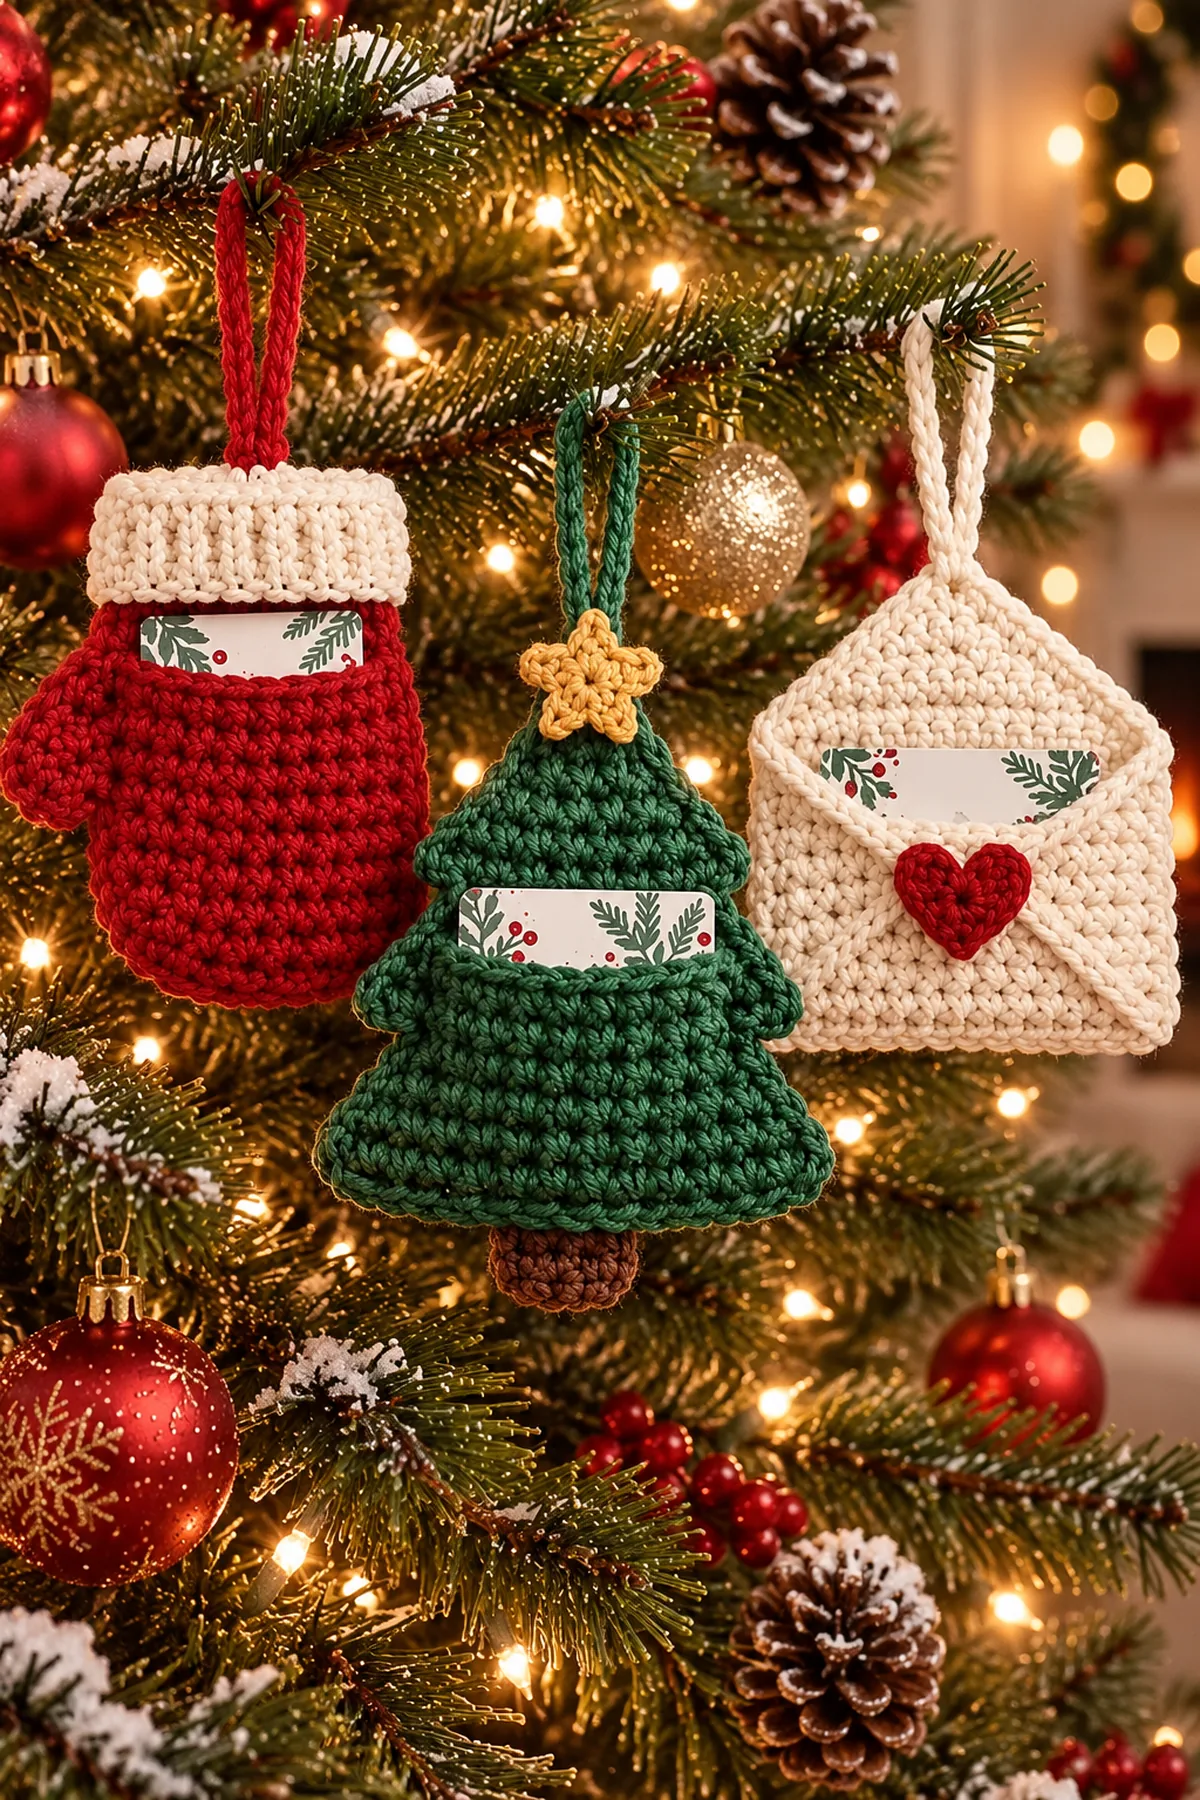
These Crochet Christmas Gift Card Holder Ornaments follow the two supplied photos as one exact three-piece set rather than interchangeable holiday pouches. The red mitten has a real left-side thumb and a tall cream ribbed cuff. The green tree uses three clearly separated tiers, a gold star, and a brown trunk. The cream envelope keeps its diagonal seam lines and red heart closure. Each piece holds one standard gift card securely while remaining light enough to hang from a Christmas-tree branch.
Thank you for reading this post, don't forget to subscribe!Make each ornament as a reinforced two-layer pocket sized around a standard 3.375-by-2.125-inch gift card. Shape the red mitten in joined rounds, add the left thumb, and finish with a separate cream ribbed cuff while leaving the card opening below it. Build the tree from matching front and back shapes, add three raised tier edges to the front, and leave a horizontal opening between the top two tiers. Crochet the envelope as a cream rectangle with a separate front pocket and pointed flap, surface-stitch the diagonal seams, and add one red heart. Finish each holder with its own doubled color-matched loop and test the card fit before weaving in the final tails.
Why You’ll Love This Project
The set turns a practical gift card into a handmade keepsake that can return to the tree every year. The three silhouettes look varied but share the same yarn weight, hook, finishing method, and compact scale. Small amounts of red, cream, green, brown, and gold yarn are enough for all three, making the project useful for holiday remnants.
Materials
- About 120 yards deep-red worsted cotton or cotton-blend yarn for the mitten, heart, and red hanging loop
- About 145 yards dark forest-green worsted yarn for the three-tier tree and green loop
- About 155 yards warm-cream worsted yarn for the mitten cuff, envelope, and cream loop
- About 20 yards camel-gold worsted yarn for one five-point star
- About 20 yards chocolate-brown worsted yarn for one short tree trunk
- 4 mm crochet hook
- Three standard gift cards or same-size cardboard templates for fit checks
- Yarn needle, scissors, locking stitch markers, tape measure, and blocking pins
Gauge, Measurements, and Planning
Use a sample card or a 3.375-by-2.125-inch paper template throughout. The inner pocket should measure approximately 3.6 inches wide and 2.4 inches deep after seaming, giving about 0.125 inch of ease on every side. If the card slides out when the holder hangs, reduce the opening by two stitches or add a hidden snap behind the decorative front element.
Make and wash a gauge swatch before beginning. Measure only after the swatch is completely dry. If the stitch width differs, change hook size rather than pulling the working yarn tighter. Keep a written count at the end of every section so the finished edges remain balanced and the assembly points line up.
Abbreviations and Special Stitches
- ch: chain
- sc: single crochet
- hdc: half double crochet
- dc: double crochet
- tr: treble crochet
- sl st: slip stitch
- st(s): stitch(es)
- inc: increase
- dec: decrease
- BLO: back loop only
Special stitch guidance: Cuff ribbing: work single crochet in the back loop only on every row, turning each narrow rib before joining it to the mitten. Centered decrease: single crochet two stitches together at matching points on both sides of a motif to keep shaping symmetrical. Tree tier edge: work one raised row of half double crochet along the lower edge of each triangular tier, leaving the edge slightly proud of the layer beneath it. Star point: work sc, hdc, dc, tr, dc, hdc, sc into one chain arch. Surface seam: slip stitch loosely through the front layer only so the envelope diagonals stay flat.
Before You Begin
- Make exactly three finished holders: one red mitten, one green Christmas tree, and one cream envelope.
- The mitten has exactly one thumb on the viewer’s left, one cream ribbed cuff, and one red loop.
- The tree has exactly three stacked tiers, one gold five-point star, one brown trunk, and one green loop.
- The envelope has one rectangular cream pocket, one triangular flap, two diagonal seam lines, one red heart, and one cream loop.
- Leave one usable card opening in every holder and verify that a standard gift card slides in without stretching the stitches.
- These are decorative gift holders, not toys. Keep empty ornaments away from young children if loops are attached.
Instructions
Crochet the Red Mitten Gift-Card Holder
Shape one rounded pocket with a real left thumb and a separate cream ribbed cuff.
- With deep red, ch 23. Beginning in the second chain, sc across. Turn. (22 sts)
- Rows 2–19: Ch 1, turn, and sc across. Shape the lower corners by decreasing one stitch at both edges on Rows 17–19, finishing with 16 stitches. Fasten off. Make a matching back panel without fastening off after Row 19.
- Thumb: On the front panel’s viewer-left edge, join red across 7 marked side stitches. Work 5 short sc rows, decreasing once at each edge on the final two rows. Fold and seam the thumb tip, then sew its base smoothly to the side of the mitten.
- Place front and back together and sc through both layers around the curved sides and bottom, leaving the top 22-stitch edge open for the card. Reinforce the thumb join from the wrong side.
- Cream cuff: Ch 11. Work 10 sc BLO for 34 rows to make one vertical-rib strip. Wrap it around the top, join the short ends, and sew only its upper and side edges to the mitten so the horizontal card opening remains directly below the cuff. Add one doubled red loop centered at the back top edge.
Crochet the Three-Tier Christmas Tree Holder
Build a flat tree pocket with three readable layers and a concealed horizontal card opening.
- Back tree: With forest green, ch 25 and sc across from the second chain. (24 sts) Work 30 rows, decreasing one stitch at both edges on every third row until two stitches remain. Fasten off at the point.
- Front lower tier: Ch 25 and work 14 sc rows, decreasing at both edges on Rows 5, 8, 11, and 14. Front middle tier: Ch 19 and work 11 rows with three matched edge decreases. Front upper tier: Ch 13 and work 9 rows, decreasing evenly to a point.
- Layer the lower tier over the back and sew its two slanted sides and bottom edge. Overlap the middle tier above it and sew its sides and lower edge. Place the upper tier last, sewing only its slanted sides and top point; leave the horizontal lower edge open as the gift-card slot.
- Work one raised hdc edge along the lower edge of each of the three tiers. Check that one card slips behind the upper tier and rests inside the joined tree pocket.
- Make one camel-gold five-point star and sew it at the tree tip. Crochet one short brown rectangle and attach it as the centered trunk below the lower tier. Add one doubled green hanging loop behind the star.
Crochet the Cream Envelope Holder
Use layered rectangles and a pointed flap to reproduce the clean envelope silhouette.
- Back panel: With warm cream, ch 29. Beginning in the second chain, sc across. Work 20 rows at 28 stitches. (28 sts) Fasten off.
- Front pocket: Ch 29 and work 13 sc rows at 28 stitches. Place it over the lower back panel and sc through both layers along the two sides and bottom, leaving the full upper edge open for the card.
- Flap: Join cream across the back panel’s top edge and work 28 sc. On every following row, decrease one stitch at each edge until two stitches remain. Fasten off, creating one centered triangular flap that folds over the pocket front.
- With cream, surface-slip-stitch one diagonal line from each lower corner toward the flap point to define the envelope seams without closing the card pocket.
- Crochet one small red heart from two rounded lobes and one pointed lower section. Sew it to the flap tip so the point overlaps the pocket front. Add one doubled cream hanging loop centered on the back top edge and confirm the card remains visible above the open pocket.
Finish and Test the Three Ornaments
Keep all three holders functional while reinforcing their tree-hanging points.
- Block the mitten, tree, and envelope separately to the stated measurements, keeping every card opening clear of pins and steam.
- Insert a sample card in each holder. The top quarter of the card may remain visible, matching the supplied photos, but the card must not bow or slip out when lifted.
- Reinforce each doubled hanging loop through both fabric layers with at least six small whipstitches. Keep the red loop on the mitten, green loop on the tree, and cream loop on the envelope.
- Shape the mitten thumb and cuff ribs, open the three tree-tier edges and five star points, and crease the envelope flap lightly without flattening the heart.
- Hang all three loaded holders on sturdy branches for one hour. Shorten a loop or tighten an opening only if its holder tilts or releases the card.
Assembly and Shaping
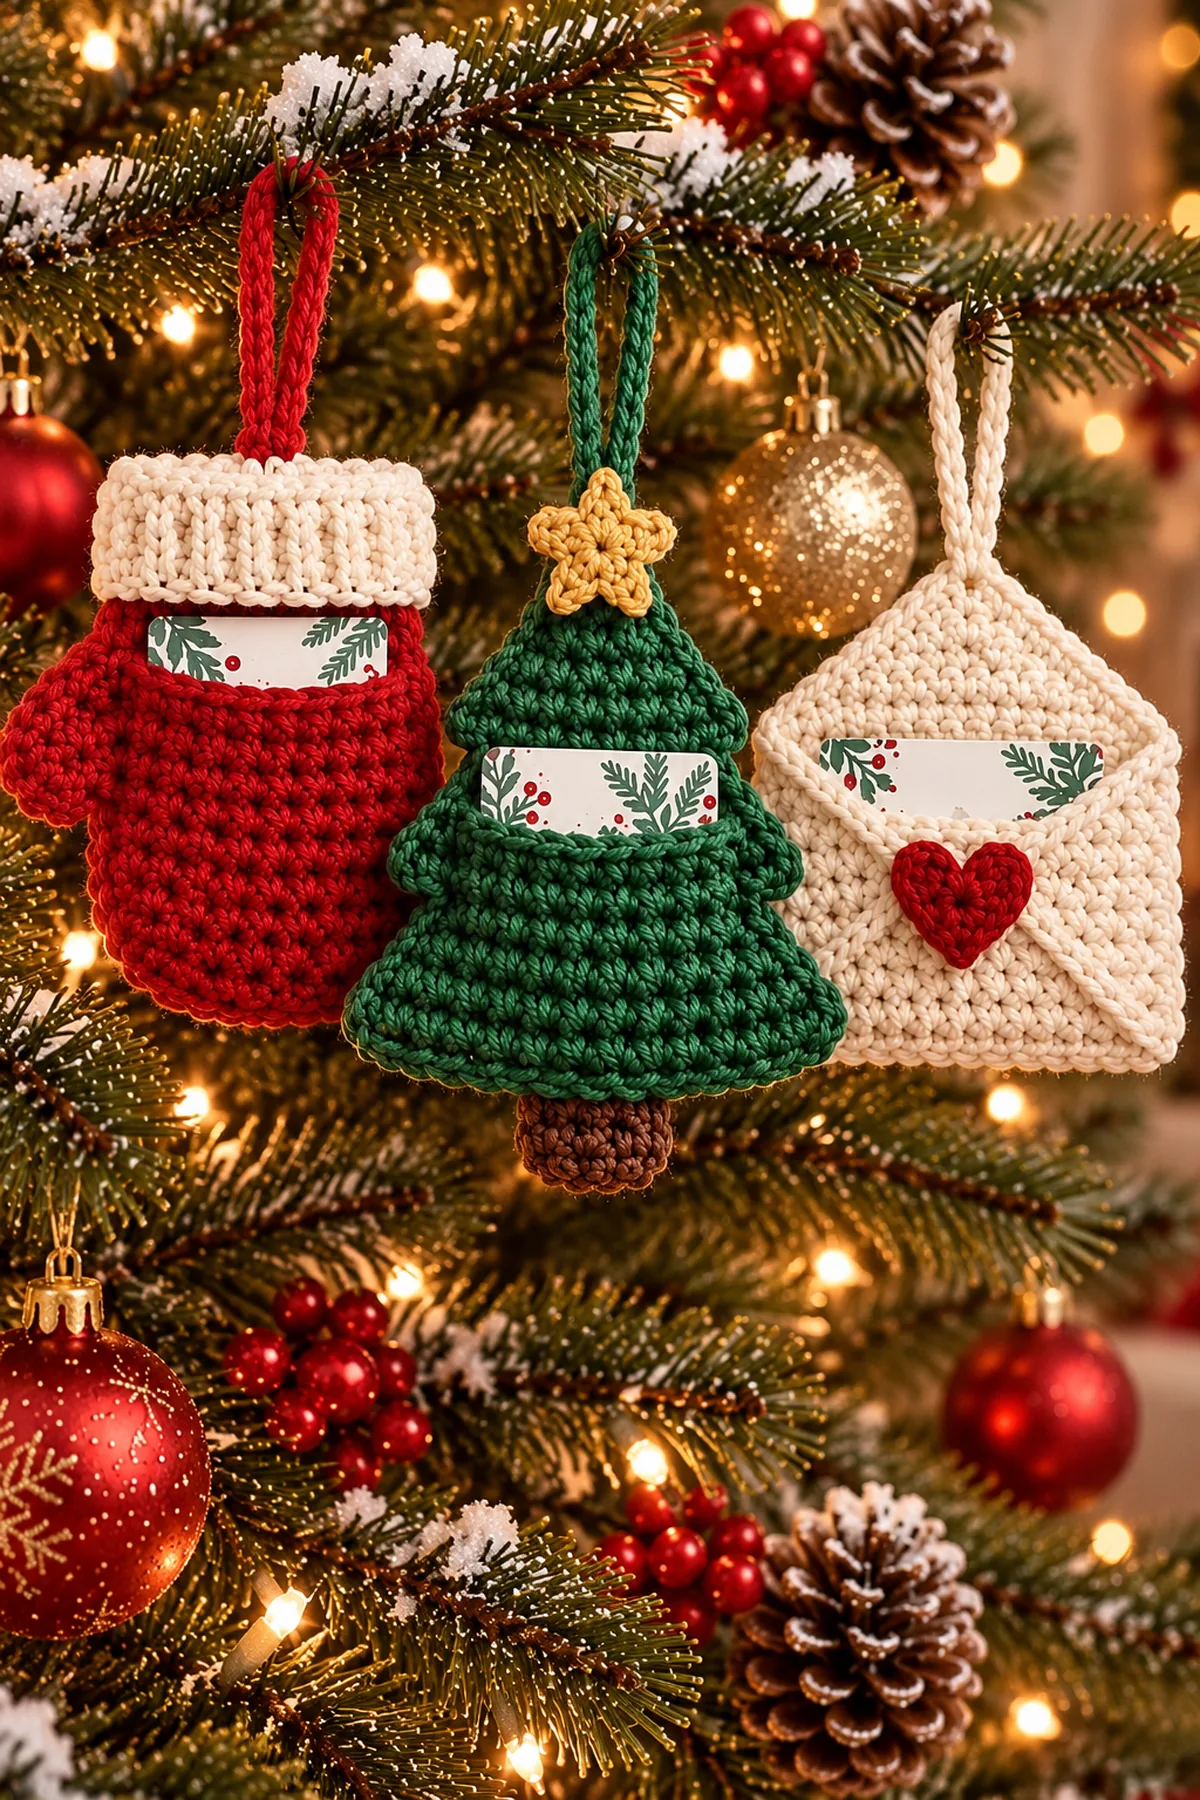
Complete the three holders separately and preserve their individual silhouettes. Join the mitten only around its curved red edges, then attach the cream cuff without closing the card slot. Stack the tree’s three green tiers from largest to smallest and leave the upper tier’s lower edge open. Build the envelope with a full rectangular back, shorter front pocket, and one triangular flap. Finish with exactly one red, one green, and one cream doubled hanging loop.
Lay every component on a flat surface before joining. Match the marked centers first, then divide each remaining edge into equal sections. Work through both layers with consistent tension and pause after each section to check that the fabric lies flat. This measured approach prevents twisting and keeps decorative details facing the intended direction.
Finishing
- Weave red tails through the mitten body and heart, green tails through the backs of tree tiers, and cream tails through the cuff and envelope seams.
- Reinforce the mitten thumb base, tree star and trunk, and envelope heart from the wrong side.
- Keep all three card openings free of loose tails or decorative stitches.
- Steam each piece lightly over a towel so the pockets remain dimensional.
- Store the empty holders flat and insert cards only after the crochet is completely dry.
For a polished result, weave each tail through several same-color stitches, reverse direction once, and trim only after the fabric has been gently stretched. Block to the listed dimensions without flattening textured stitches. Inspect joins, borders, straps, and decorative pieces before the project is used or gifted.
Helpful Tips
- Use the same sample card for all three fit checks.
- Cotton or a cotton blend gives the pockets enough structure without plastic canvas.
- If the tree tiers curl, block each front layer separately before assembly.
- For a heavier gift card, shorten the loop and reinforce the upper back edge with one extra row of slip stitches.
Good lighting and a contrasting stitch marker make counting much easier. If a section looks uneven, compare the current count with the previous checkpoint before continuing. Fixing one missed stitch early is faster than compensating later, and it preserves the measurements used by the assembly instructions.
Frequently Asked Questions
How many holders are included?
Exactly three: one red mitten, one three-tier green Christmas tree, and one cream envelope.
Where does the card enter the tree?
Slide it through the horizontal opening left beneath the upper tier so the printed top remains visible.
Can the envelope flap open?
Yes. Sew the heart to the flap only, leaving the pocket opening behind it accessible for the card.
Will these hold cash instead?
Yes. Fold bills to the same width as a standard gift card and tuck them fully inside the pocket.
Conclusion
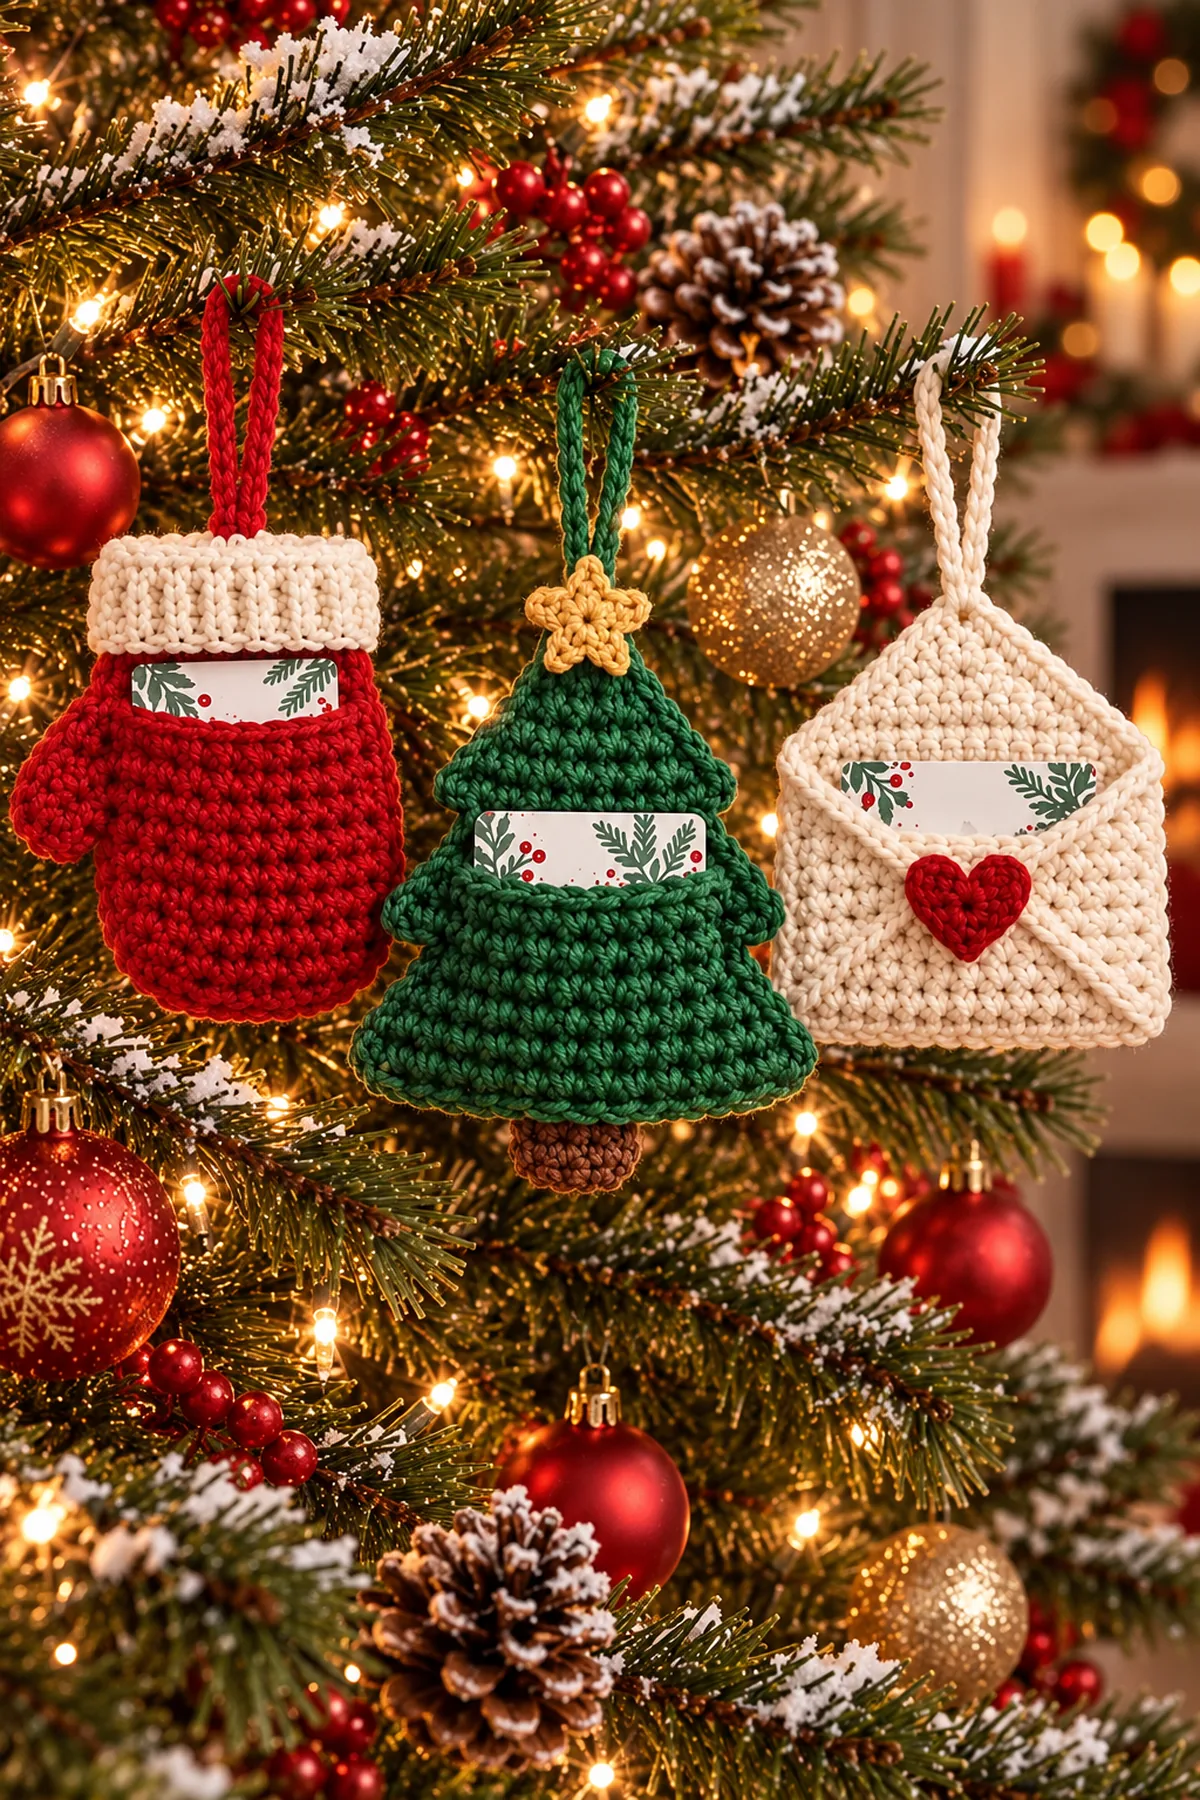
One red mitten with cream ribbed cuff, one dark-green three-tier tree with gold star and brown trunk, and one cream envelope with red heart recreate the complete three-piece set shown in the supplied photos. Separate card openings and reinforced color-matched loops make each holder both a practical gift presentation and a reusable Christmas ornament.
Printable Crochet Pattern Card
Project: Crochet Christmas Gift Card Holder Ornaments
Skill level: Intermediate Hook: 4 mm Yarn: Worsted
Finished size: Mitten approximately 5 by 6 inches; tree approximately 5.5 by 7 inches; envelope approximately 6 by 4.5 inches, excluding loops
Card Materials
- About 120 yards deep-red worsted cotton or cotton-blend yarn for the mitten, heart, and red hanging loop
- About 145 yards dark forest-green worsted yarn for the three-tier tree and green loop
- About 155 yards warm-cream worsted yarn for the mitten cuff, envelope, and cream loop
- About 20 yards camel-gold worsted yarn for one five-point star
- About 20 yards chocolate-brown worsted yarn for one short tree trunk
- 4 mm crochet hook
- Three standard gift cards or same-size cardboard templates for fit checks
- Yarn needle, scissors, locking stitch markers, tape measure, and blocking pins
Card Instructions
- Crochet the Red Mitten Gift-Card Holder: Make one red rounded mitten pocket with a left thumb, wide cream ribbed cuff, open card slot, and red loop.
- Crochet the Three-Tier Christmas Tree Holder: Layer three forest-green triangular tiers, leave one card slot, and finish with one gold star, one brown trunk, and one green loop.
- Crochet the Cream Envelope Holder: Build one cream envelope pocket with open top, triangular flap, two diagonal seams, one red heart, and one cream loop.
- Finish and Test the Three Ornaments: Block, fit-test, and reinforce one color-matched loop on each of the three finished gift-card holders.
Finish: Check every count, weave in all ends, block to measurement, and inspect each join.